
Back up and export your data
Your hosted Perforce server is backed up by the platform. Backup & export gives you your own copy as well: a read-only endpoint that only your backup machine can reach, and a command you run there whenever you want a fresh, restorable snapshot. You hold the key; we never see the private half.
Is this the right page?
This page moves data out of the platform onto a machine you control. If you want to move an existing Perforce server onto the platform, you want Bring an existing server across.
| Bring an existing server across | Back up and export your data | |
|---|---|---|
| Use it when | You already run Perforce elsewhere and want to move onto our platform. | Your Perforce server runs on our platform and you want your own off-site copy. |
| Data moves | From your current server to your new server here. | From your server here to your backup machine. |
| Who runs rsync | We do. | You do, with a command we generate. |
| Whose SSH key | Ours. You install its public half on your current server. | Yours. You paste its public half into the app. |
| When it is available | Only when the server is created, by choosing Bring my server across. | Any time, on a live server. |
| It ends with | A live server here, adopted from your data. | A standing endpoint and a restorable copy on your machine. |
The reliable tell: a screen about installing our key on your server is migration. A command you run against our server is export.
What you get, and what you do not
| Included | Never included |
|---|---|
A consistent checkpoint of the server (.dsl_export/checkpoint.ckp.N.gz), cut for you when you pull. A few small p4d runtime files (monfile.mem, server.locks/, state.xu) come along too; ignore them. | The live db.* database files. A checkpoint is the consistent form of the same data. |
| The depot archive directories: your versioned file content. | Your Perforce license file. Licenses are never copied off the server. |
| Replica and standby state, the server's TLS private key, and our own credential files. |
Open Backup & Export
In the project sidebar, expand Source Control Hosting and choose Backup & Export. The page is titled Backup & export with the sub-line Pull your own off-site copy of this project's Perforce server.
- If you are not a project administrator the page says Only project administrators can configure backup & export access.
- If the project has no server yet it says No Perforce server yet. Create one under Server Configuration, then come back to set up backups.
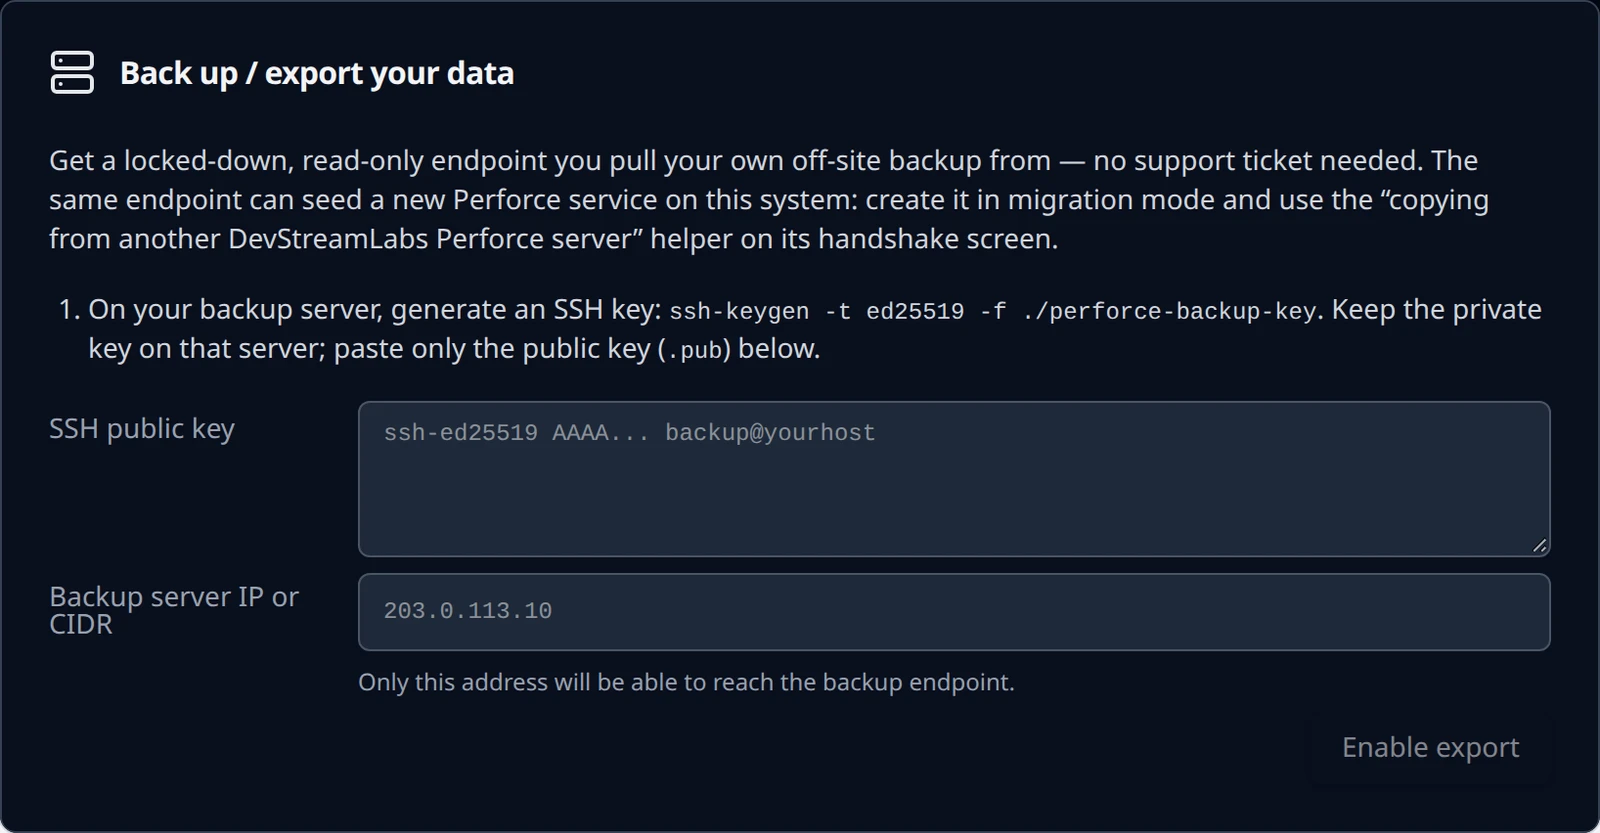
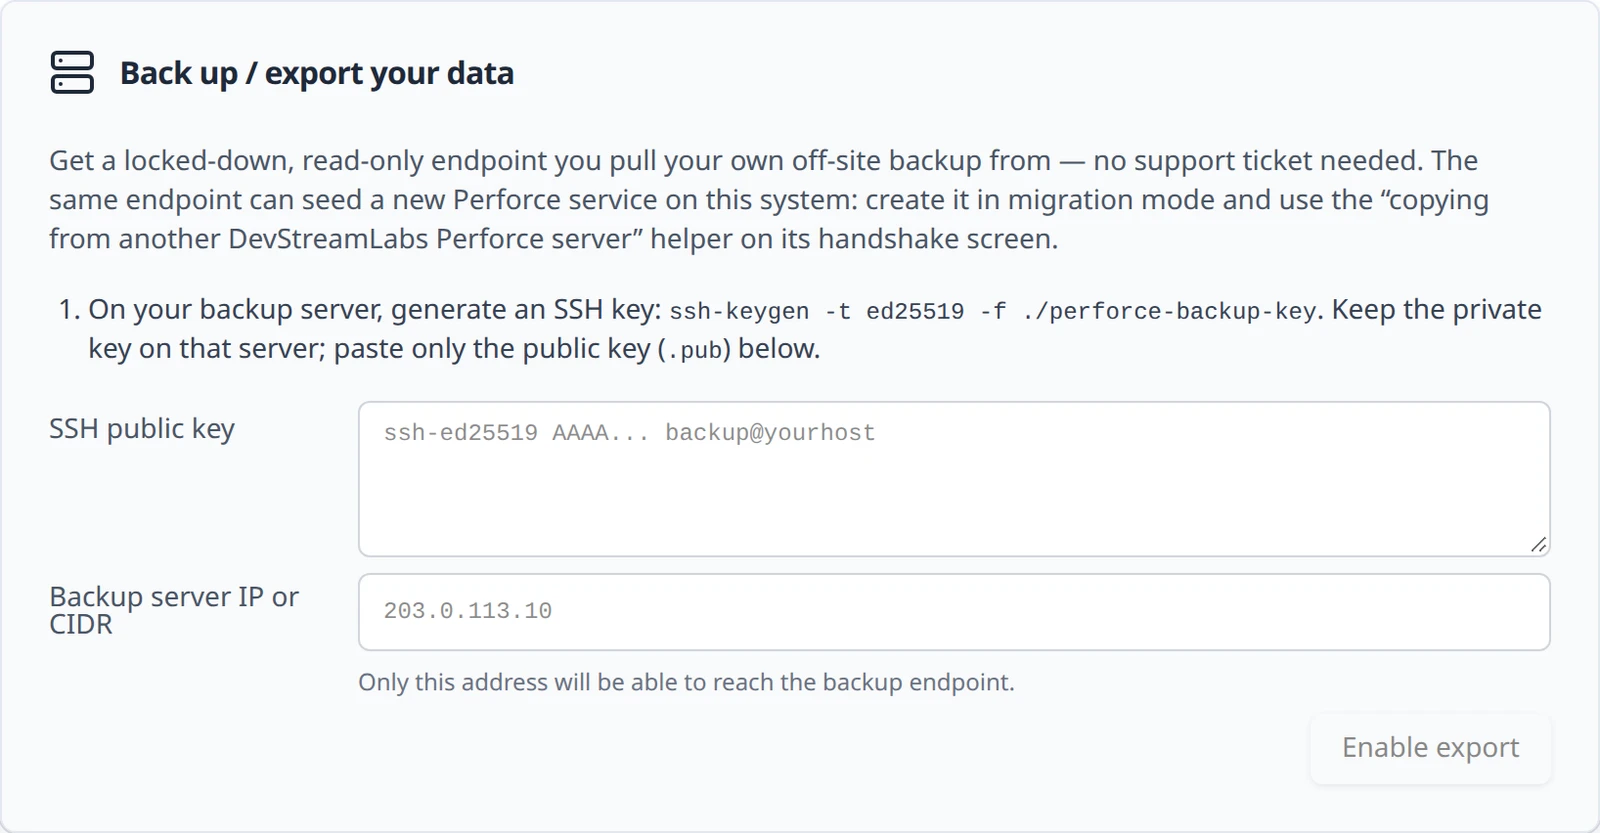
With a live server, the page shows the Back up / export your data panel: Get a locked-down, read-only endpoint you pull your own off-site backup from — no support ticket needed. The same endpoint can seed a new Perforce service on this system: create it in migration mode and use the “copying from another DevStreamLabs Perforce server” helper on its handshake screen.
Generate a key on your backup machine
Create an SSH key pair on the machine that will pull backups
The panel shows the command. Run it on your backup machine, not on your workstation.
On your backup machinessh-keygen -t ed25519 -f ./perforce-backup-keyCopy the public half
On your backup machinecat ./perforce-backup-key.pubYou will paste this one line into the app. The private key,
./perforce-backup-key, stays on the backup machine; nothing in the app or in this flow ever asks for it.
Enable export
| Field | What to enter |
|---|---|
| SSH public key | The single line from perforce-backup-key.pub. Placeholder: ssh-ed25519 AAAA... backup@yourhost. |
| Backup server IP or CIDR | The public address your backup machine connects from, 198.51.100.7 in this guide, or a range such as 198.51.100.0/28 if it may move within a subnet. The panel notes: Only this address will be able to reach the backup endpoint. An all-addresses range (/0) is refused. |
Choose Enable export. If a value is rejected the reason appears next to the field in plain language, for example the backup IP must not be an all-addresses range (/0); the full list is on Troubleshooting.
Wait for the endpoint to arm
Accepting the form does not open the endpoint yet. The panel reads Setting up your backup endpoint… while two things happen in order: a public port is allocated and routed, and then the server confirms its SSH endpoint is listening with your key. The pull command is not valid until both have happened, which usually takes a minute or two.


Pull a backup
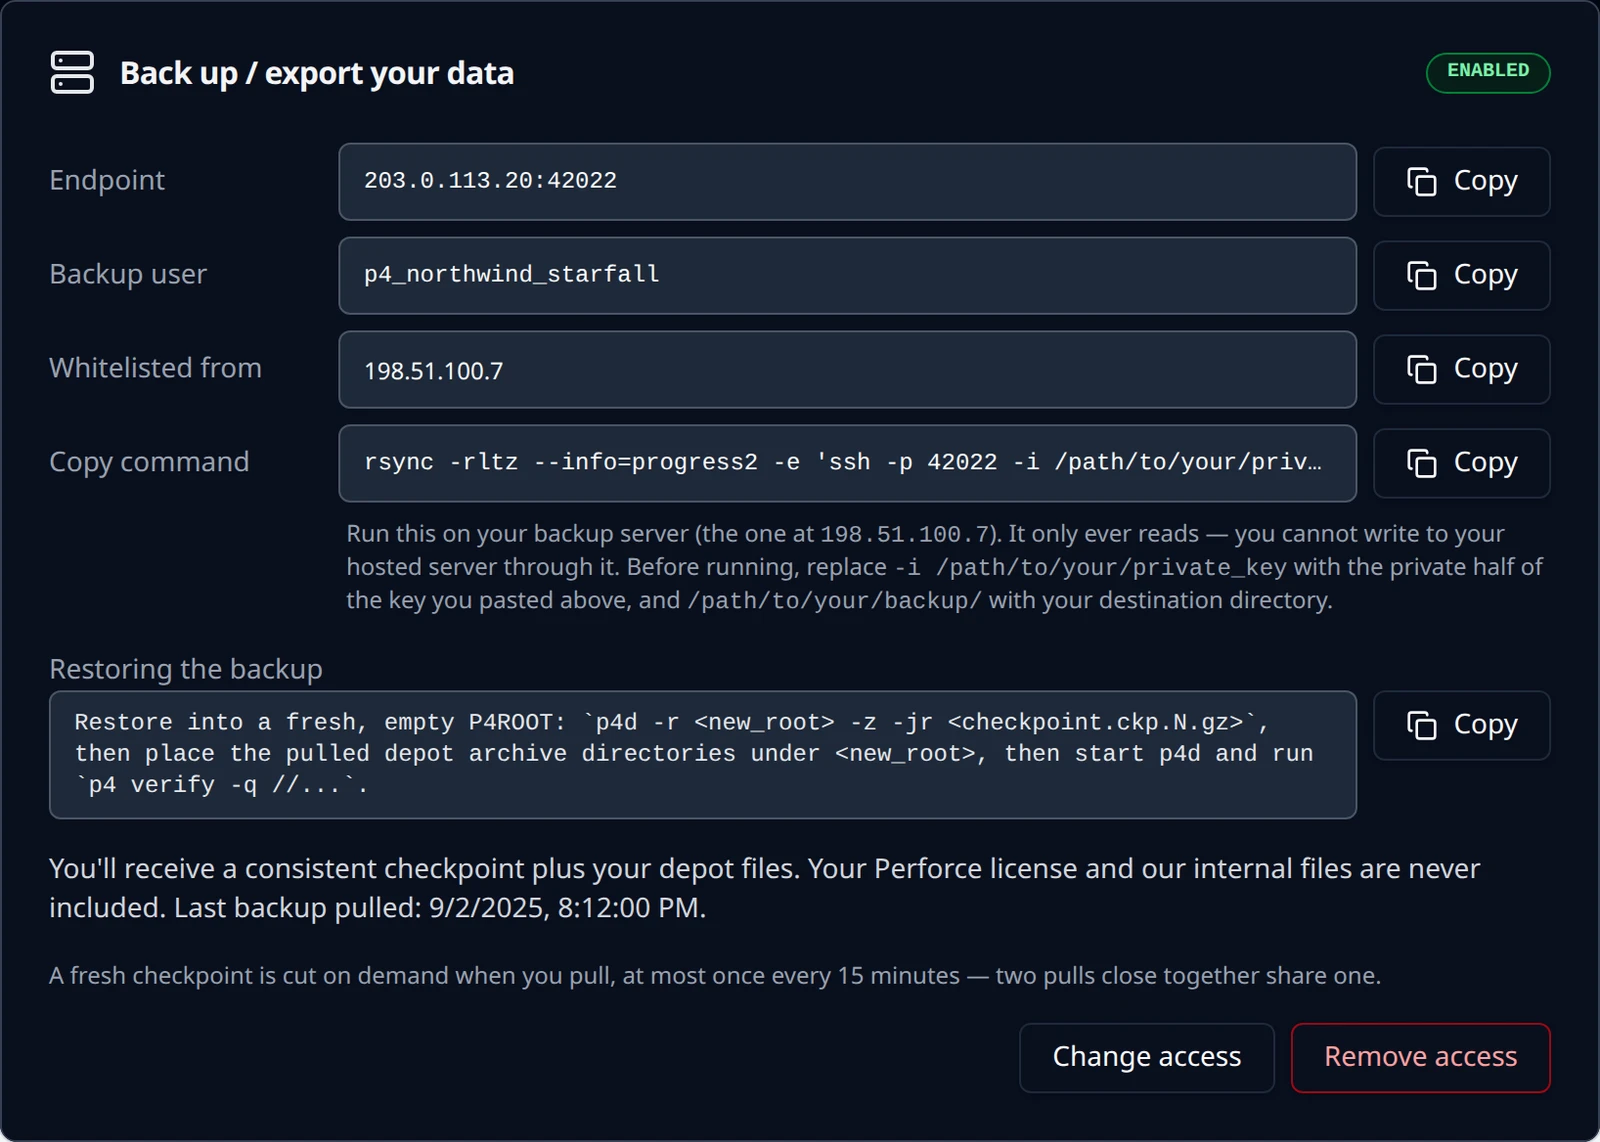
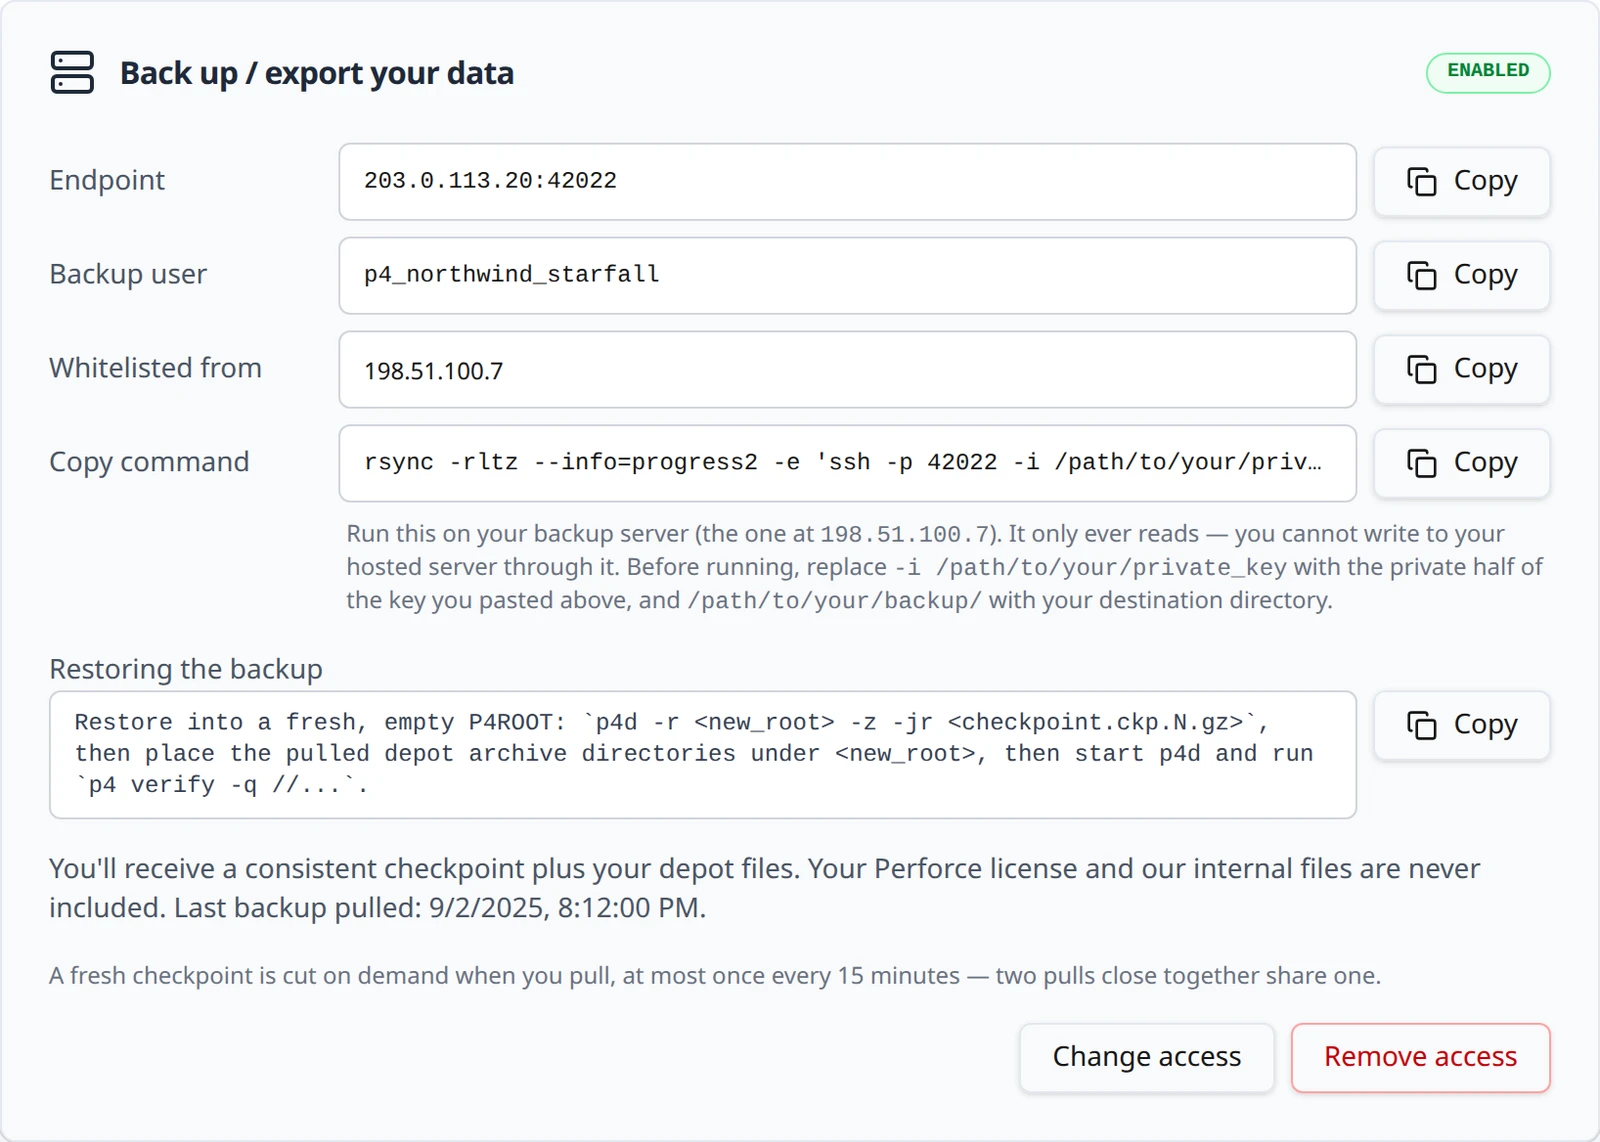
When the endpoint is live the panel shows an Enabled pill and the details you need:
| Row | Example | Meaning |
|---|---|---|
| Endpoint | 203.0.113.20:42022 | The address and port your backup machine connects to. The port is allocated per project. |
| Backup user | p4_northwind_starfall | The account the endpoint accepts your key for; a random twelve-letter name. |
| Whitelisted from | 198.51.100.7 | The only source address allowed to connect. Check it matches your backup machine. |
| Copy command | see below | The rsync command to run, with two placeholders for you to fill. |
The command as the panel shows it:
rsync -rltz --info=progress2 -e 'ssh -p 42022 -i /path/to/your/private_key' [email protected]:p4root/ /path/to/your/backup/
Replace the two placeholders: -i /path/to/your/private_key with the path to the private key you generated, and /path/to/your/backup/ with where the copy should land. Then run it on your backup machine.
rsync -rltz --info=progress2 -e 'ssh -p 42022 -i ~/perforce-backup-key' \ [email protected]:p4root/ /srv/p4-backups/starfall/
The panel explains: Run this on your backup server (the one at 198.51.100.7). It only ever reads — you cannot write to your hosted server through it. Before running, replace -i /path/to/your/private_key with the private half of the key you pasted above, and /path/to/your/backup/ with your destination directory. The panel also shows Last backup pulled: with the time of the last checkpoint it cut for you; that time can lag a pull until the panel next refreshes.
Pull on a schedule
The endpoint stays available until you remove it, so the same command works from a scheduler. A nightly pull with a systemd timer:
[Unit]
Description=Pull the starfall Perforce backup

[Service]
Type=oneshot
User=backup
ExecStart=/usr/bin/rsync -rltz --info=progress2 -e 'ssh -p 42022 -i /home/backup/perforce-backup-key' [email protected]:p4root/ /srv/p4-backups/starfall/
[Unit]
Description=Nightly starfall Perforce backup

[Timer]
OnCalendar=*-*-* 03:00:00
Persistent=true

[Install]
WantedBy=timers.target
sudo systemctl enable --now perforce-backup.timer
Restore from a backup
The panel carries the restore instructions under Restoring the backup: Restore into a fresh, empty P4ROOT: p4d -r <new_root> -z -jr <checkpoint.ckp.N.gz>, then place the pulled depot archive directories under <new_root>, then start p4d and run p4 verify -q //.... Step by step, on a machine with p4d installed:
Create an empty root and restore the checkpoint
mkdir -p /opt/perforce/restore p4d -r /opt/perforce/restore -z -jr /srv/p4-backups/starfall/.dsl_export/checkpoint.ckp.N.gz
Use the newest
checkpoint.ckp.N.gzunder.dsl_export/in your pulled tree.-ztellsp4dthe checkpoint is compressed.Put the depot archives in place
cp -a /srv/p4-backups/starfall/depot /opt/perforce/restore/Copy each depot archive directory from your pull into the new root, keeping the directory names. Your depot directories are named after your depots;
depotis the default.Start the server and verify
p4d -r /opt/perforce/restore -p 1666 -d p4 -p localhost:1666 verify -q //...
p4 verify -qprints nothing when every file's content is present and matches its recorded digest. Output means content is missing or changed.Install a license
The restored server is unlicensed until you place your license file in the new root. Until then it accepts two users and five workspaces.
Change or remove access
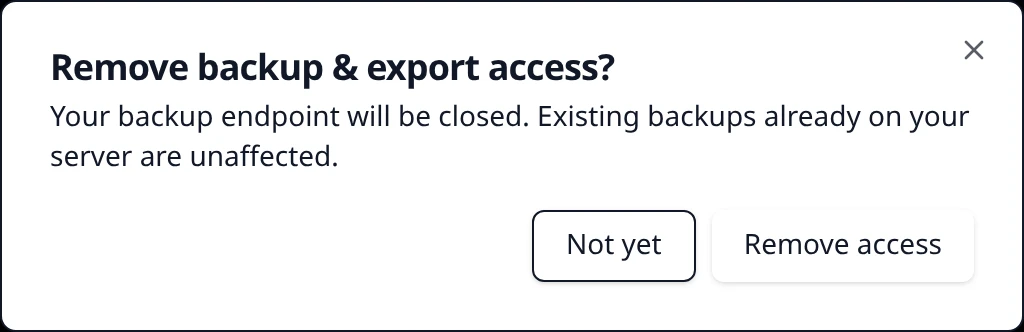
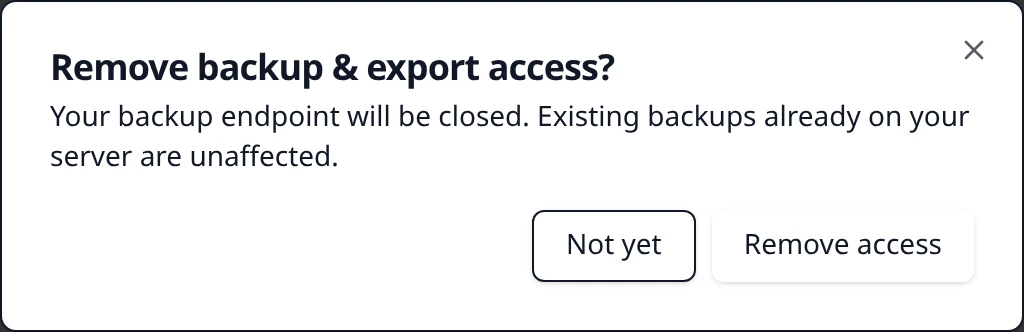
Change access reopens the form so you can rotate the key or move to a new backup address; the endpoint is re-armed with the new values and the old key stops working. Remove access closes the endpoint. It asks first: Remove backup & export access? Your backup endpoint will be closed. Existing backups already on your server are unaffected. Choose Remove access to confirm or Not yet to keep it. The panel reads Closing your backup endpoint… while the port and routing are released.
How the endpoint is locked down
- Read-only by construction. Your key is bound to a forced command that only serves
rsync --sender, a pull. A push, a delete, a shell, port forwarding or SFTP are refused. - One source address. Your backup address is enforced twice: at the network edge, and in the key line itself with
from=. - A dedicated SSH service. The endpoint runs its own hardened SSH daemon on its own port with a single allowed user, key authentication only.
- Path-confined. The command can read the export tree and nothing else; the exclusions above are applied on our side and cannot be overridden from yours.
Something out of date or unclear? Email [email protected].