
Create your Perforce server
A project gets one Perforce server. You create it from the project's hosting page in a single form, wait a minute or two while it is provisioned, and then read its address and certificate fingerprint off the connection card. The admin password arrives separately, by email.
Before you start
- You are an administrator of the project. Non-administrators do not see the hosting pages.
- The project has the Source Control Hosting service. If the sidebar has no Source Control Hosting section, add the service first with the sidebar's Add a Service button, the one with the plus icon.
- You know whether the server should start empty or from Perforce data you already have. That choice is made in the form and cannot be changed afterwards.
Create the server
Open Server Configuration
In the project sidebar, expand Source Control Hosting and choose Server Configuration. The page is titled Hosting, with the sub-line Manage hosting configurations for your source control. A counter in the header shows how many servers the project has out of its limit of one: 0 / 1 hosting servers.
Before any server exists the page reads No hosting configurations yet. Click "Add" to create a new hosting configuration.
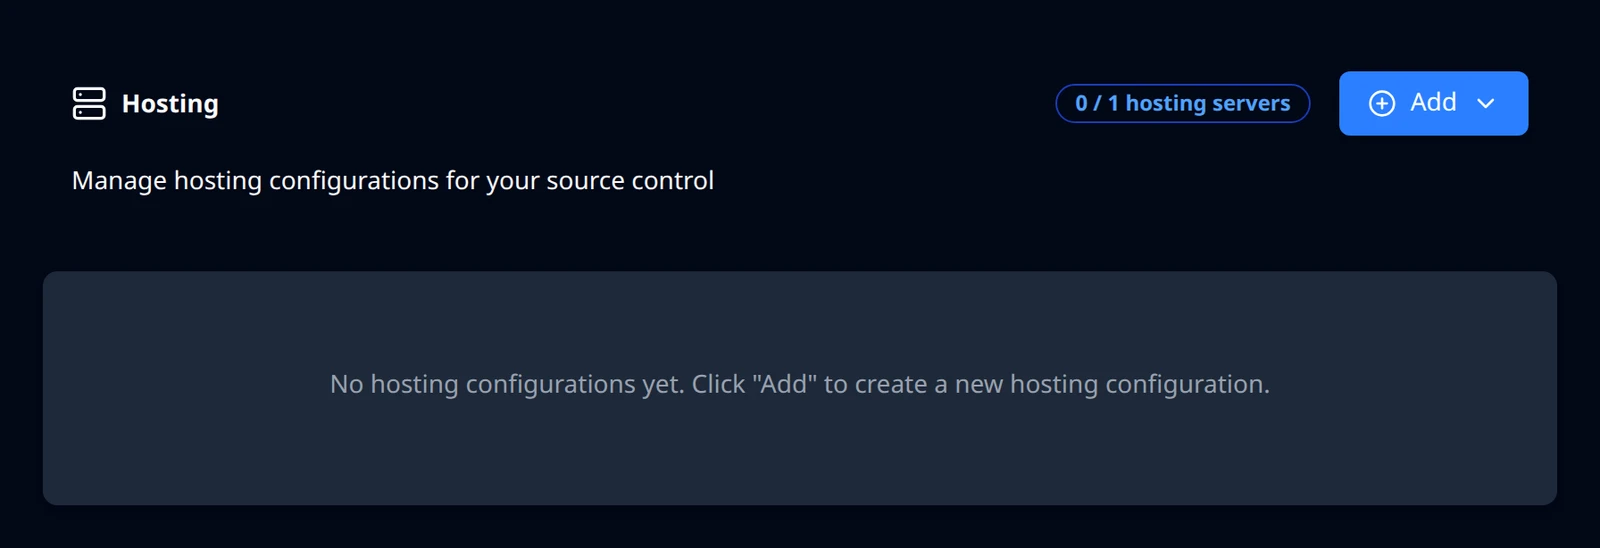
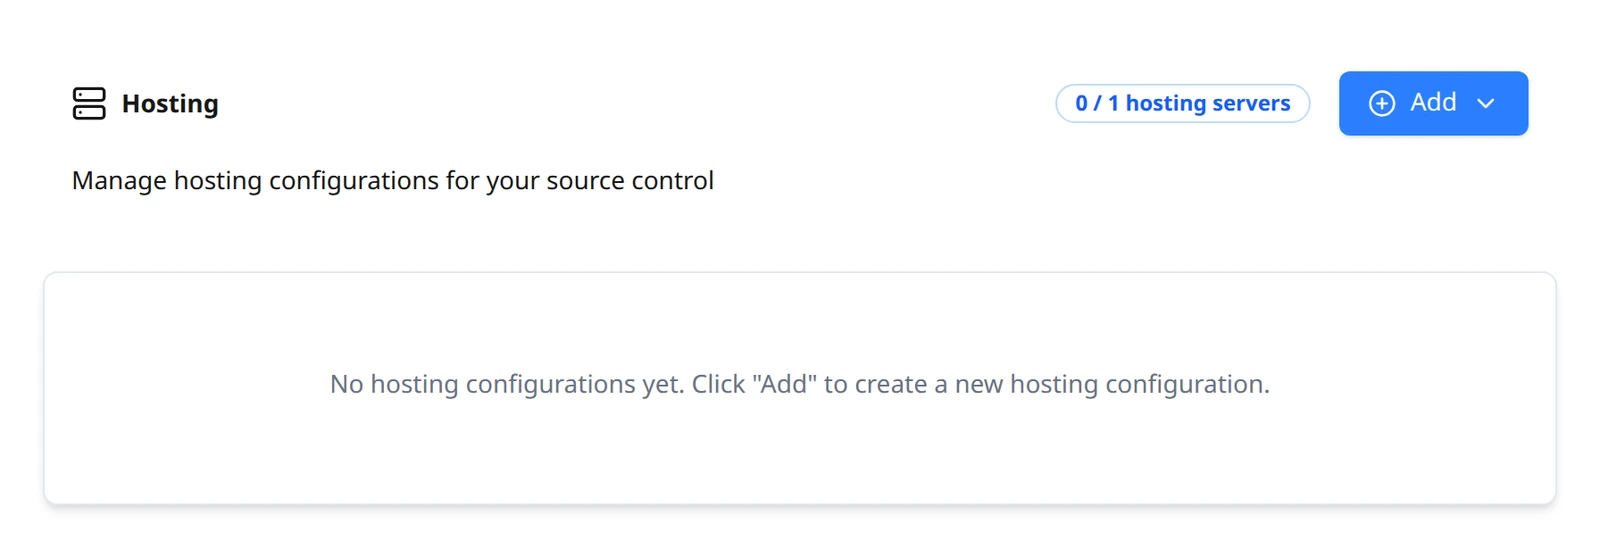
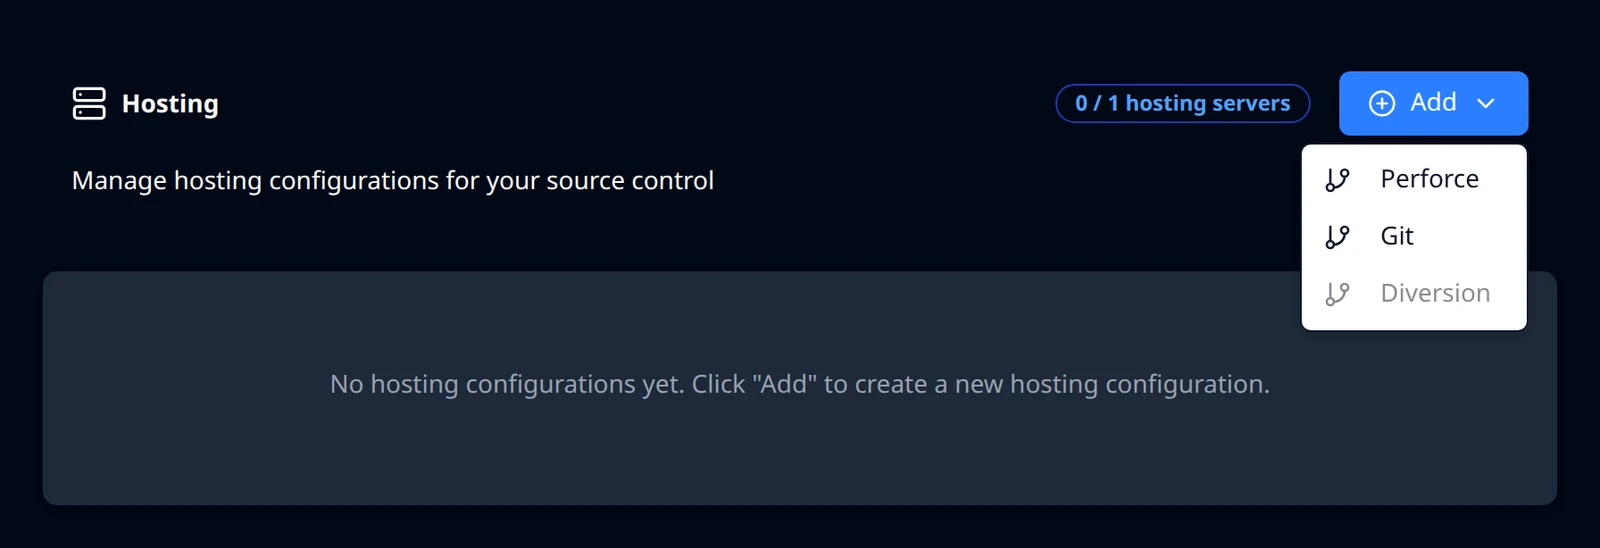
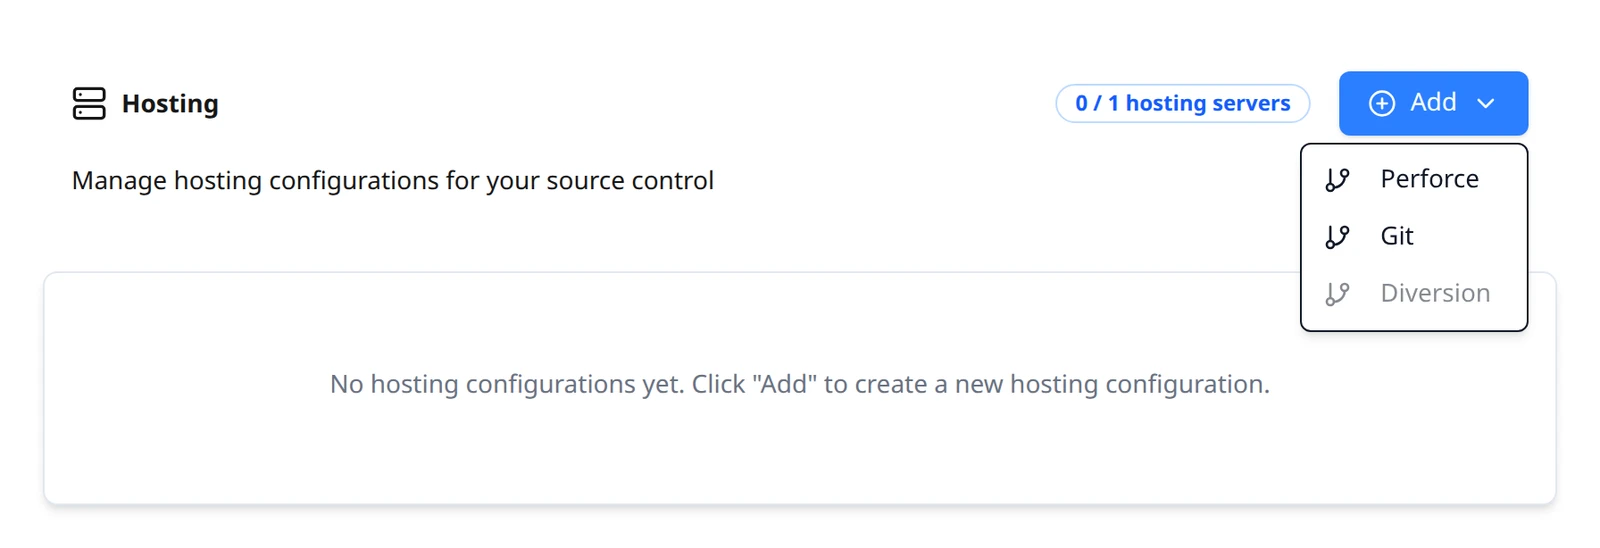
Server Configuration before a server exists. Choose Add, then Perforce
Open the Add menu and choose Perforce. The menu also lists Git, which takes you to Build Stream's connections instead, and Diversion, which is not available yet. The menu is disabled while the project already has a server or one is being created.
Fill in the form
The form is titled Add New Hosting Configuration. It has one text field, one choice, and a preview.
Fields on the Add New Hosting Configuration form Field What to enter Perforce URL A short label for the server, such as p4. It becomes the first part of the hostname:p4givesp4.starfall.northwind.example.com. Letters, digits and hyphens; it must start with a letter. The form rejects anything else with Must start with a letter and cannot contain spaces or underscores (_).Start fresh A new, empty server. Ready in about a minute. Choose this for a new project or when you will populate the depot yourself. Bring my server across Copy an existing depot onto a server we host. Choose this to migrate from a Perforce server you run elsewhere. The server is then held back until your data has been copied in, and the next screen is the migration flow. See Bring an existing server across. Swarm Server Read-only. Previews the Helix Swarm address that comes with the server, derived from your label: p4-swarm.starfall.northwind.example.com.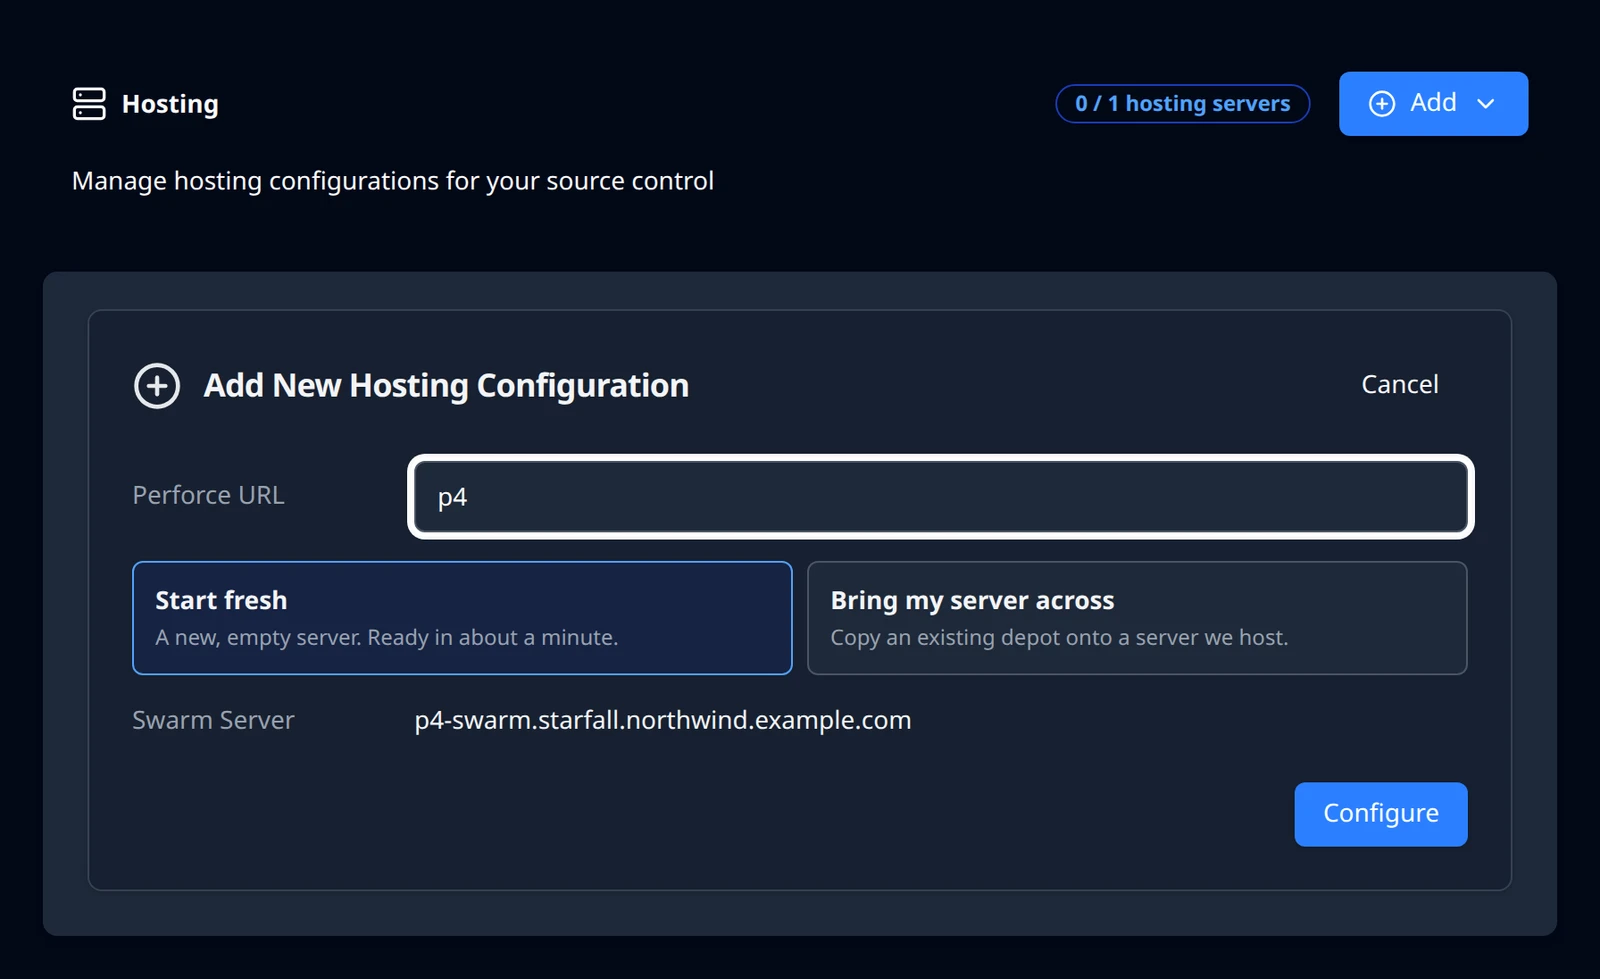
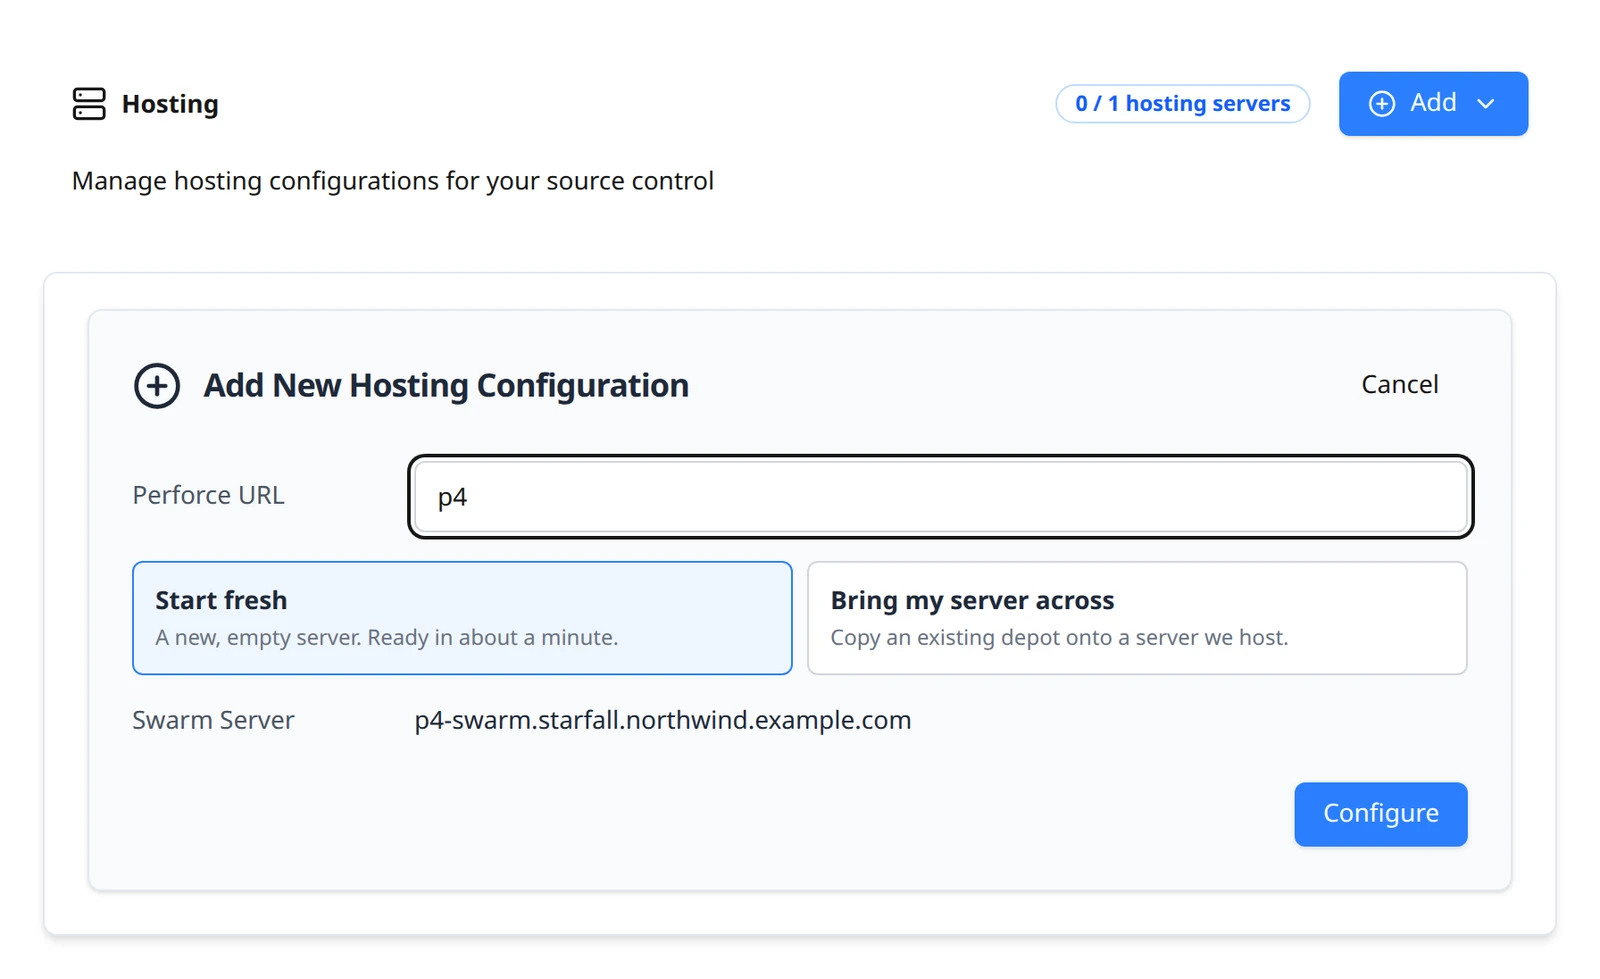
A completed form for a new, empty server. Choose Configure. The button reads Configuring... while the request is sent.
While it provisions
Accepting the form queues the work; it does not build the server. Provisioning allocates hardware, issues the TLS certificate and creates the admin accounts. While it runs the page shows a status banner: Your Perforce server is being created. Waiting for project source control to finish provisioning.
You can leave the page. When the server is ready you get a notification titled Service ready (Source Control Hosting is now available in the sidebar.), and the connection card below replaces the banner.
Your connection details
Once the server is up, the Project source control card shows what your team needs to connect. Each row has a Copy button.
| Row | Example | Use it for |
|---|---|---|
| Perforce Server | ssl:p4.starfall.northwind.example.com | The server address, already carrying the ssl: prefix. |
| Port | 1666 | The port assigned to your server when it was created; yours will differ from this guide. Address and port together are your P4PORT. |
| Fingerprint | AB:12:6D:4F:90:C3:E8:71:2A:55:BD:04:7E:39:F1:C8:6B:2D:A0:14 | The TLS certificate fingerprint. Compare it when you first connect; if it does not match, stop. |
| Swarm Server | p4-swarm.starfall.northwind.example.com | Helix Swarm, for code review. Sign in with your Perforce account. |
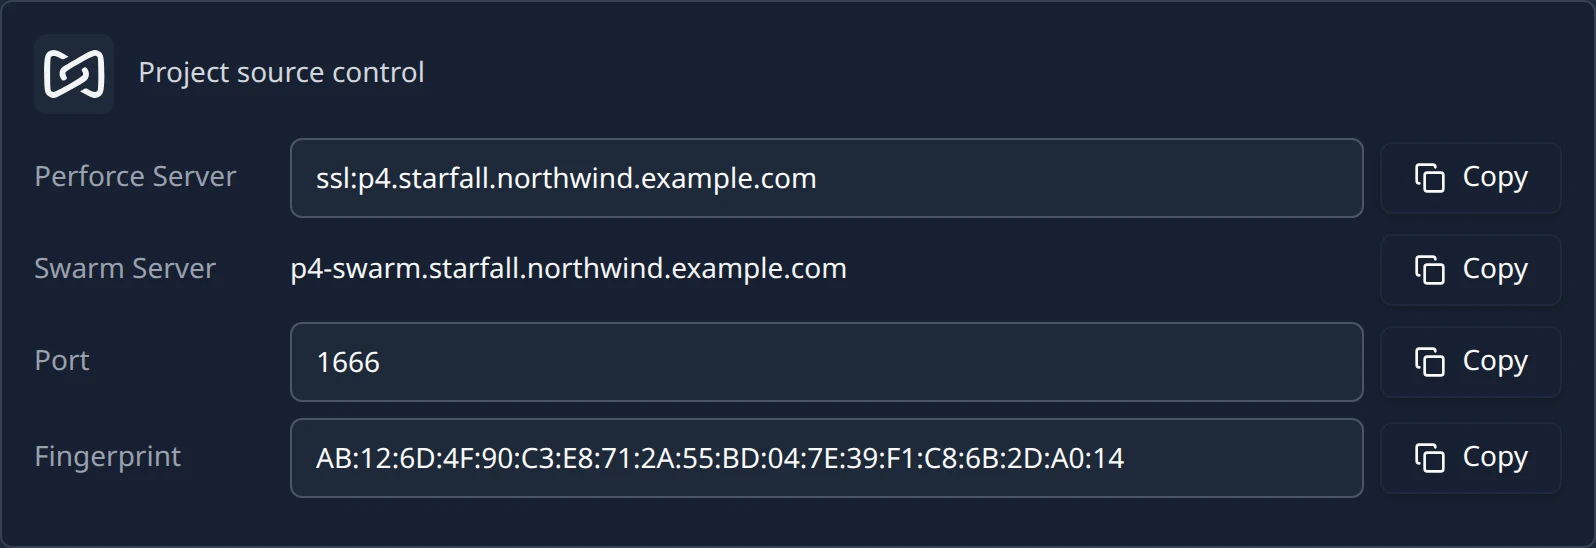
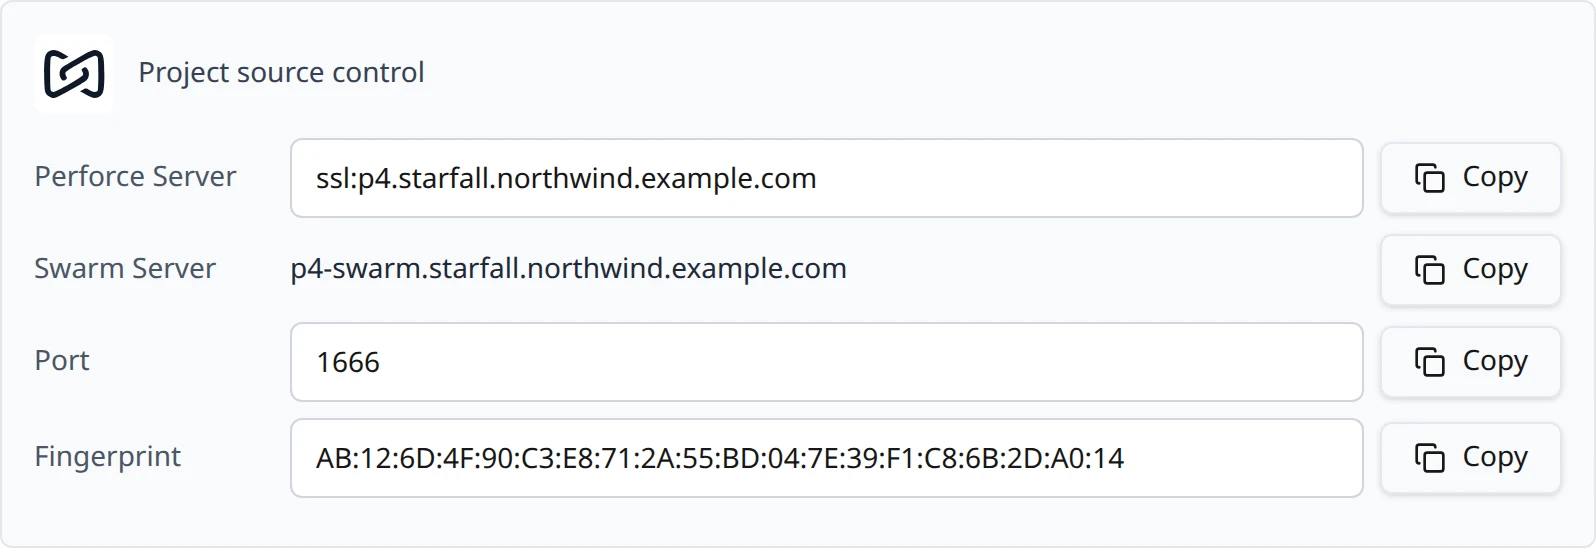
Your team connects with the hostname and port joined into a TLS address:
ssl:p4.starfall.northwind.example.com:1666
How to trust the certificate, sign in and change the admin password is on Accounts, security and licensing.
The email with your admin password
When the server is ready, the project maintainer receives an email with the subject Perforce is ready for Starfall, using the project's display name. It repeats the server address and fingerprint and carries the one thing the app never shows: the password for dsl_admin, your Perforce super user.
| In the email | Example |
|---|---|
| Server | ssl:p4.starfall.northwind.example.com |
| SSL fingerprint | AB:12:6D:4F:90:C3:E8:71:2A:55:BD:04:7E:39:F1:C8:6B:2D:A0:14 |
| Username | dsl_admin |
| Password | A one-time password. You must change it the first time you sign in. |
| Button | Manage Perforce in Dev Stream Labs |
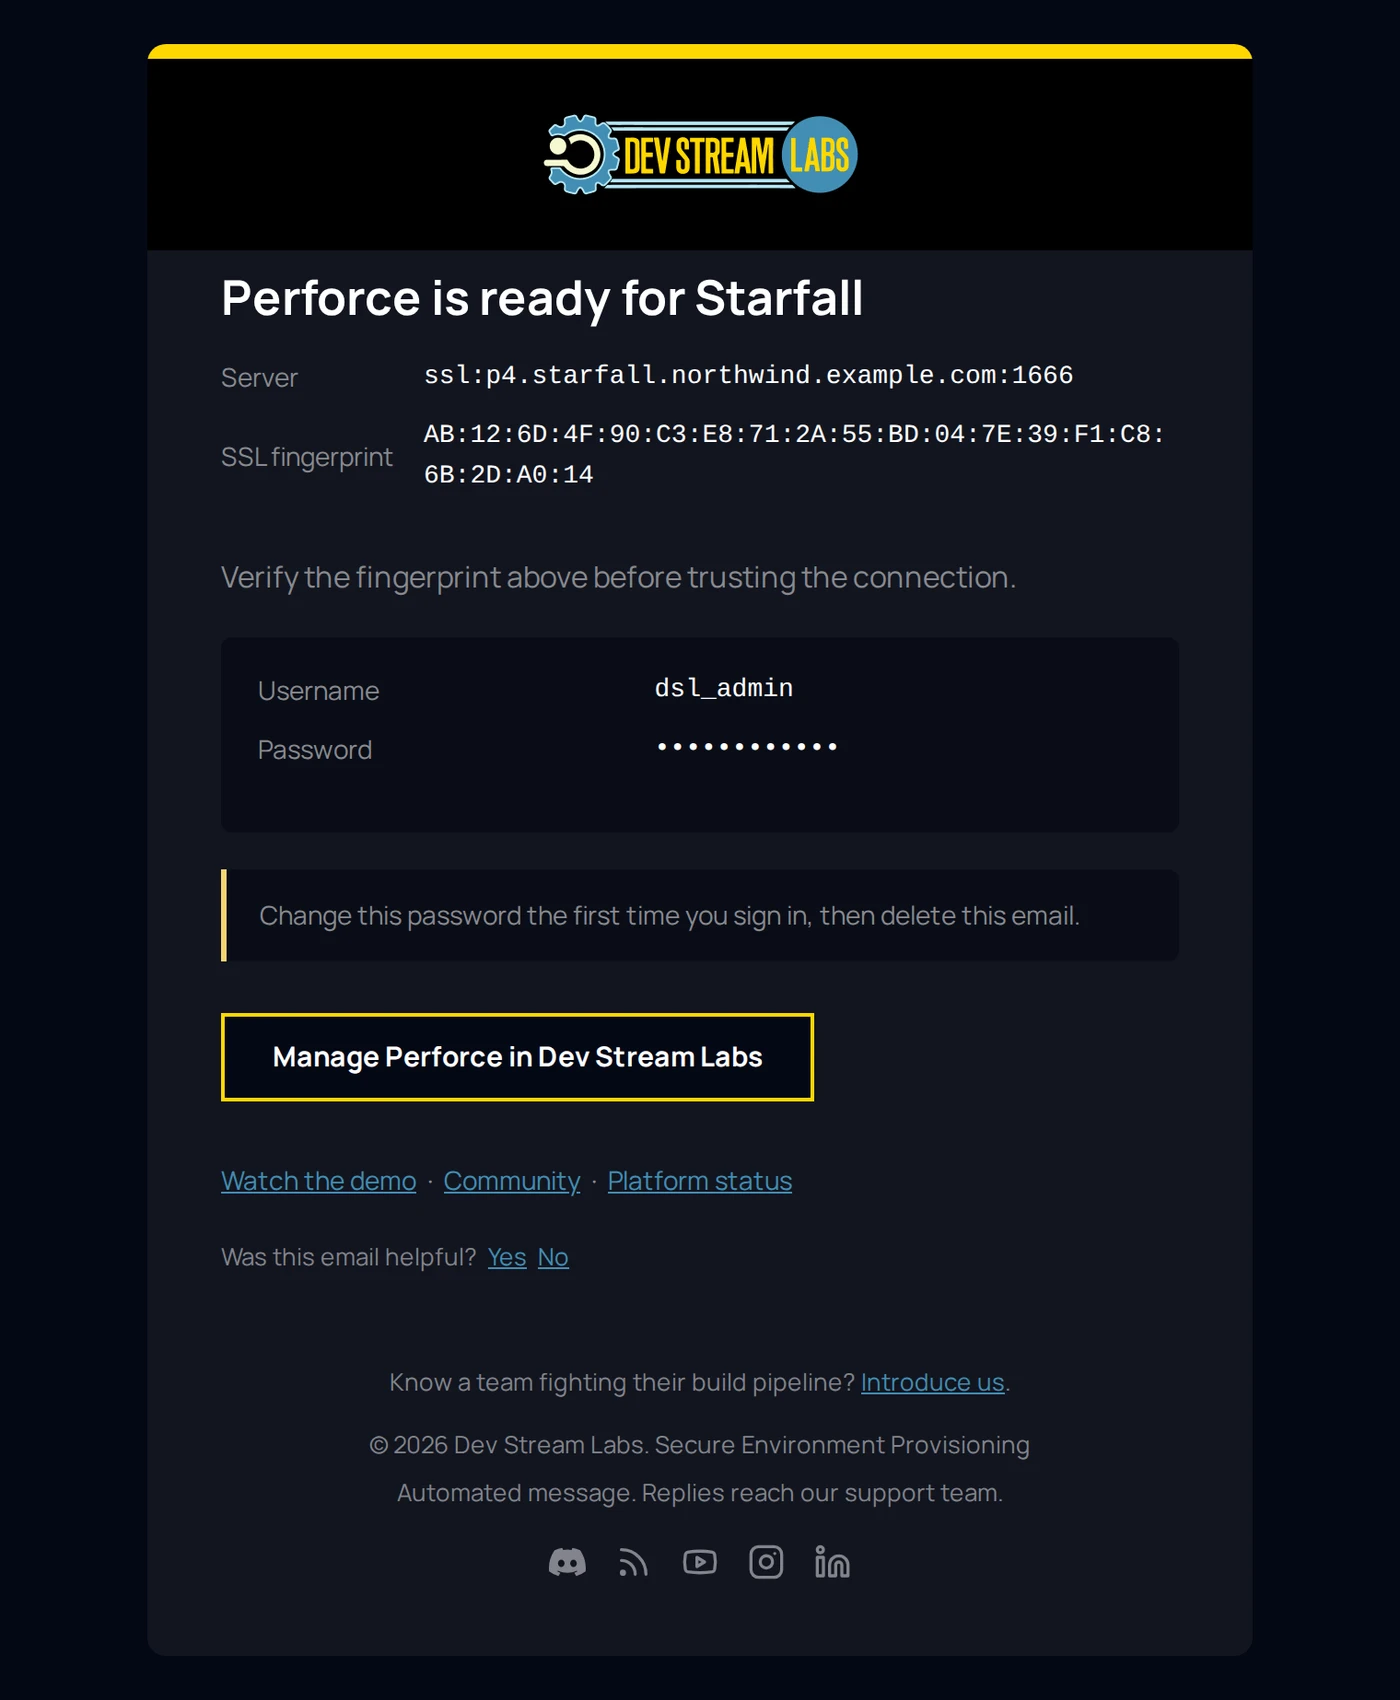
The email says Verify the fingerprint above before trusting the connection and Change this password the first time you sign in, then delete this email. Both are meant literally.
Retiring a server
There is no delete button on the hosting page. Retiring a Perforce server is done by our team, so that a server holding your history cannot be removed by an accidental click.
Next steps
- Connect with p4, P4V and Swarm, trust the certificate and change the admin password.
- Turn on Build on check-in so submits start builds.
- Set up Backup & export for your own off-site copy.
Something out of date or unclear? Email [email protected].