
Bring an existing server across
You already run Perforce somewhere else and want to move it onto Dev Stream Labs. We copy your data from your server to a new one here, using a key we issue and you authorise. Your team keeps working on the old server until you choose to cut over; the copy can be repeated as a delta as many times as you need before that.
Is this the right page?
This page moves data into the platform. If your Perforce server already runs here and you want a copy of it somewhere else, you want Back up and export your data instead.
| Bring an existing server across | Back up and export your data | |
|---|---|---|
| Use it when | You already run Perforce elsewhere and want to move onto our platform. | Your Perforce server runs on our platform and you want your own off-site copy. |
| Data moves | From your current server to your new server here. | From your server here to your backup machine. |
| Who runs rsync | We do. | You do, with a command we generate. |
| Whose SSH key | Ours. You install its public half on your current server. | Yours. You paste its public half into the app. |
| When it is available | Only when the server is created, by choosing Bring my server across. | Any time, on a live server. |
| It ends with | A live server here, adopted from your data. | A standing endpoint and a restorable copy on your machine. |
The reliable tell: a screen about installing our key on your server is migration. A command you run against our server is export.
Before you start
- You are an administrator of the project, and the project does not have a Perforce server yet.
- Your current Perforce server is reachable over SSH from the internet, and you can add a line to a user's
~/.ssh/authorized_keyson it. - That user can read your entire
P4ROOTdirectory (thedb.*files and the depot archives), andrsyncis installed on the server. - You can allow inbound SSH from one address, our transfer address, which the app shows you. In this guide it is
203.0.113.20. - You have, or can plan, a short freeze of your current server for the final cutover.
Two forms of source are accepted, and the platform detects which one arrived:
| Source | What it contains | Notes |
|---|---|---|
| A raw P4ROOT copy | The live db.* metadata plus the depot archive directories. | The simplest option if you can read P4ROOT directly. |
| A checkpoint backup | A p4d -jc checkpoint, any journals since, and the depot archive directories. No db.* files needed. | We restore the checkpoint and replay the journals for you. |
Create the server in migration mode
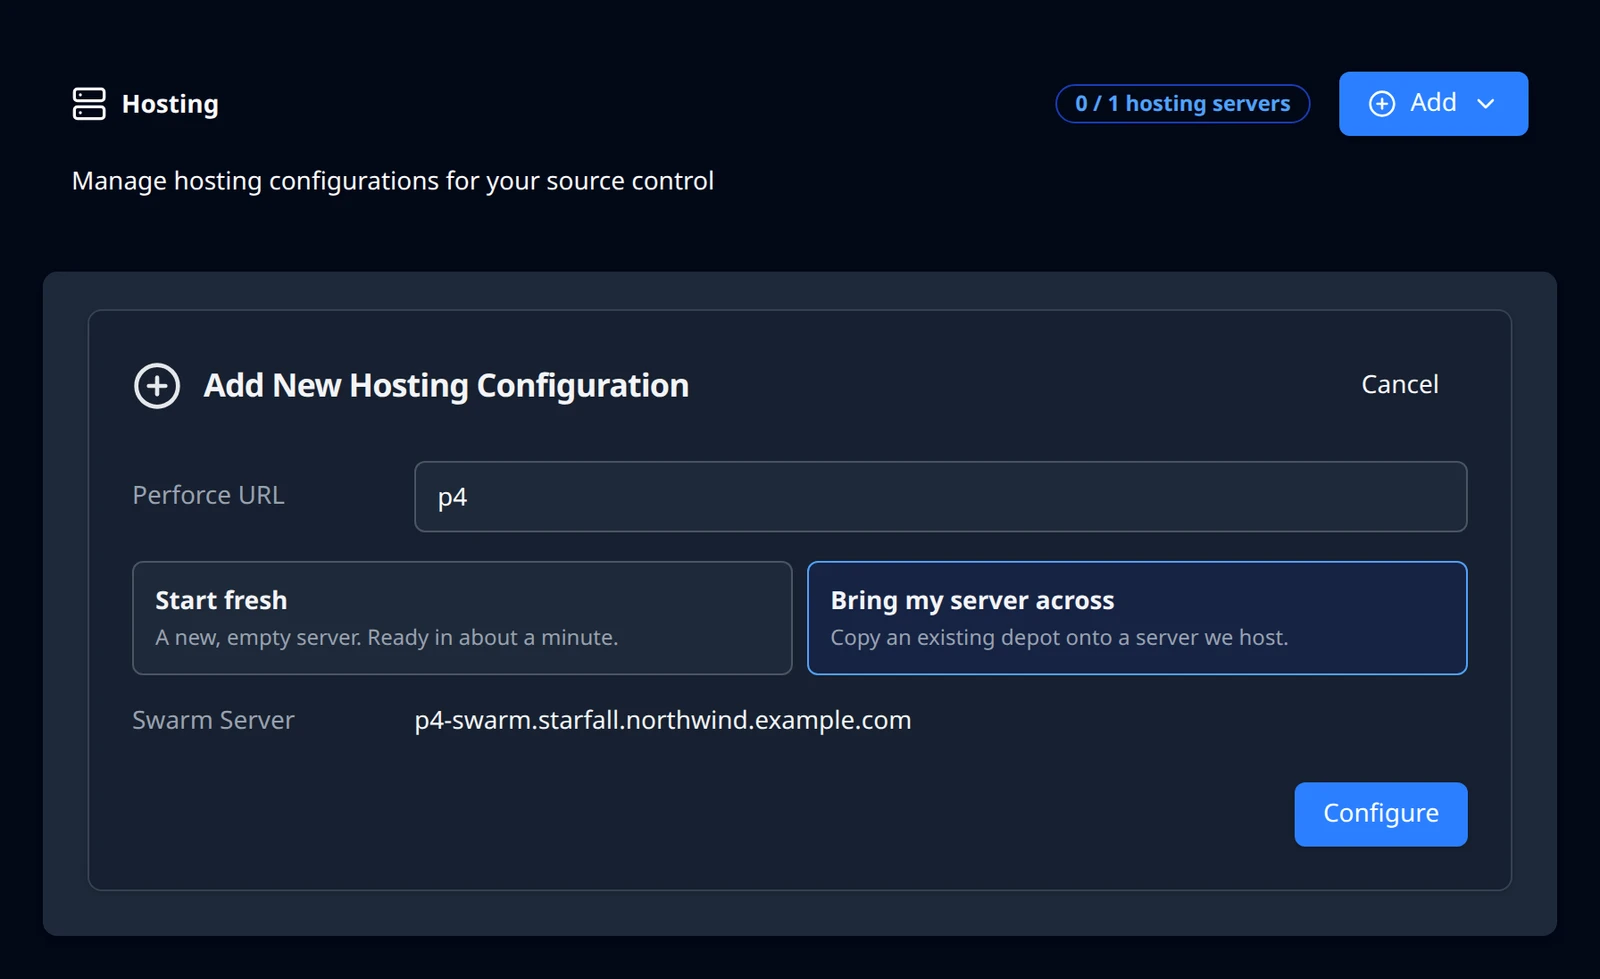
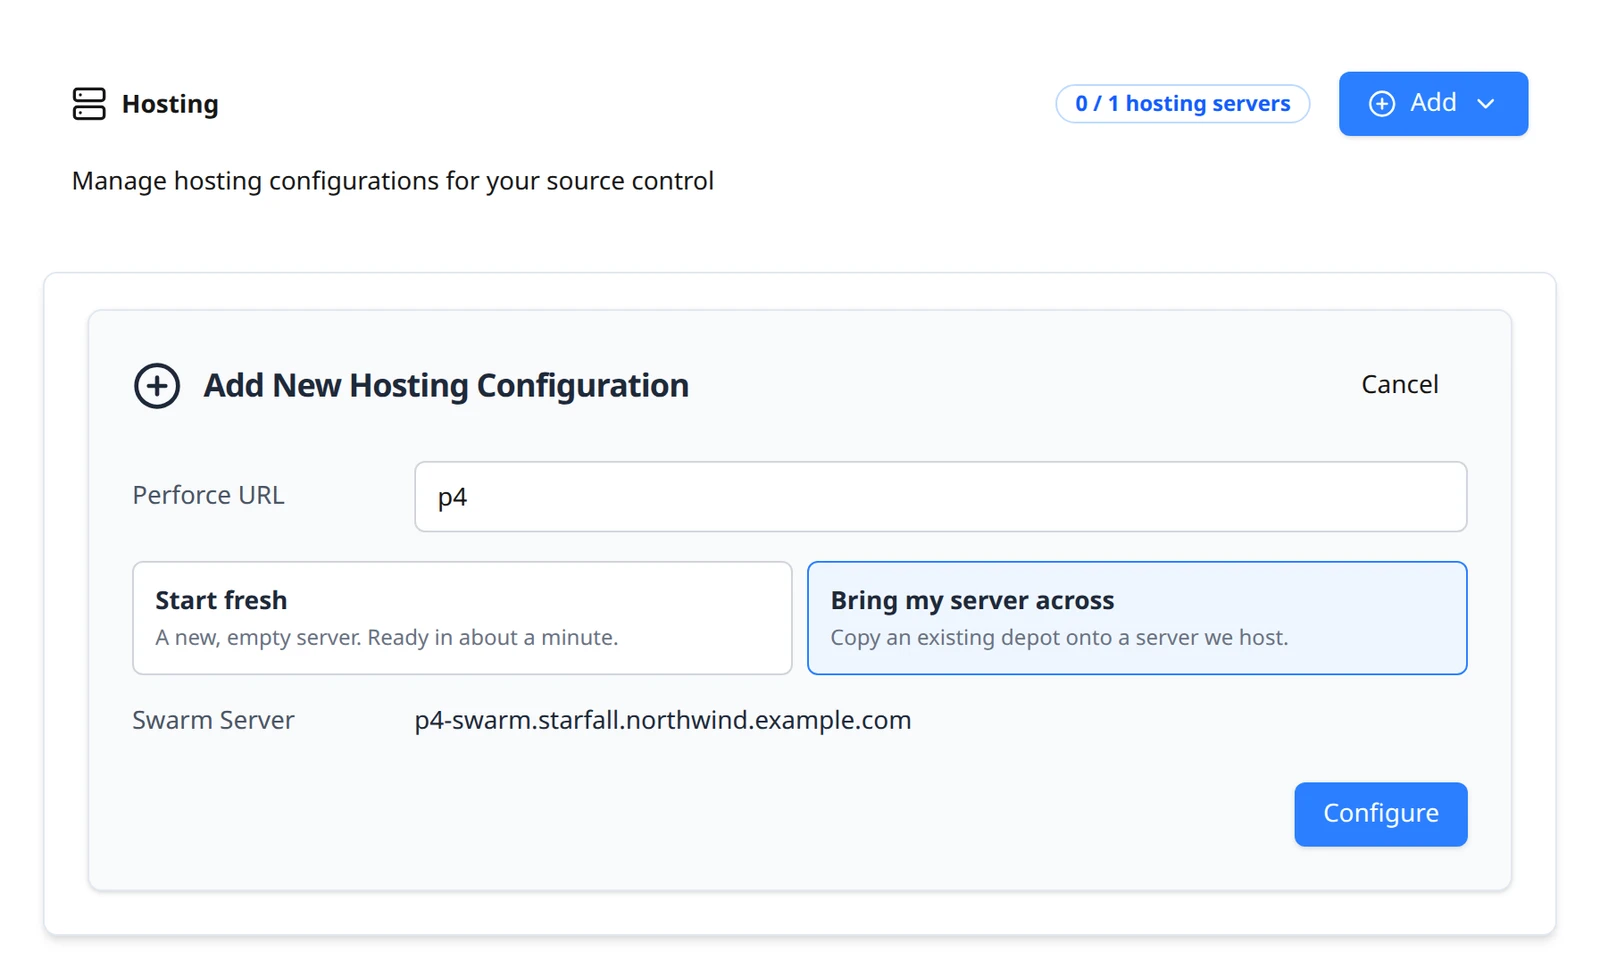
Follow Create the server, and in the form choose Bring my server across (Copy an existing depot onto a server we host.) instead of Start fresh. The new server is deliberately not started until your data has landed, so instead of the "being created" banner you see the migration panel straight away.
Authorise us on your current server
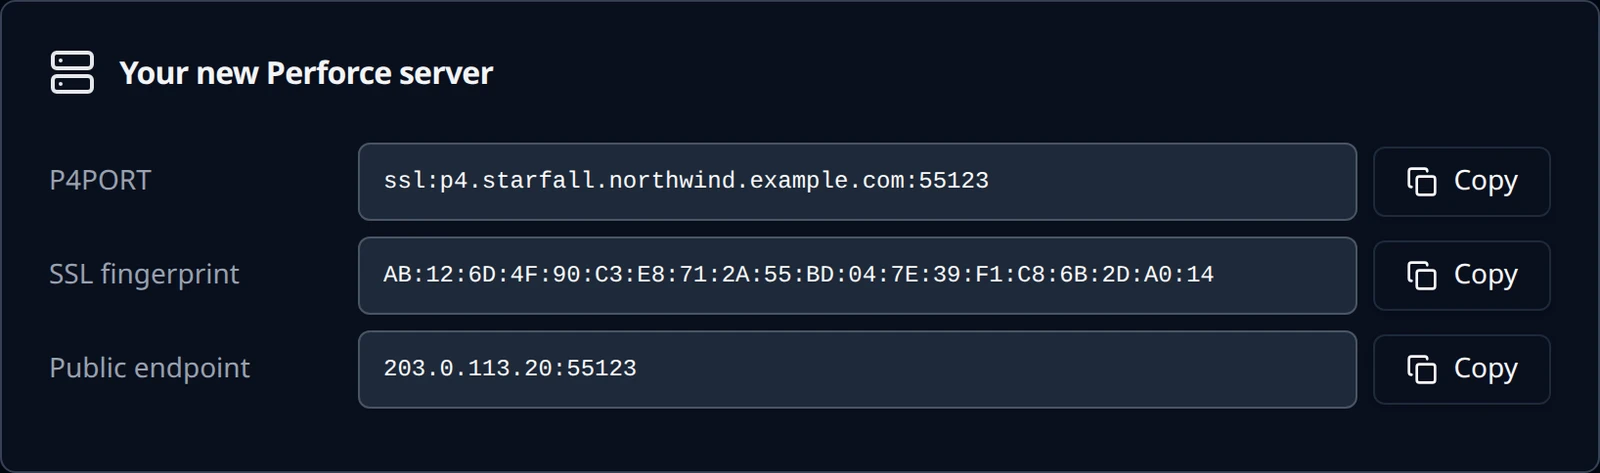
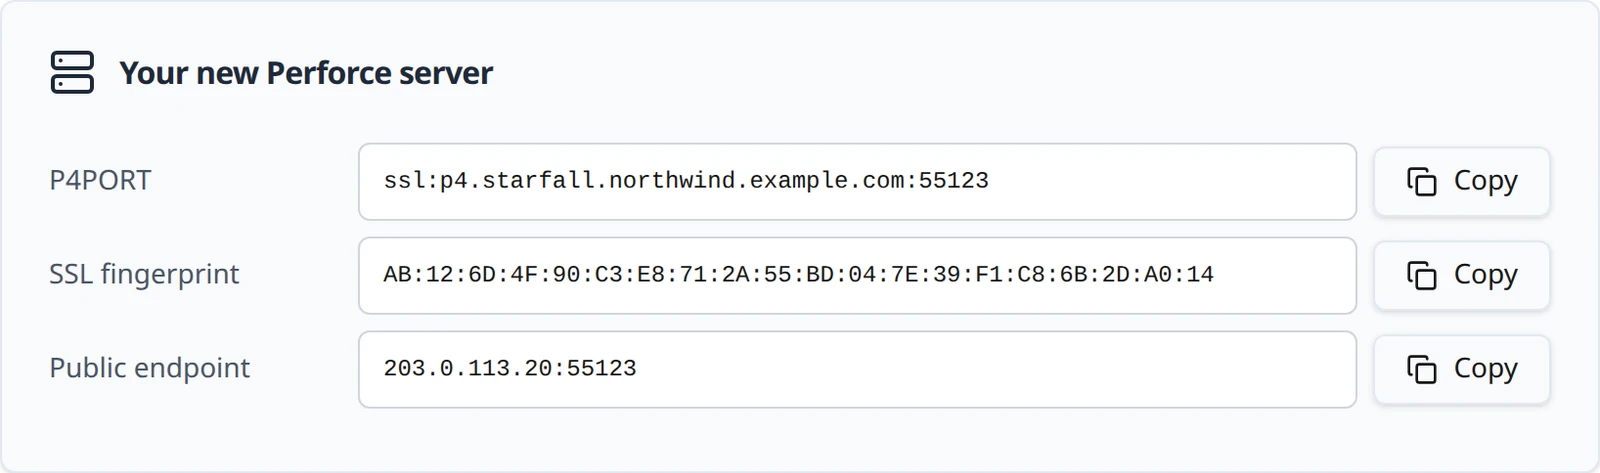
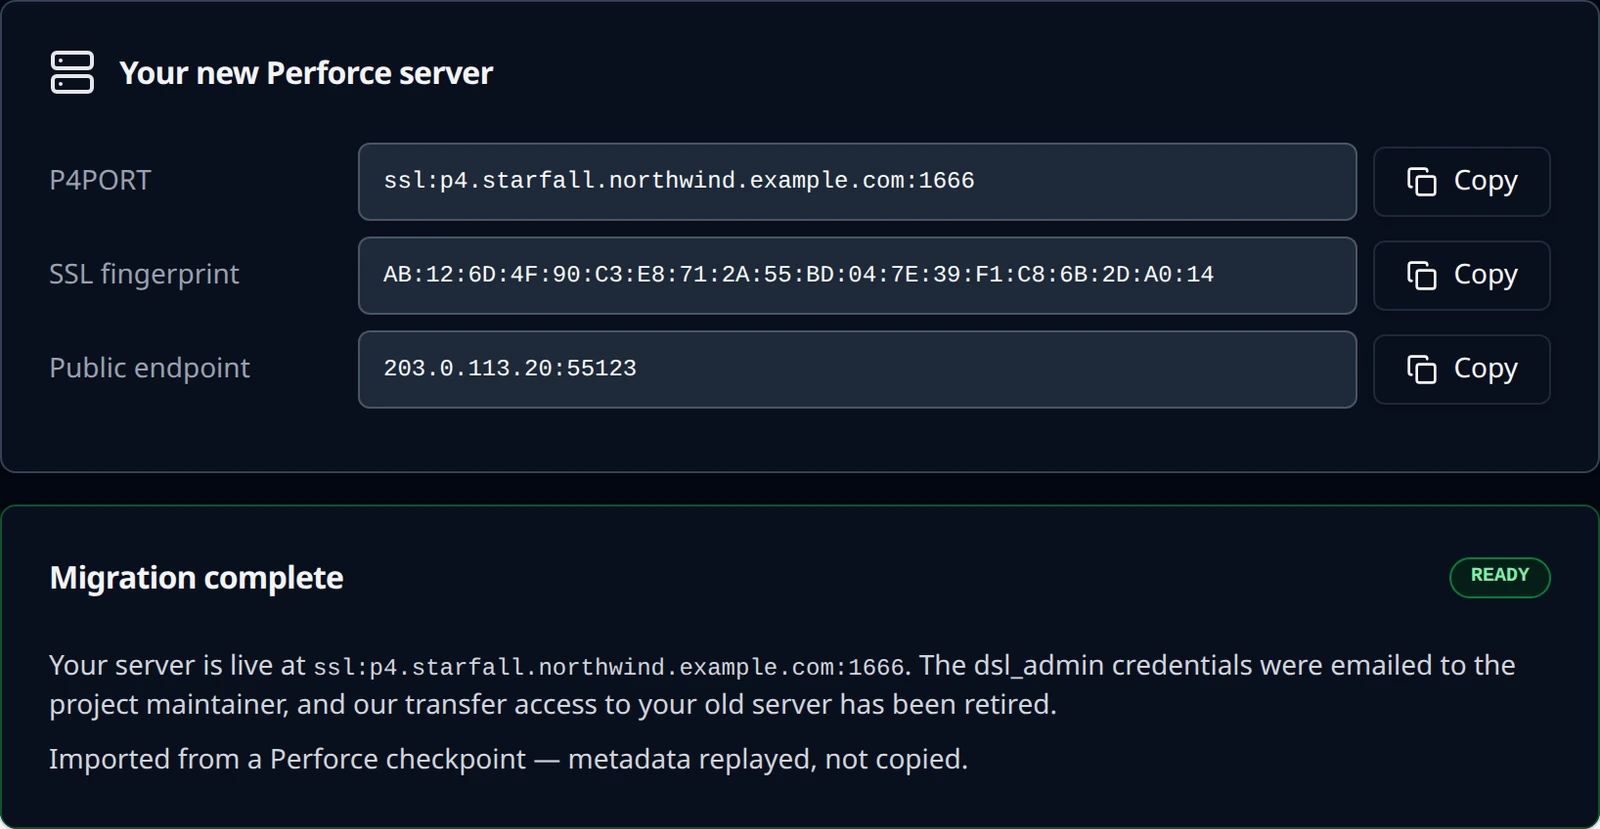
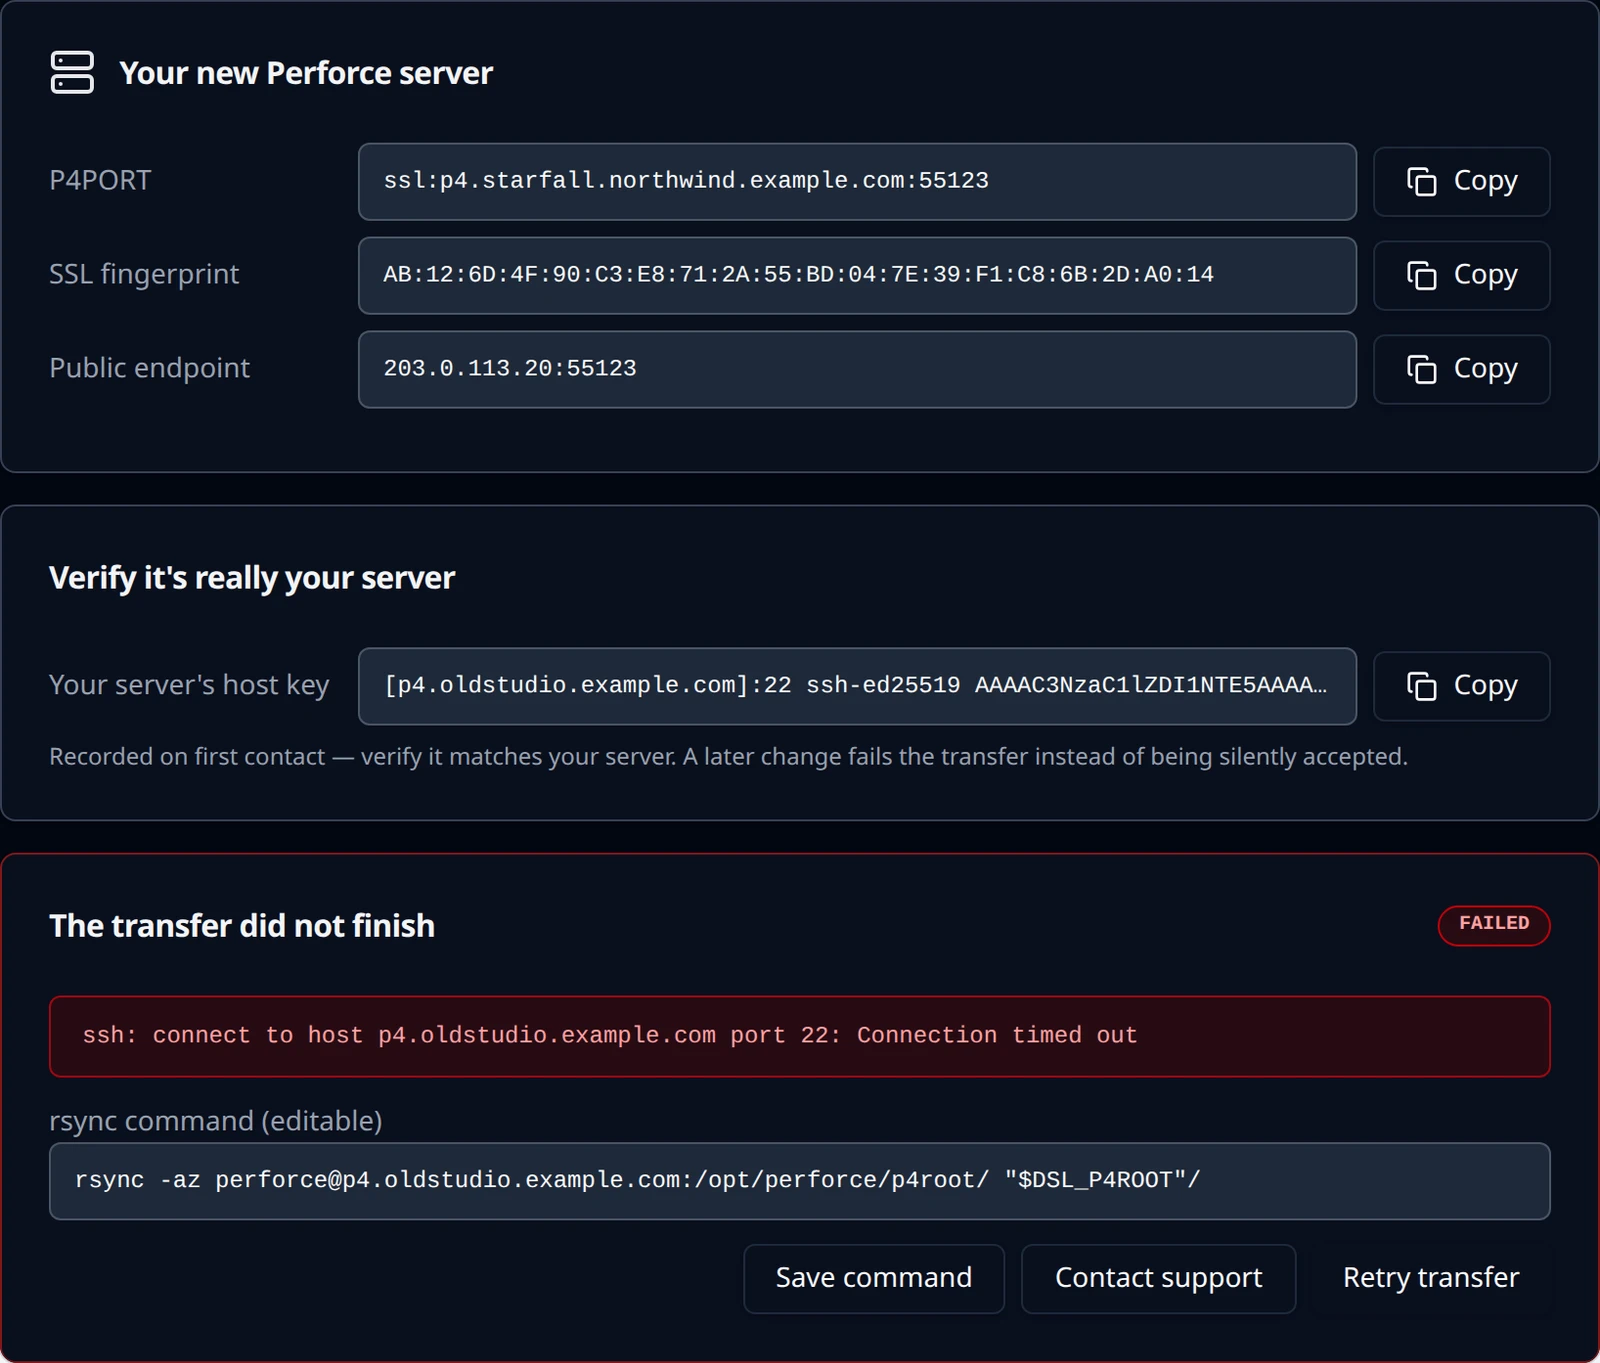
The migration panel has two cards. Your new Perforce server shows the address your server will have, with three rows and a Copy button each: P4PORT, SSL fingerprint and Public endpoint. During the migration the server is reachable on a temporary public port, 55123 in this guide; after finalize it moves to the server's permanent port, shown on the Project source control card (1666 in this guide).
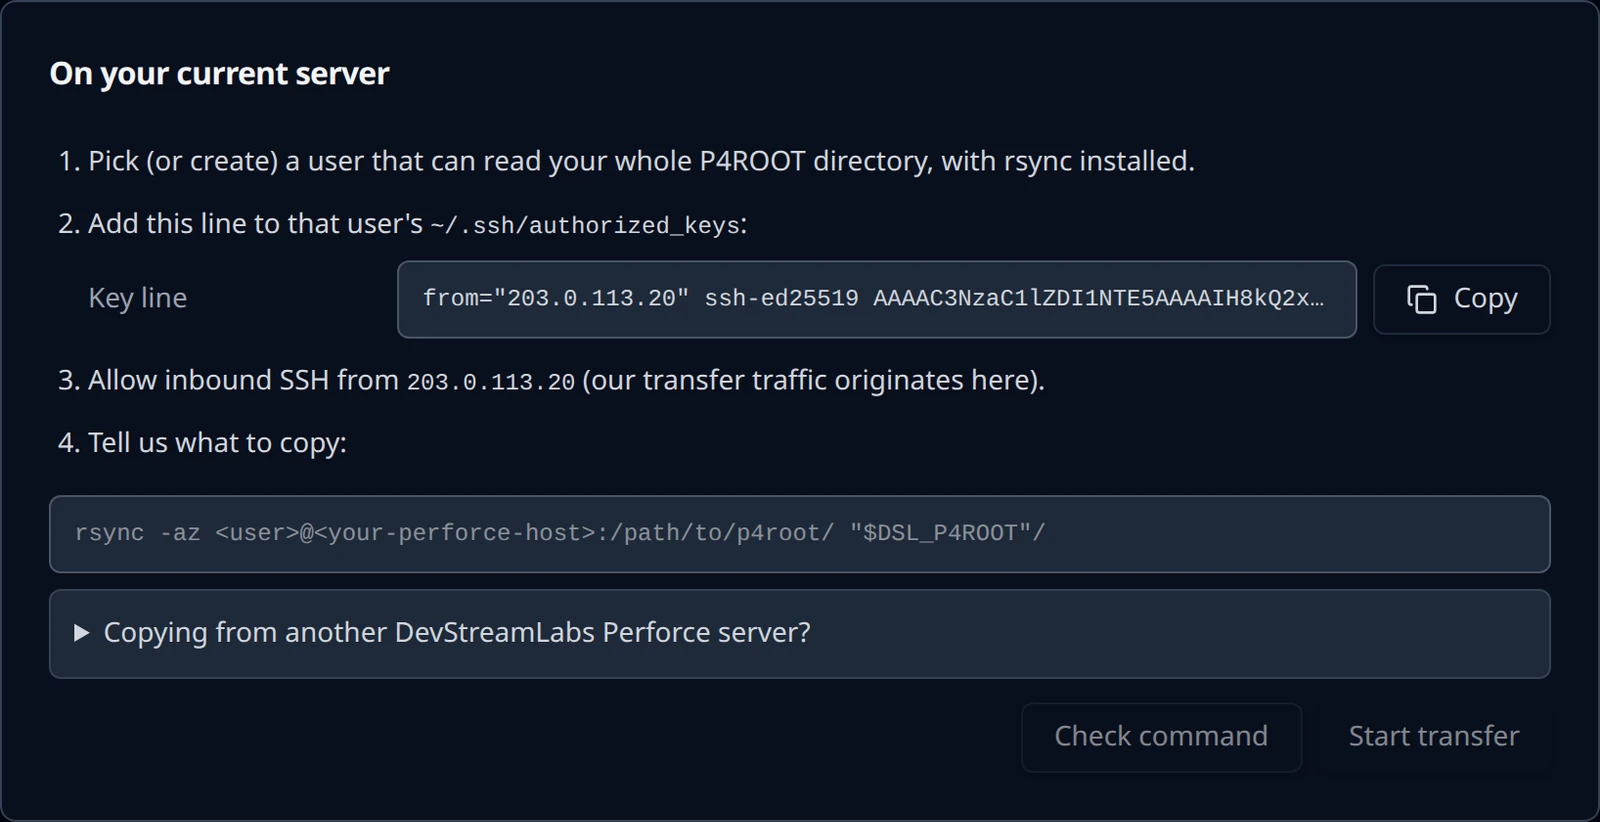
On your current server is a checklist of what we need from your side. We issue the SSH key, so you never handle a private key: you install only the public half, and the line we give you is already restricted to our transfer address.
Pick or create a user that can read your whole P4ROOT
The user needs read access to every file under
P4ROOT, andrsyncmust be on the server. A dedicated user such asperforceis typical.Add our key line to that user's authorized_keys
Copy the Key line from the panel and append it to
~/.ssh/authorized_keysfor that user. Keep thefrom="…"prefix: it limits the key to our transfer address.On your current server, as the transfer usermkdir -p ~/.ssh && chmod 700 ~/.ssh echo 'from="203.0.113.20" ssh-ed25519 AAAAC3NzaC1lZDI1NTE5AAAAI...example... dsl-p4-migration' >> ~/.ssh/authorized_keys chmod 600 ~/.ssh/authorized_keys
The panel shows the real key. The one above is shortened example text and will not authorise anything.
Allow inbound SSH from our transfer address
Open your firewall for SSH from the address shown in the checklist,
203.0.113.20in this guide. Our transfer traffic originates from that address only.
Tell us what to copy
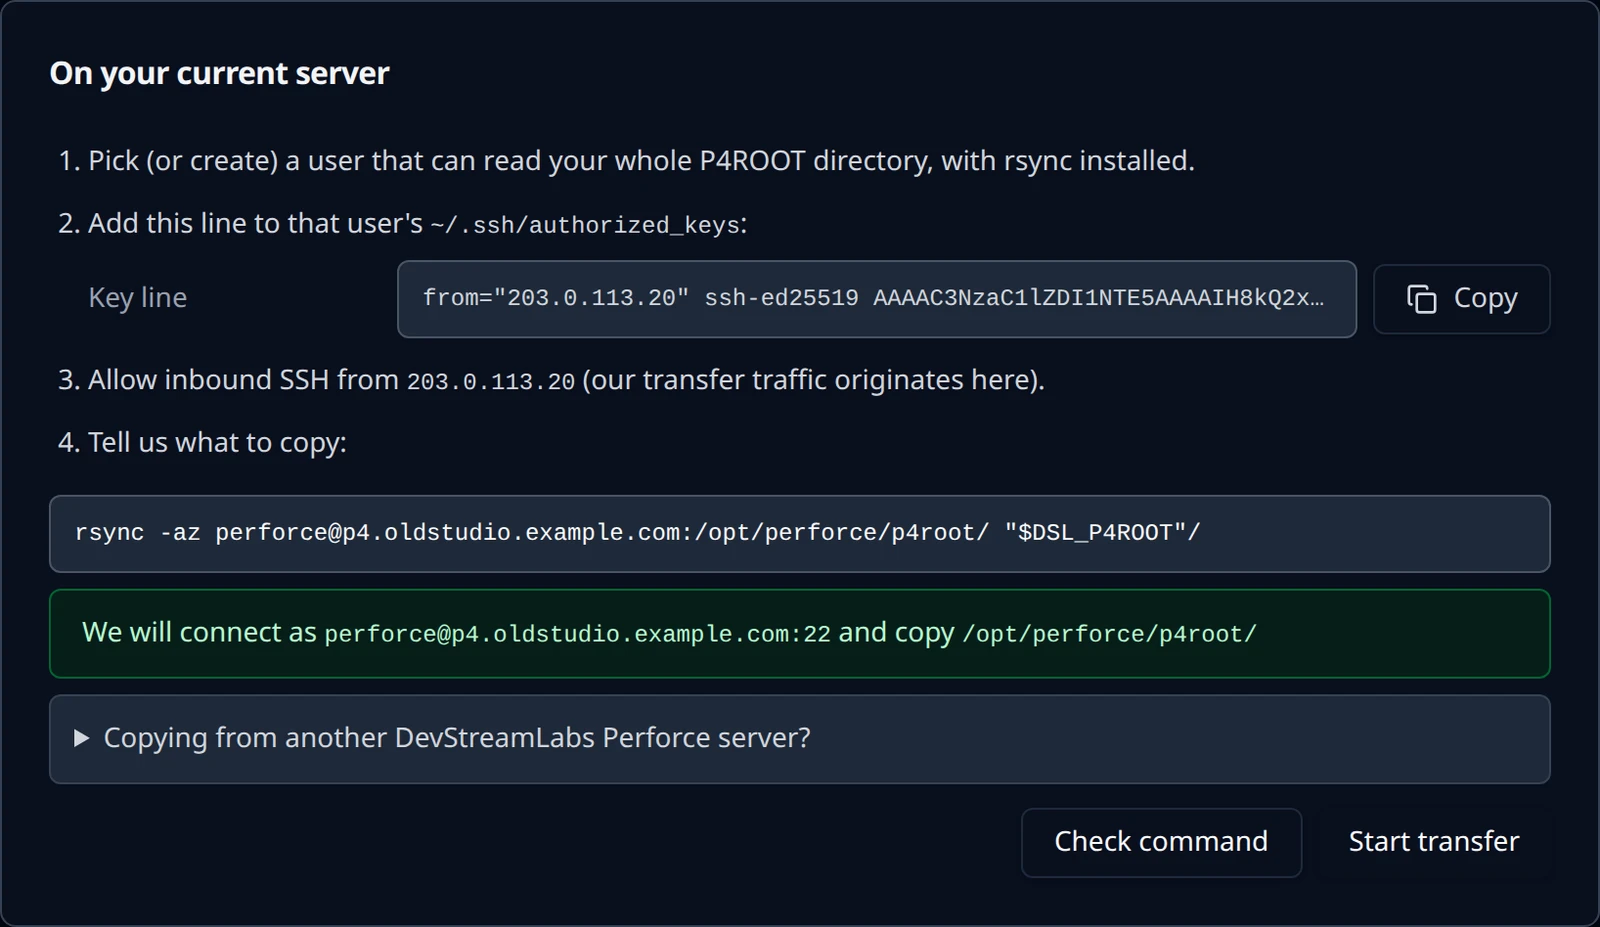
The last item in the checklist is the rsync command field. Paste the command you want us to run on your server. Its shape is fixed: an absolute source path on your server with a trailing slash, and the destination written literally as "$DSL_P4ROOT"/.
rsync -az [email protected]:/opt/perforce/p4root/ "$DSL_P4ROOT"/
rsync -az [email protected]:/backups/p4-checkpoint/ "$DSL_P4ROOT"/
rsync -az -e 'ssh -p 2222' [email protected]:/opt/perforce/p4root/ "$DSL_P4ROOT"/
| Rule | Why |
|---|---|
Source is user@host:/absolute/path/ with a trailing slash | The slash copies the contents of your directory into the new P4ROOT rather than nesting a directory inside it. |
Destination is exactly "$DSL_P4ROOT"/ | We substitute the new server's P4ROOT. Anything else is refused. |
A custom SSH port is given only as -e 'ssh -p N' | The SSH identity, known-hosts handling and batch mode are always ours; the only option we take from -e is the port. |
No -i, no password options, no --rsync-path, no --files-from | Authentication is the key you installed; options that read or write paths on our side, or that could modify your server, are refused with a precise reason. |
Ordinary flags such as -a, -z, --exclude and --bwlimit are fine | They are parsed and applied. Nothing you type is ever run through a shell. |
Choose Check command. If it is accepted the panel confirms what it understood, for example We will connect as perforce@p4.oldstudio.example.com:22 and copy /opt/perforce/p4root/, and Start transfer becomes available. If it is refused, the reason is shown next to the field in plain language; the full list is on Troubleshooting.
Choose Start transfer.
Watch the transfer
The panel becomes a progress monitor titled Sync #1 — copying your depot, with a status pill that reads In progress, an estimated percentage, bytes copied against the running estimate of the total, the transfer rate, an ETA and a file count. Progress is an estimate: rsync discovers files as it goes, so the total can grow while the copy runs.
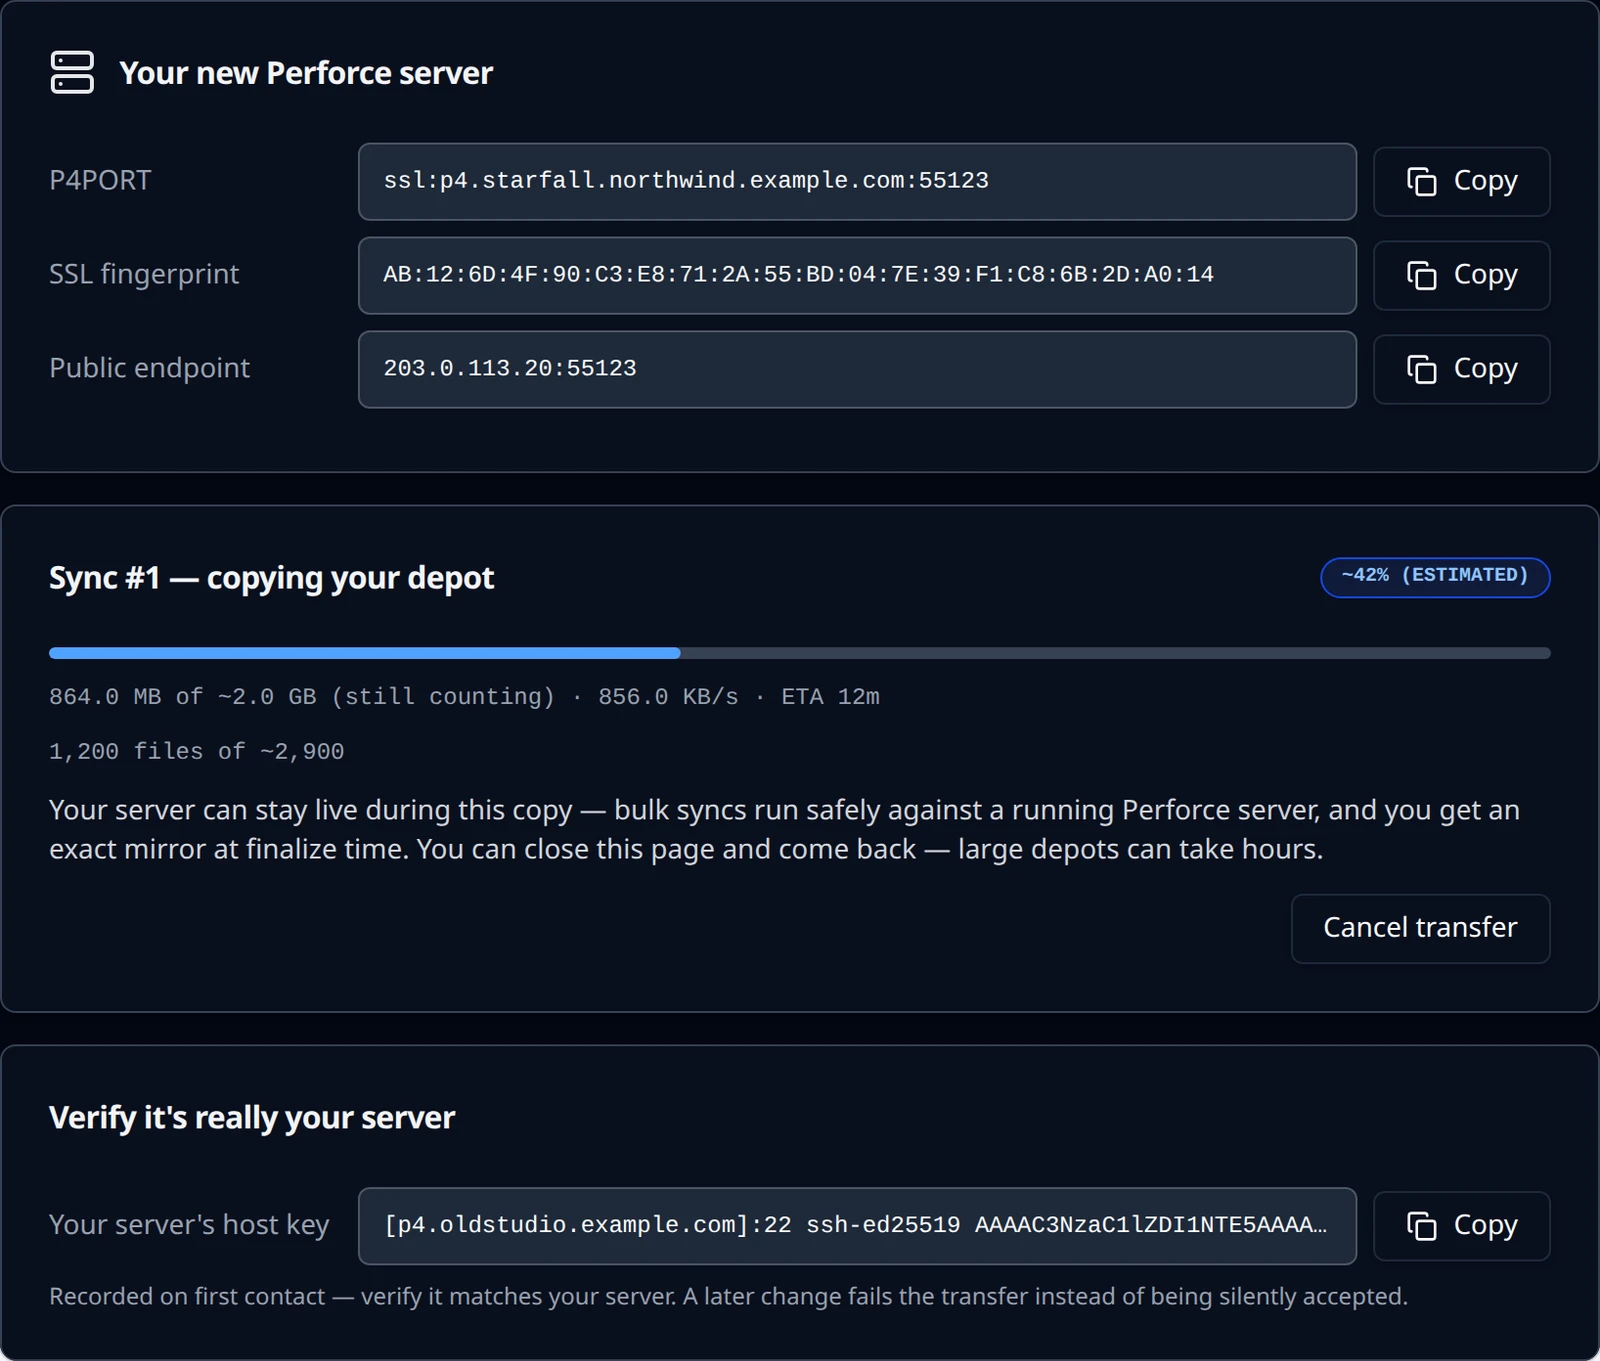
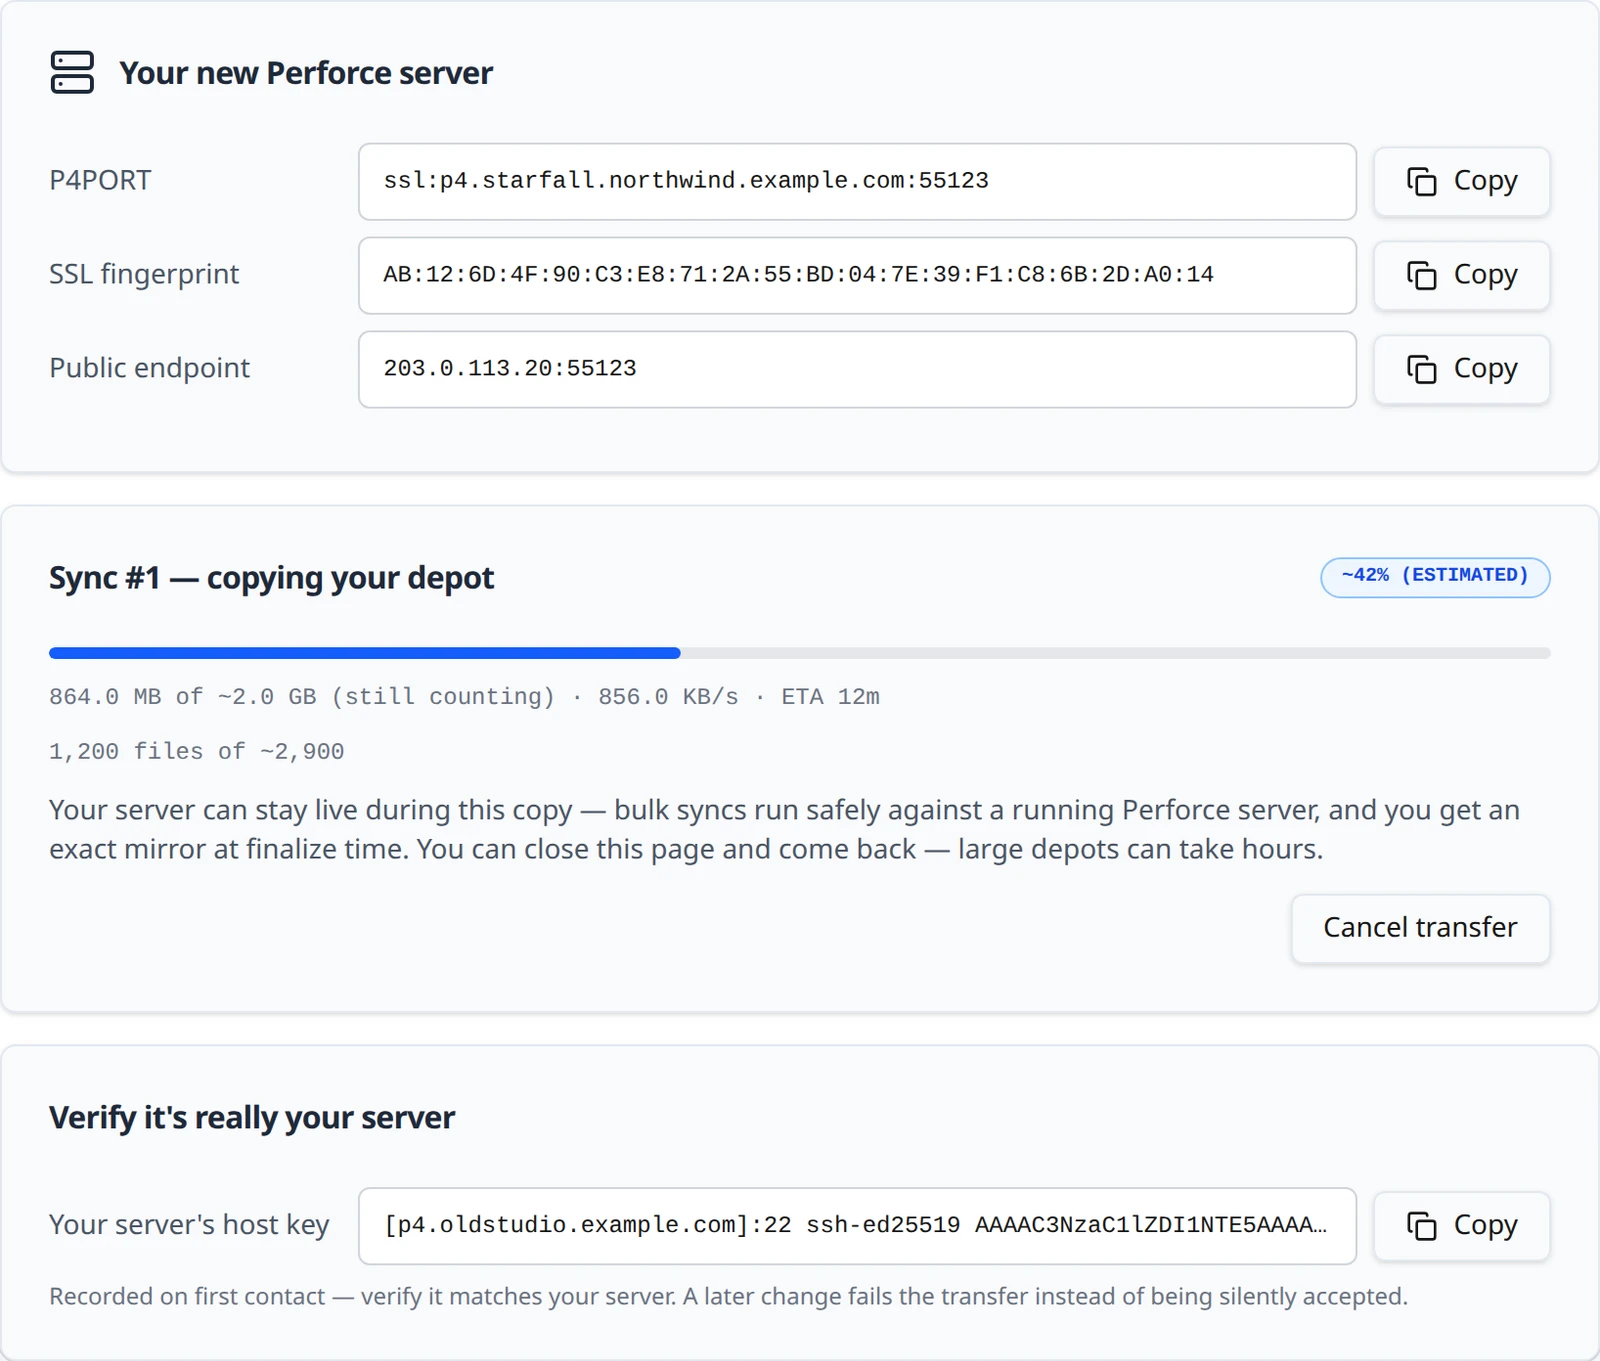
Your current server can stay live during this copy. Bulk syncs run safely against a running Perforce server, and the final delta at finalize time gives you an exact mirror. You can close the page and come back; large depots can take hours. If the network stalls the pill changes to Stalled — retrying and the transfer resumes on its own. Cancel transfer stops it; a cancelled sync can be started again.
A separate card, Verify it's really your server, shows Your server's host key as we recorded it on first contact. Compare it with your server; a later change fails the transfer rather than being silently accepted.
ssh-keyscan -t ed25519 p4.oldstudio.example.com
Copied: re-sync as often as you like
When a sync finishes the panel reads Your data is copied, with the sync number and time, and says how the source was recognised: Imported from a Perforce checkpoint — metadata replayed, not copied. or Imported as a raw copy of your P4ROOT.
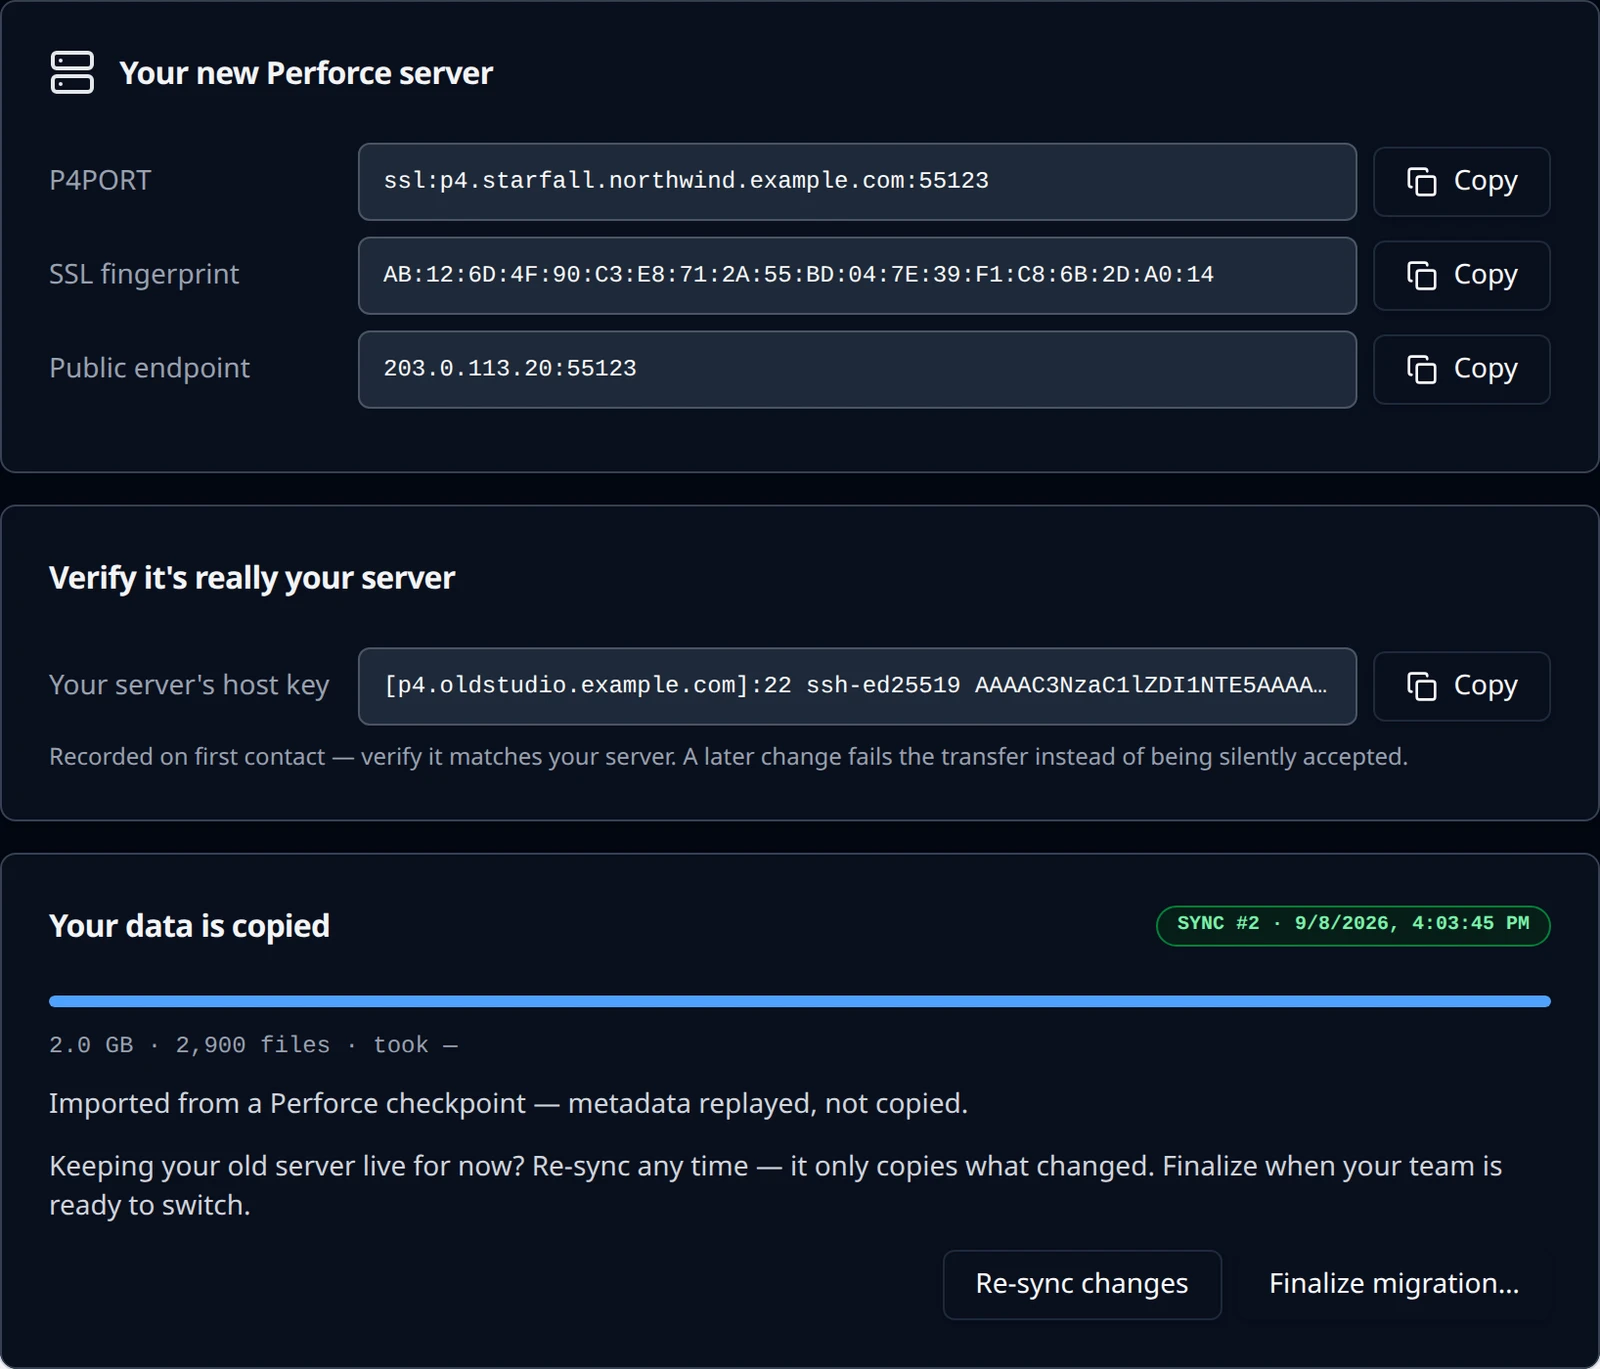
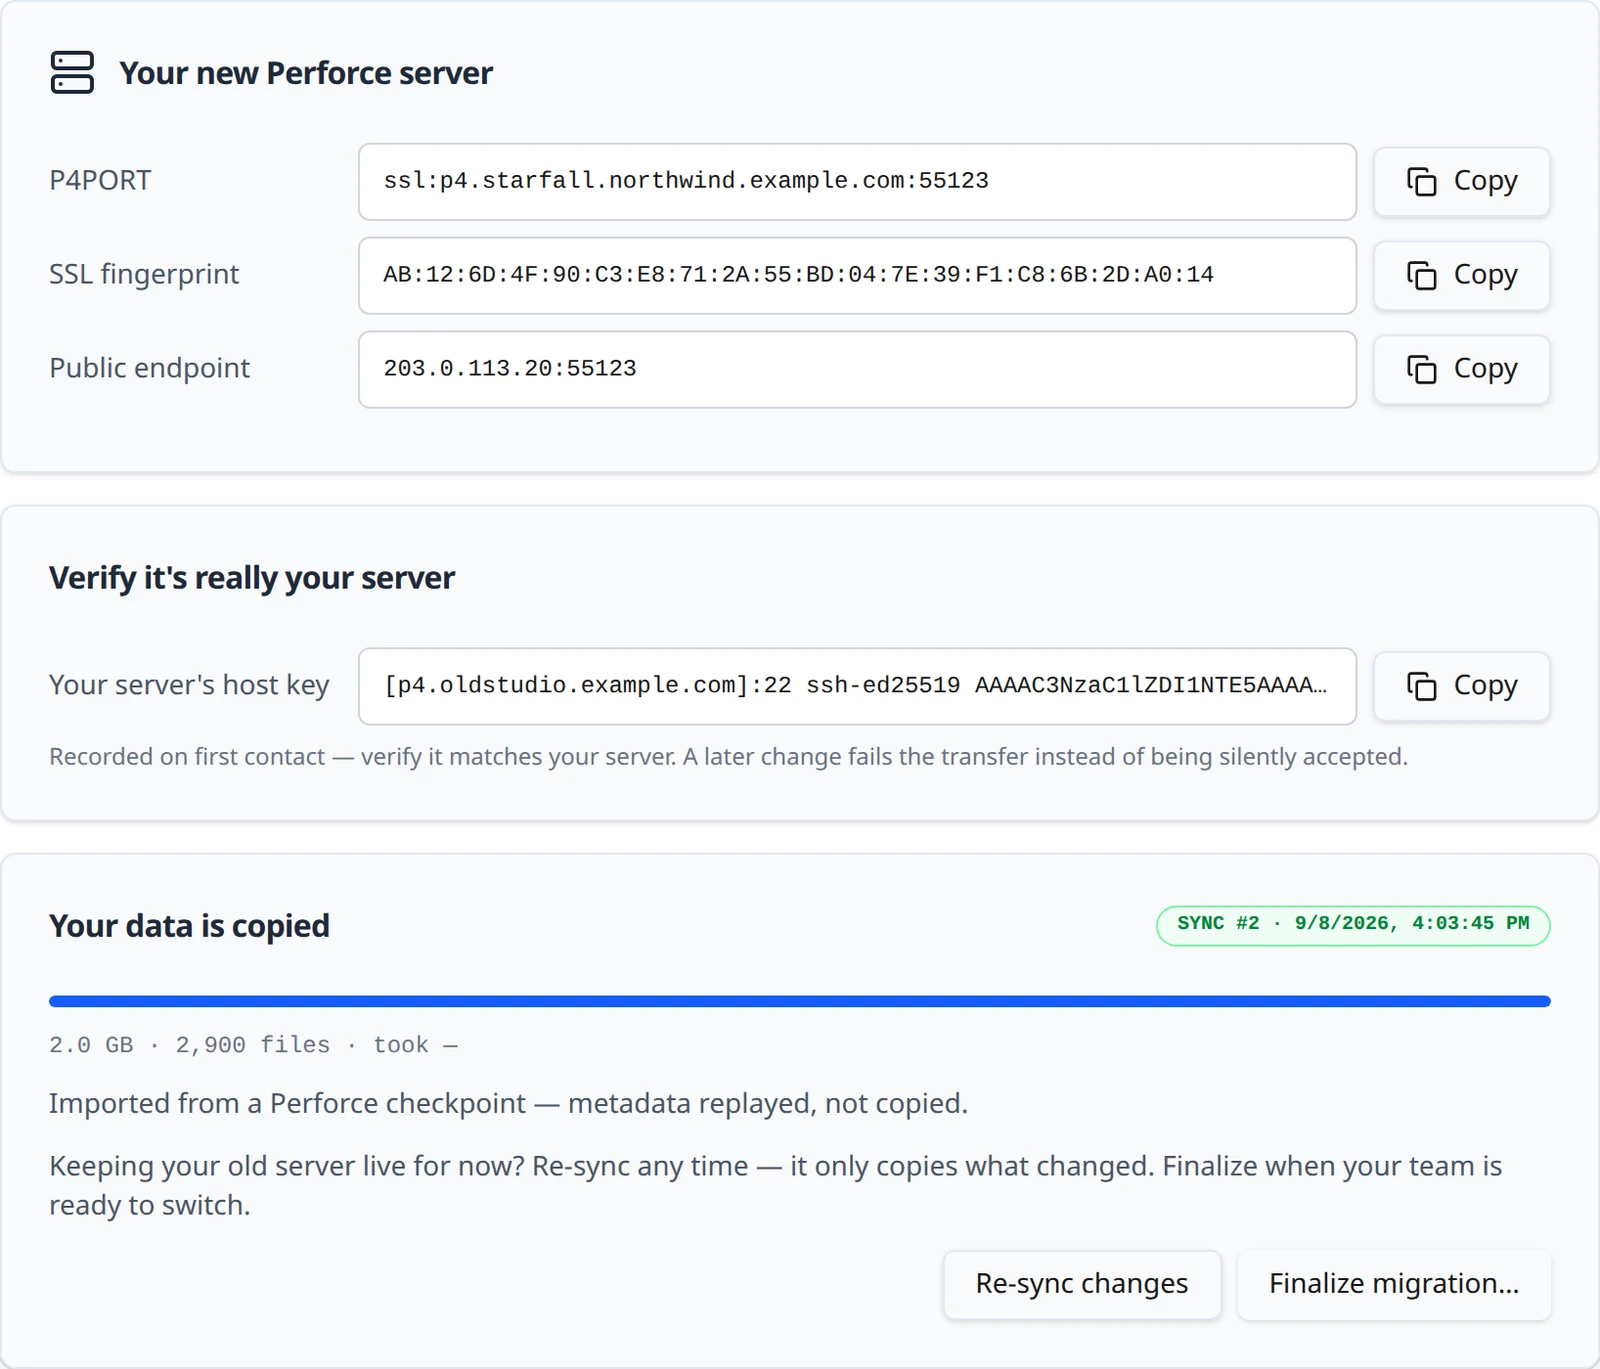
Keeping your old server live for now? Choose Re-sync changes any time. Each pass copies only what changed, so repeating it is cheap. Your team can keep submitting to the old server right up until you are ready to switch.
Finalize: the one-way door
Finalizing runs one last delta and then brings your new server online with your data. From that point the new server is the server. Before you choose it:
Announce a freeze and stop your current server
Nobody should submit after this point, because nothing submitted to the old server after the final sync is copied. Stop
p4dwithp4 admin stopor your service manager.Checkpoint source? Take one more checkpoint from the stopped server
If you are migrating from a checkpoint backup rather than a raw
P4ROOTcopy, take a fresh checkpoint from the stopped server so the final sync carries the last changes.Choose Finalize migration…
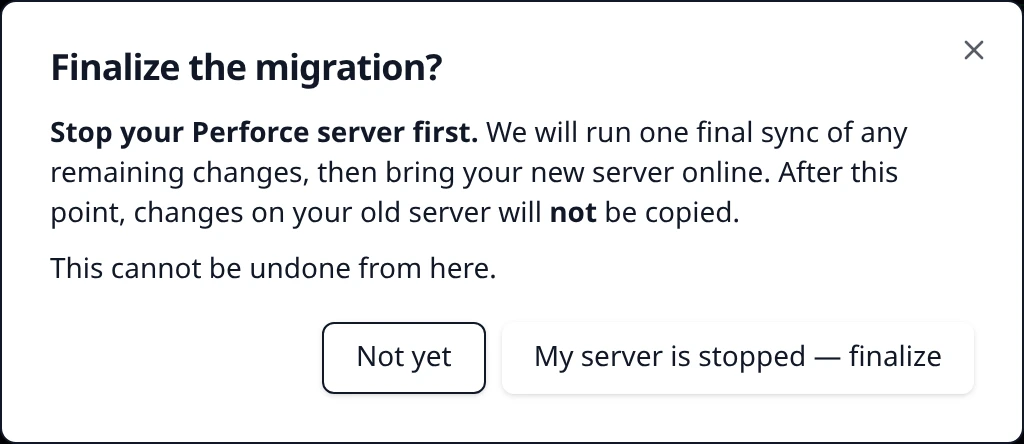
A dialog titled Finalize the migration? asks you to confirm. It reads: Stop your Perforce server first. We will run one final sync of any remaining changes, then bring your new server online. After this point, changes on your old server will not be copied. Choose My server is stopped — finalize, or Not yet to go back.
The panel then shows Final sync followed by Bringing your server online, while admin accounts, security settings and Swarm are set up. This stage cannot be cancelled.
Complete
The panel reads Migration complete with a Ready pill: Your server is live at ssl:p4.starfall.northwind.example.com:1666. The dsl_admin credentials are emailed to the project maintainer, and our transfer access to your old server is retired automatically.
| After finalize | What to expect |
|---|---|
| Your users and passwords | Carried over from your data. Existing users sign in as before. |
dsl_admin | Added as a super user, or reset if a user of that name already existed. The password is in the email. |
| Helix Swarm | Reachable now. It was deliberately offline during the migration. |
| Old Swarm triggers | Triggers on your data that pointed at your previous Swarm are removed when the server is adopted. |
| Connection details | The hosting page now shows the Project source control card, with the server's permanent port. |
If the hosting page still shows the migration panel for a moment after this, you may see Almost there (Your migration finished but the server details are still publishing. Please refresh in a moment.). Refresh the page.
If it fails or you cancel
A transfer that stops on an error shows The transfer did not finish with the real error text from the transfer, for example ssh: connect to host p4.oldstudio.example.com port 22: Connection timed out. The command becomes editable again: fix it, choose Save command, then Retry transfer. Contact support opens an email to us with the context attached. The common causes and fixes are on Troubleshooting.
A sync you cancelled shows Transfer cancelled and can be started again the same way. If the panel shows Migration cancelled, the migration has ended and the new server was never brought online; your old server is untouched.
Copying from another Dev Stream Labs project
You can seed a new project's server from a Perforce server hosted on another Dev Stream Labs project. Open the disclosure Copying from another DevStreamLabs Perforce server? in the checklist. On the source project's Backup & Export page, enable export using this new server's key line and transfer address; then copy its Endpoint host, Port and Backup user into the three fields here and choose Build the command. It produces a command in the accepted shape:
rsync -az -e 'ssh -p 42022' [email protected]:/p4root/ "$DSL_P4ROOT"/
What we do on your behalf
- We mint an Ed25519 key pair for this migration alone. You install the public half; we hold the private half.
- Nothing you type is executed as a shell command. The platform parses your
rsynccommand into a typed specification and rebuilds it; options that could read or write paths on our side, or modify your server, are refused up front. - Transfers run with a fixed, safe set of flags; SSH runs in batch mode with only our identity.
- Your server's host key is recorded on first contact and shown to you. If it changes later, the transfer fails rather than continuing.
- Transport errors are retried automatically, up to five times, and a partial file resumes where it stopped.
- When the migration completes, the private key is deleted from our systems. A finished migration leaves no standing credential to your server.
Something out of date or unclear? Email [email protected].