Connect a GitHub repository
There are two ways to connect a GitHub repository. The GitHub App path installs the DevStreamLabs Git GitHub App on your account or organization and lets you pick a repository from a list, with no token and no webhook to manage. The token path names one repository and a Personal Access Token, and you create the webhook in GitHub from a URL and secret the app shows you. Both end on the same repository card with the same branch table.
Which method
Use the GitHub App unless you cannot. It is the path that needs no credential from you and no webhook step, and the platform can see every repository the App was granted. Use the token path when the App cannot be installed on the account that owns the repository, for example an organization whose admins do not allow third-party Apps.
| GitHub App | GitHub (token) | Bitbucket Cloud | Diversion (beta) | |
|---|---|---|---|---|
| You provide | An App install, then you pick a repository. | Username, repository and a Personal Access Token. | Workspace and an API token. | Server URL, API token and the repository name. |
| Repositories you can pick | Any the App can see. | One you name. | Listed after Load repositories. | One you name. |
| Webhook | Created for you. | You create it, from Manage Webhook. | You create it, from Manage Webhook. | You create it. |
| Delivery is verified | No signature check today. Deliveries are matched to your App installation and repository. | No signature check today. | No signature check today. | No signature check today. |
| Branch list in the app | Yes. | Yes. | Yes. | No. You type the name. |
| Pushes to a branch you have not added | Recorded as a notice. | Recorded as a notice. | Acknowledged and dropped. Nothing is shown in the app. | Rejected, not recorded. |
| Version from releases | Yes. | No. | No. | No. |
If the form has a Personal Access Token field, you also create the webhook. The GitHub App path has neither.
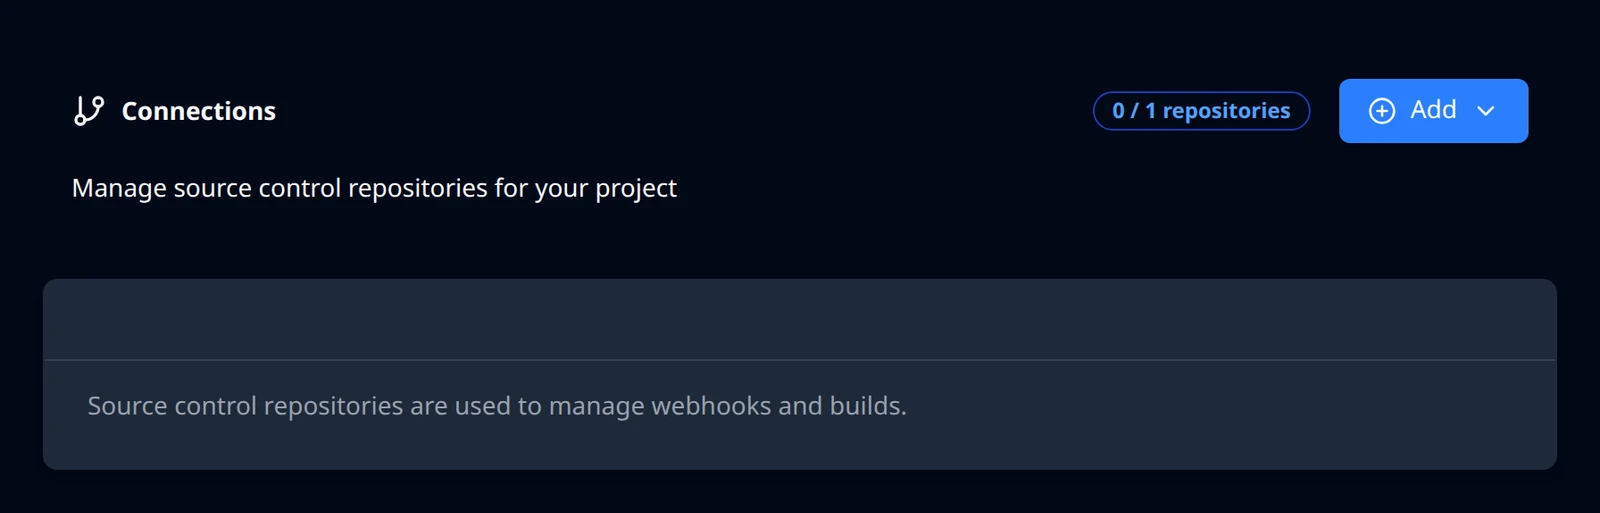
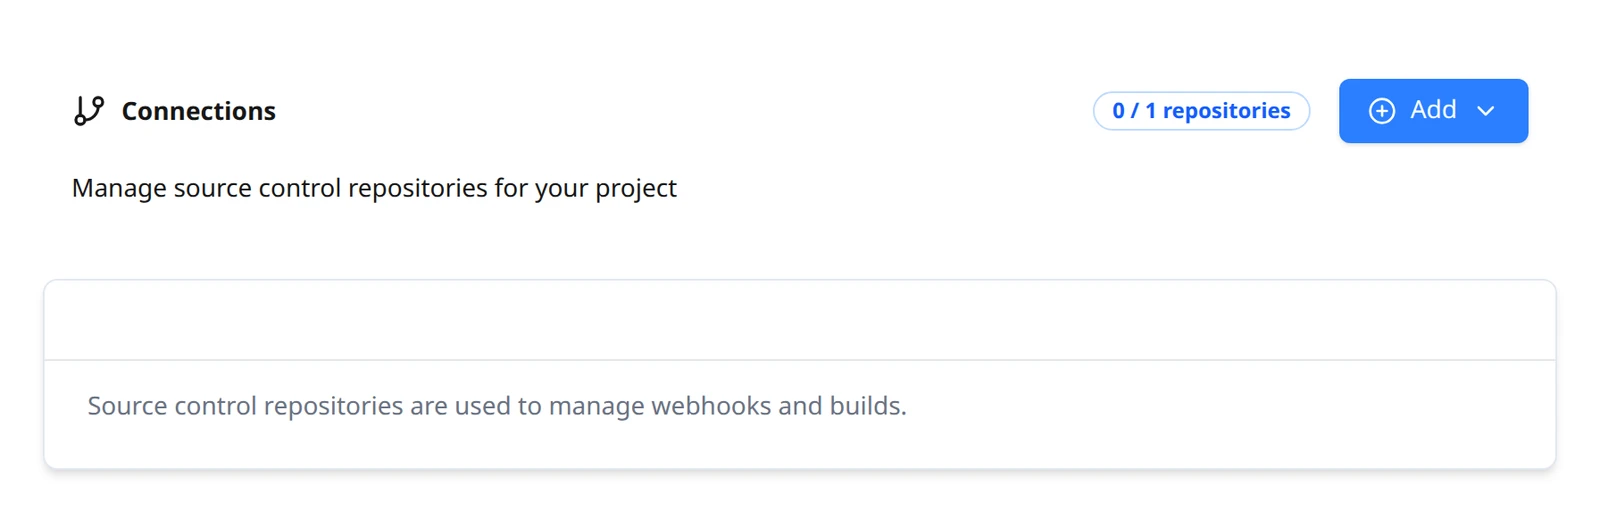
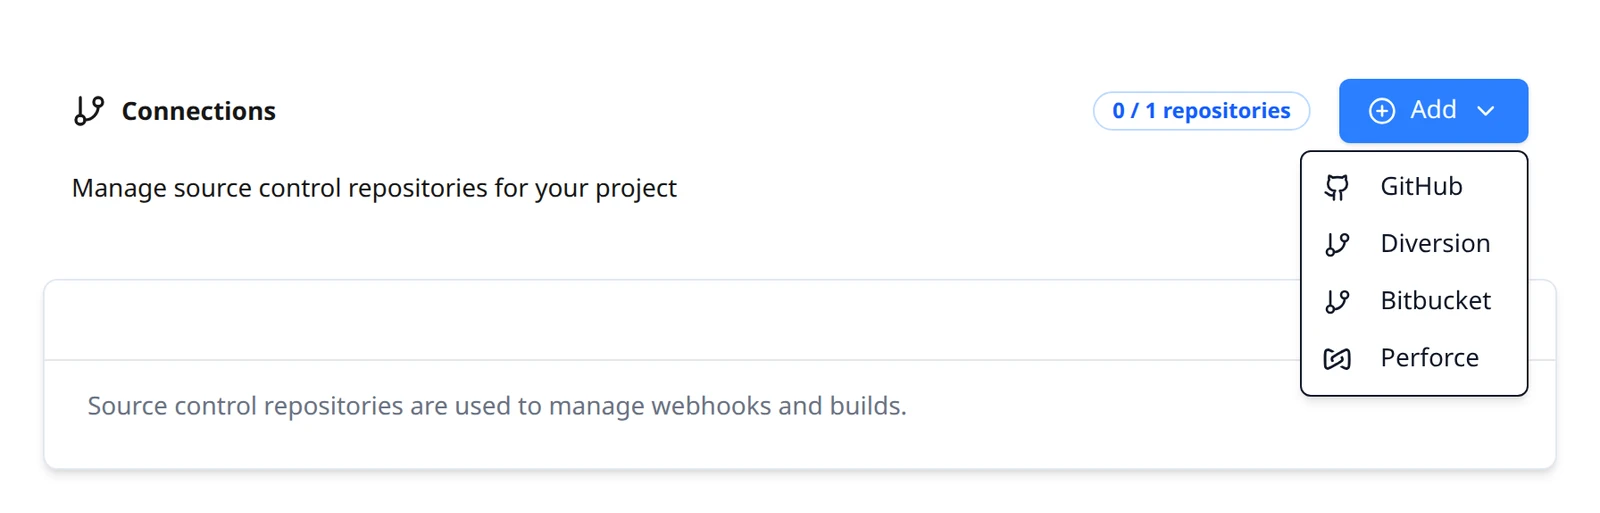
Both paths start on Build Stream → Source Control Connections. The page is headed Connections, with a counter such as 0 / 1 repositories, the line Manage source control repositories for your project, and an Add button. The counter is the one-repository rule: a project holds one repository today, and once it has one the page adds Maximum of 1 repository allowed and disables Add.
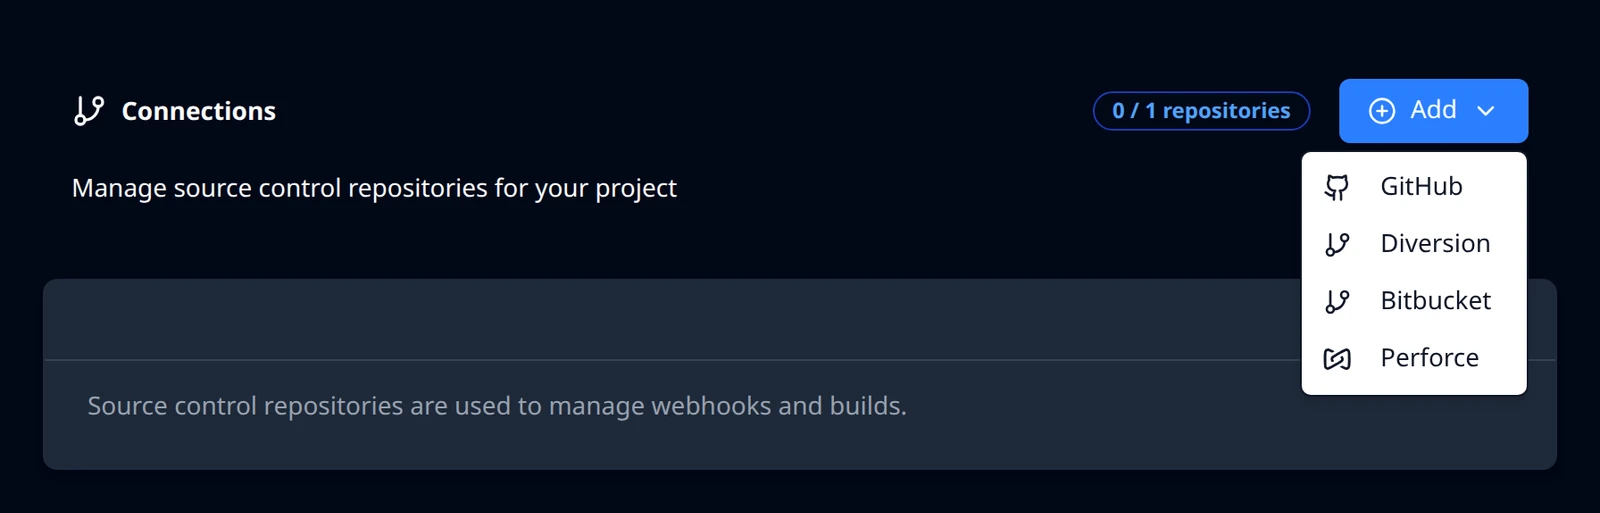
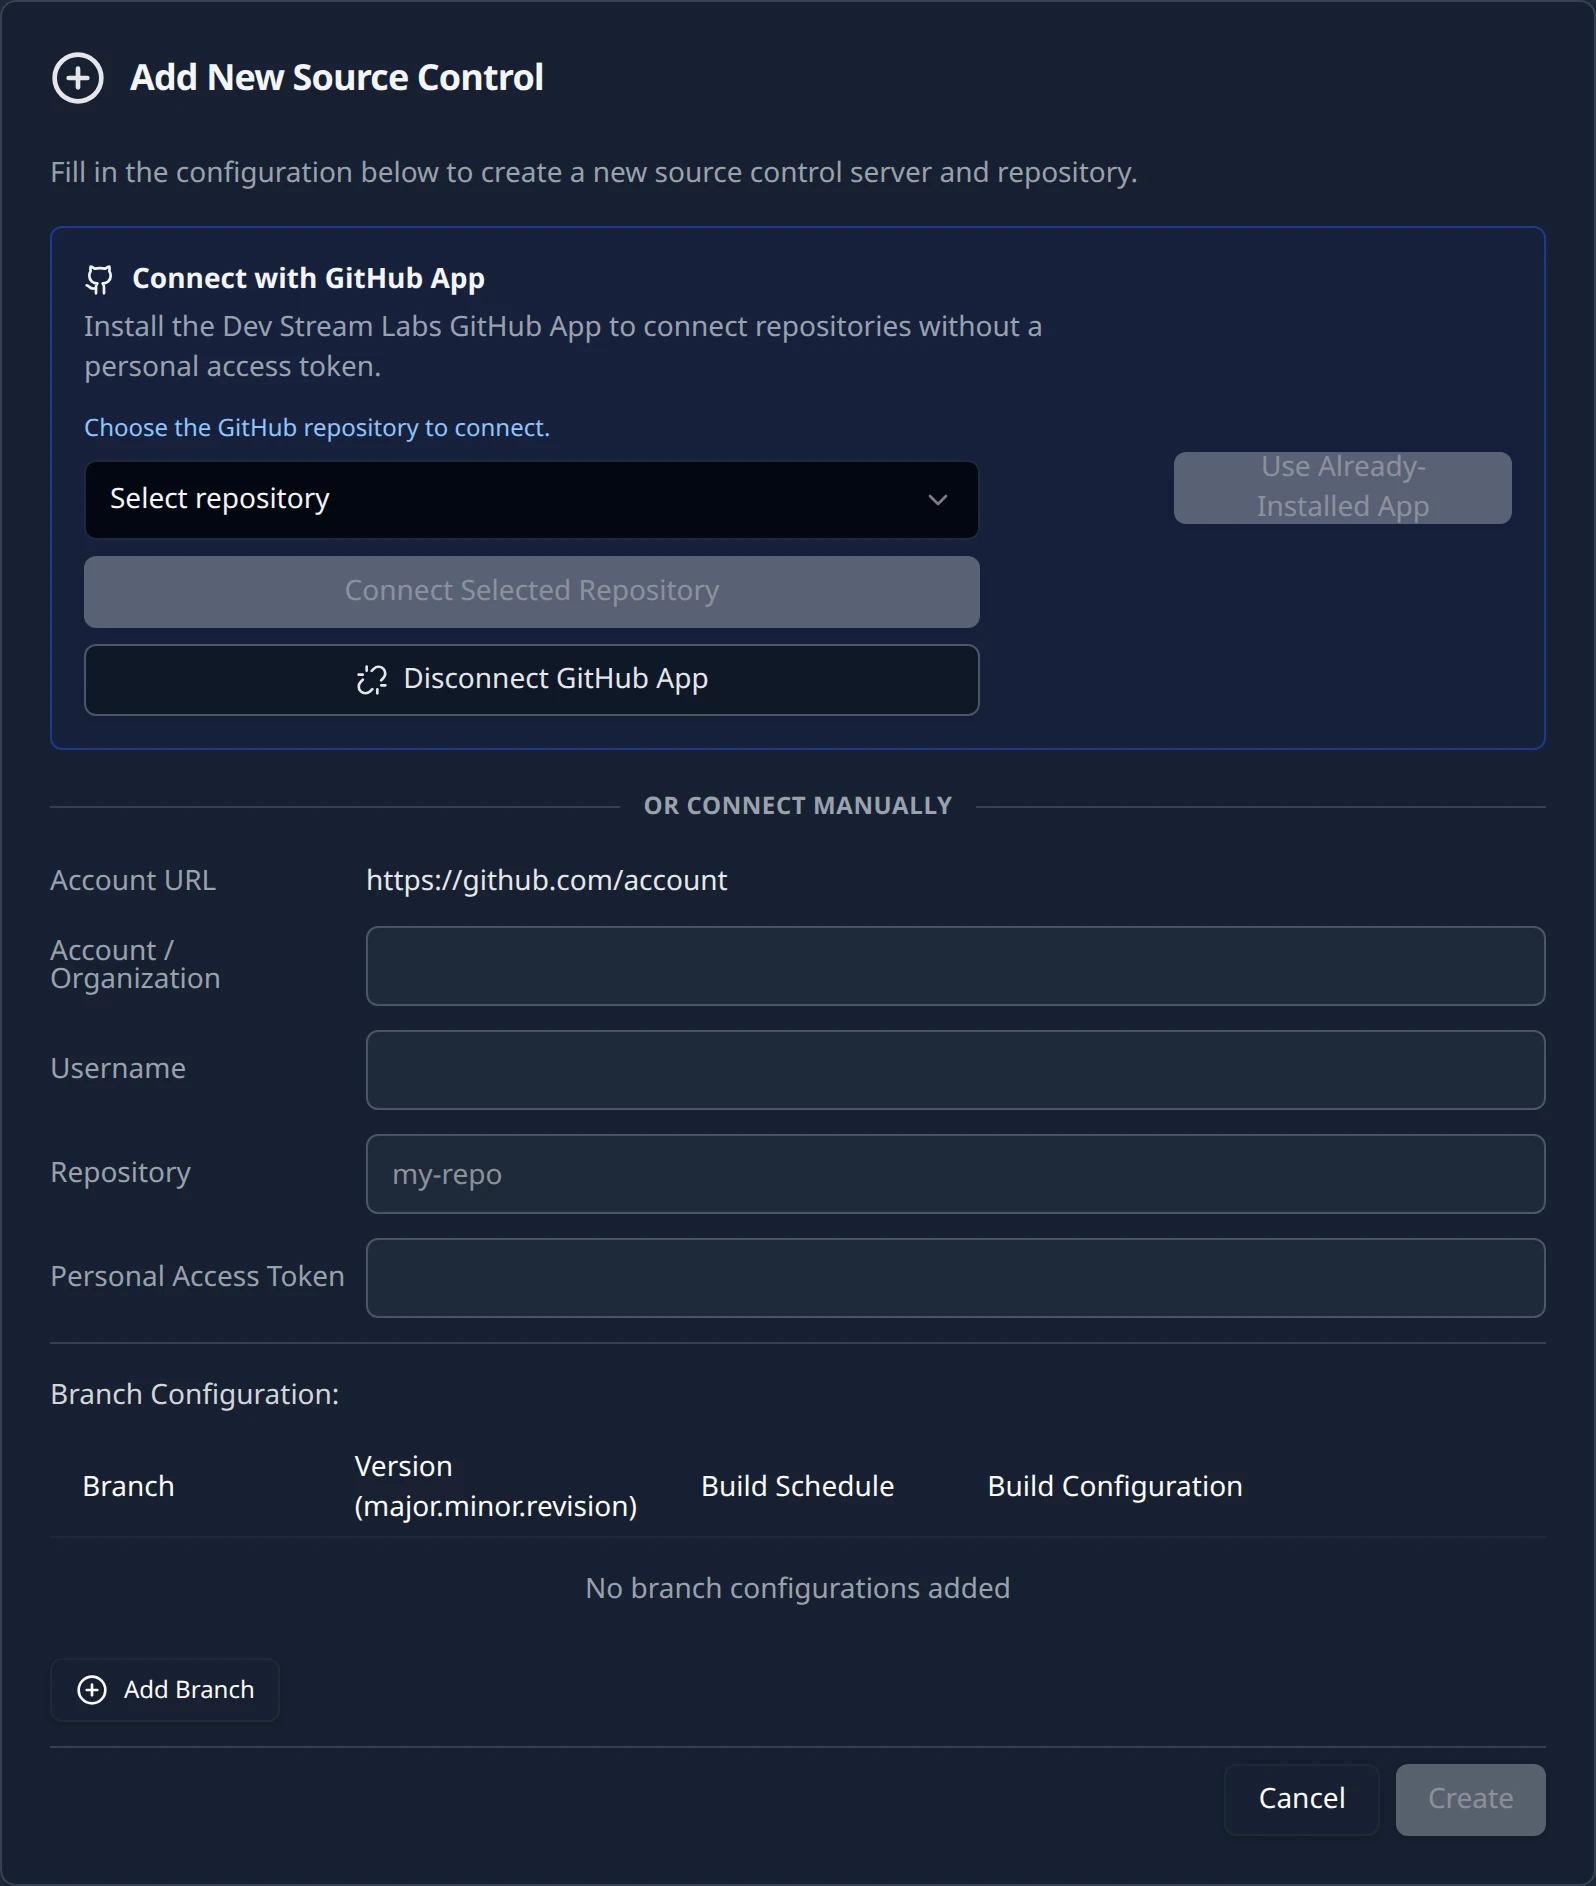
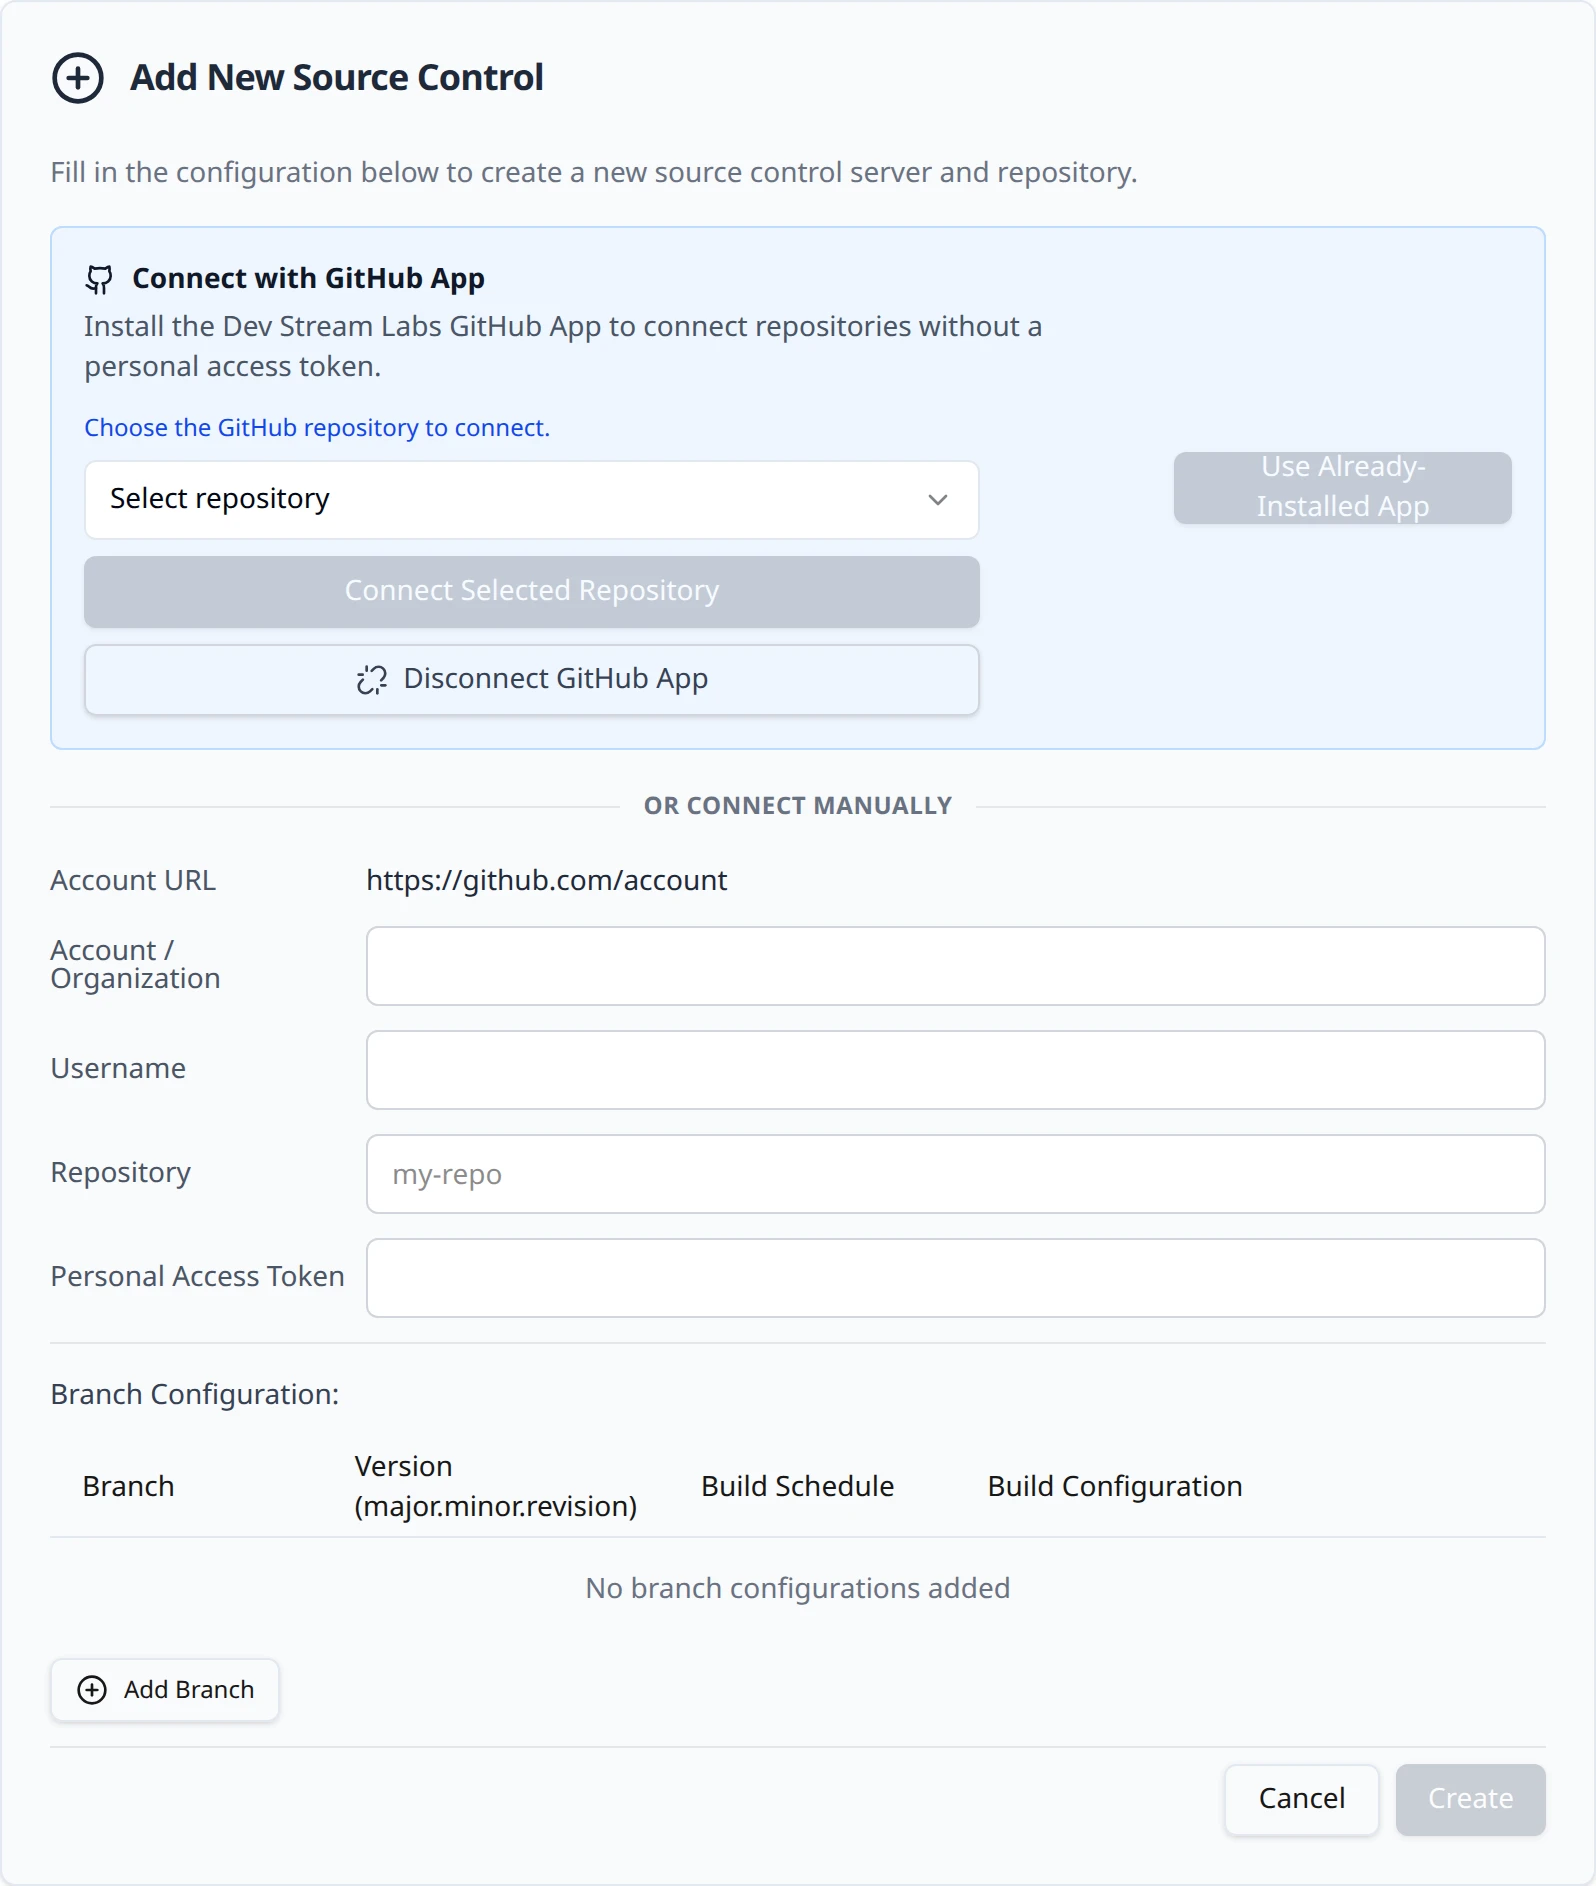
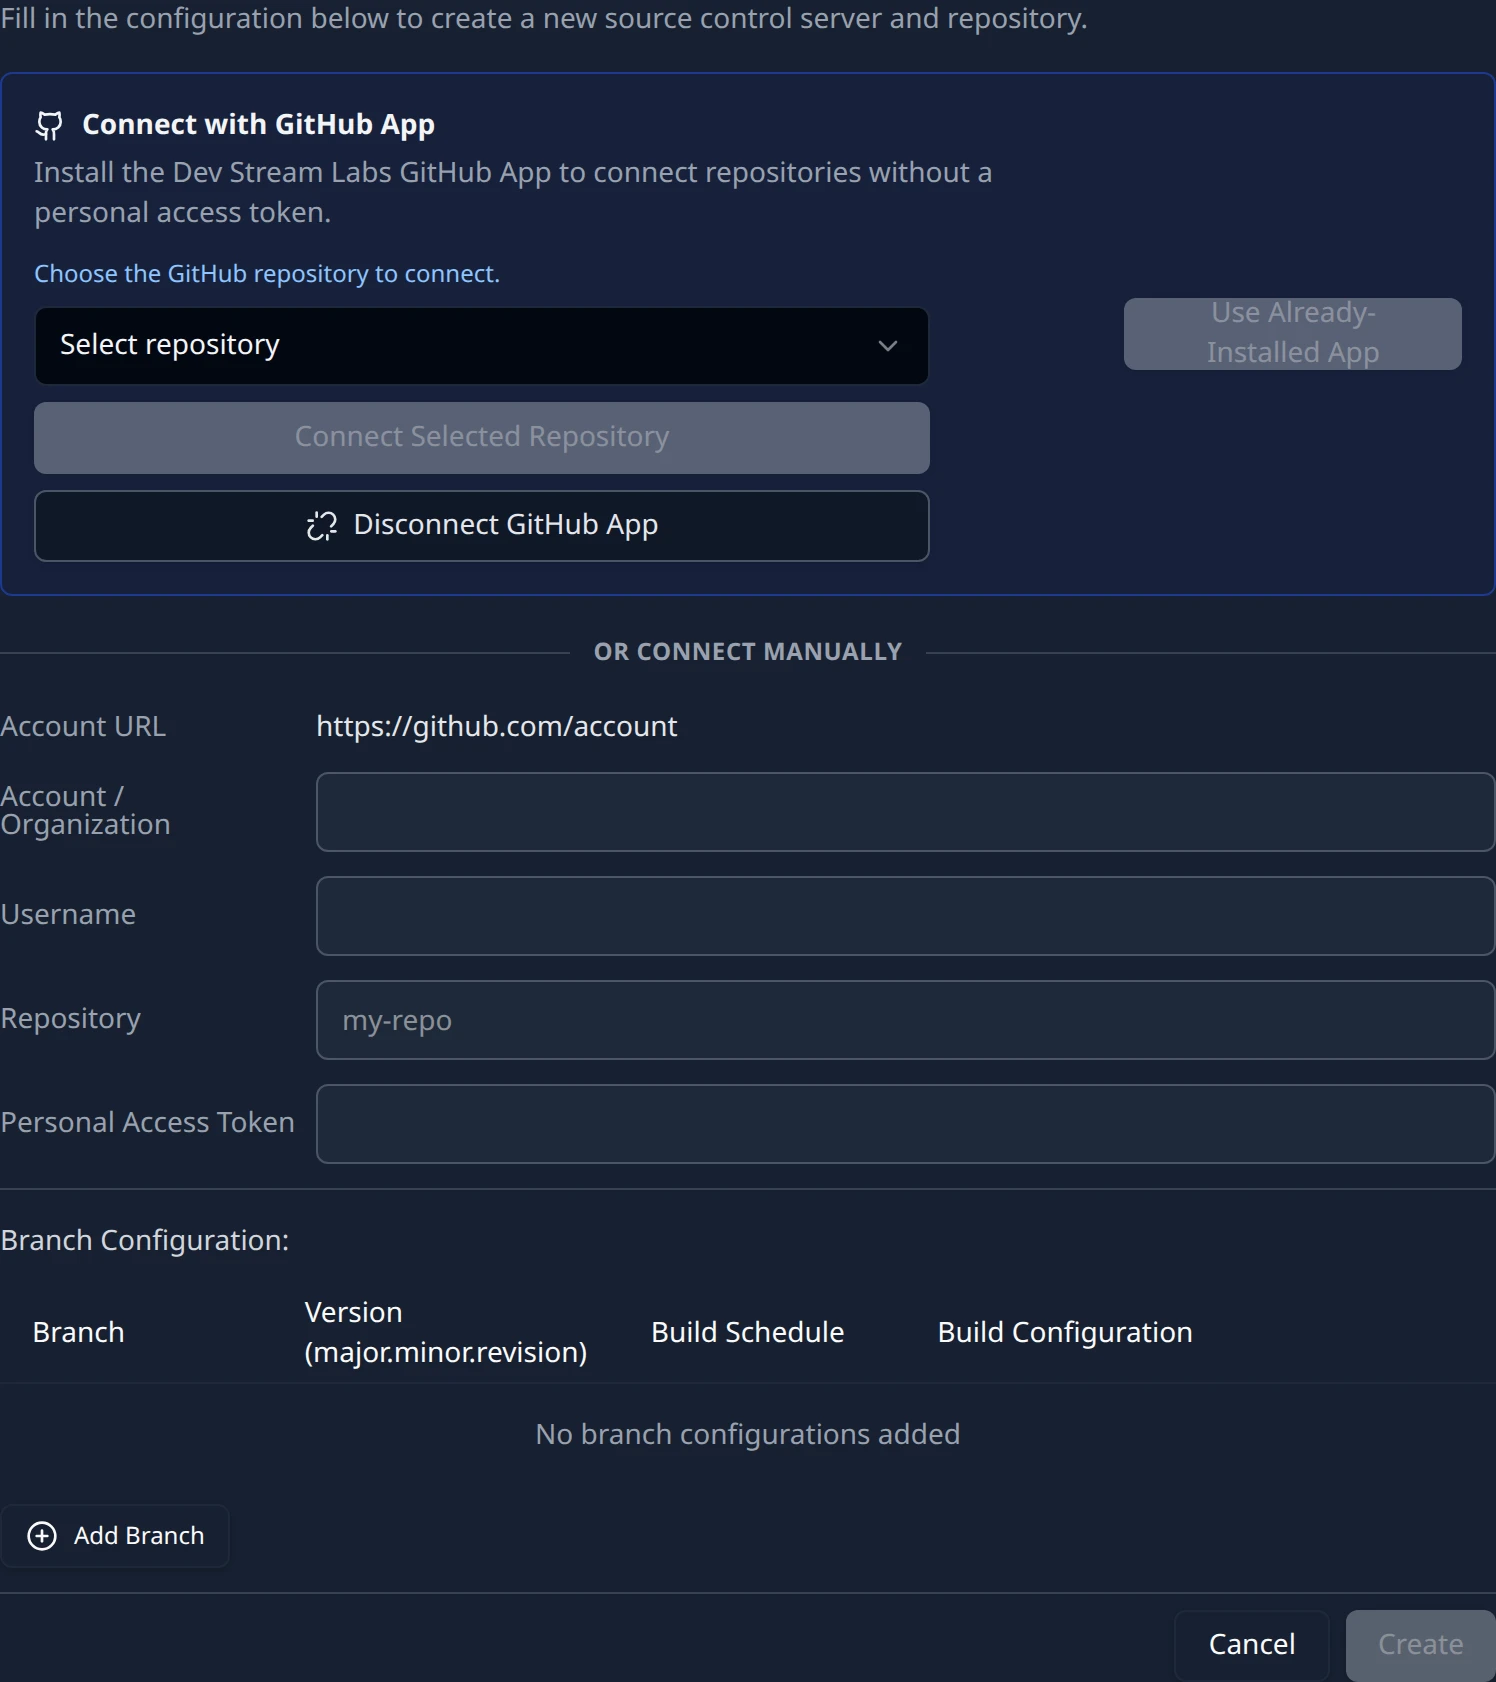
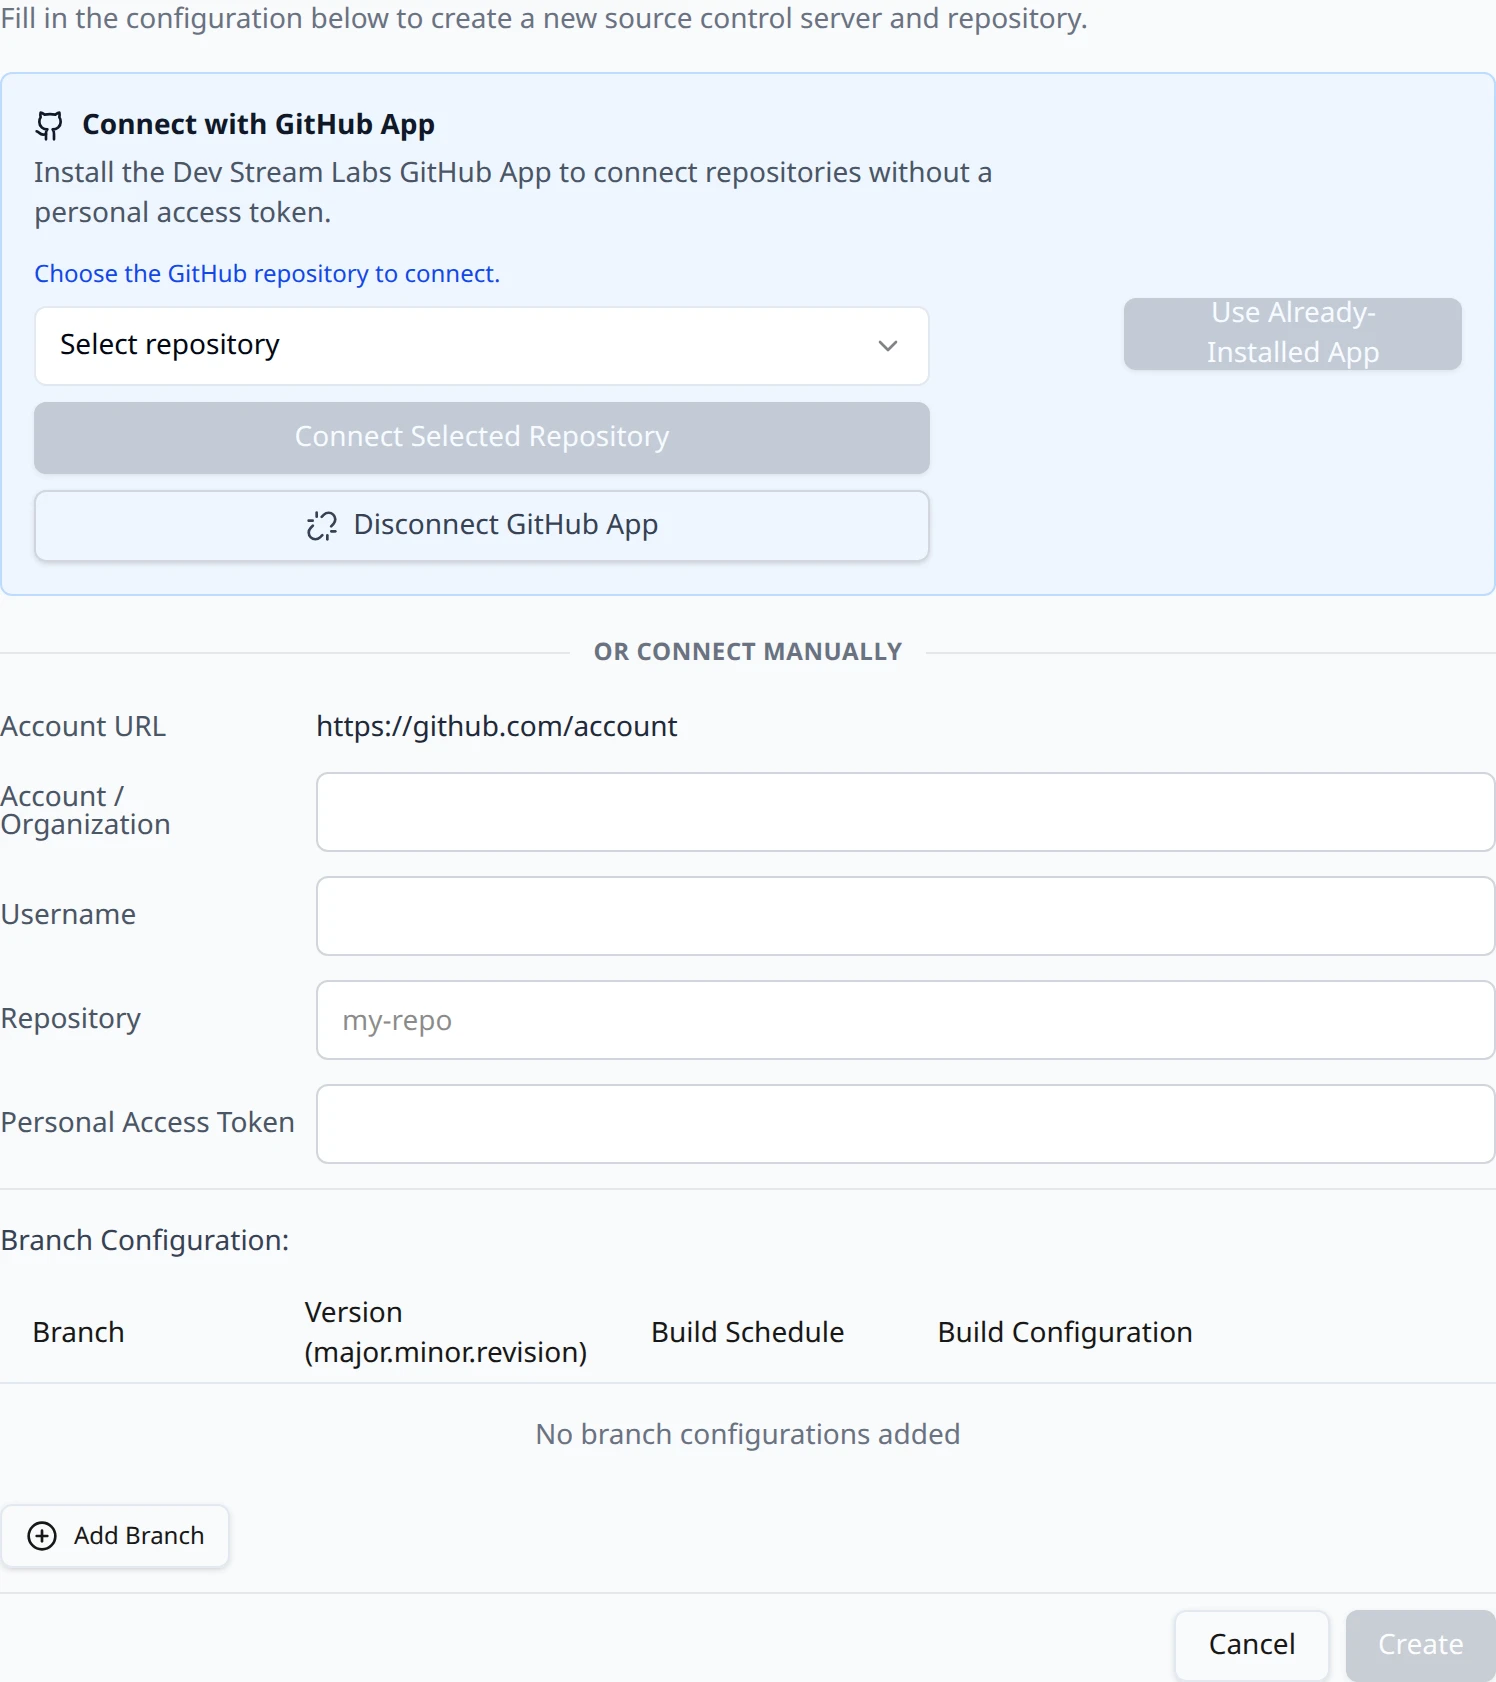
Add opens a menu with GitHub, Diversion, Bitbucket and Perforce. Choose GitHub. A card headed Add New Source Control expands with the line Fill in the configuration below to create a new source control server and repository. The GitHub App section is at the top of the card and the token form is below it, separated by OR CONNECT MANUALLY.
Connect with the GitHub App
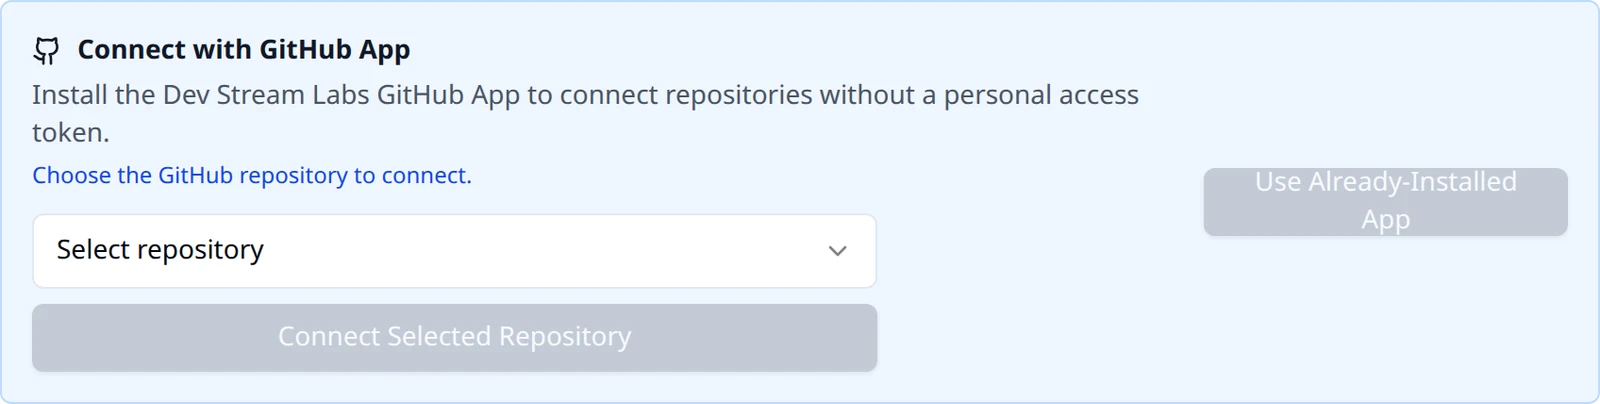
The section is headed Connect with GitHub App and reads Install the Dev Stream Labs GitHub App to connect repositories without a personal access token. Under it, one button: Use Already-Installed App. The hint beside it explains the order of operations: start with that button, which connects a repository from an account where the App is already installed, and if it turns out the App is not installed yet you are offered the option to configure it.
Press Use Already-Installed App
The button shows Starting... and sends you to GitHub to authorize. GitHub asks you to confirm your identity so the platform can see which of your accounts have the App installed. Nothing is written to your repositories at this step.
You come back to Connections in one of three states
GitHub returns you to the connections page and the App section shows a coloured line. Which line tells you what happened.
The three states the GitHub App section can return in Line you see What it means Next Choose the GitHub repository to connect. The App is installed somewhere you can reach and the repositories it can see have been loaded. Continue to the next step. This environment's GitHub App is not installed on any account you can access. Use Configure GitHub App below to install it. The App is not installed on any account you belong to. Follow If the App is not installed yet. GitHub App installation failed. GitHub sent you back with an error, or the round trip did not complete. Read the message beside it; the common causes are in Troubleshooting. Try again from the button. 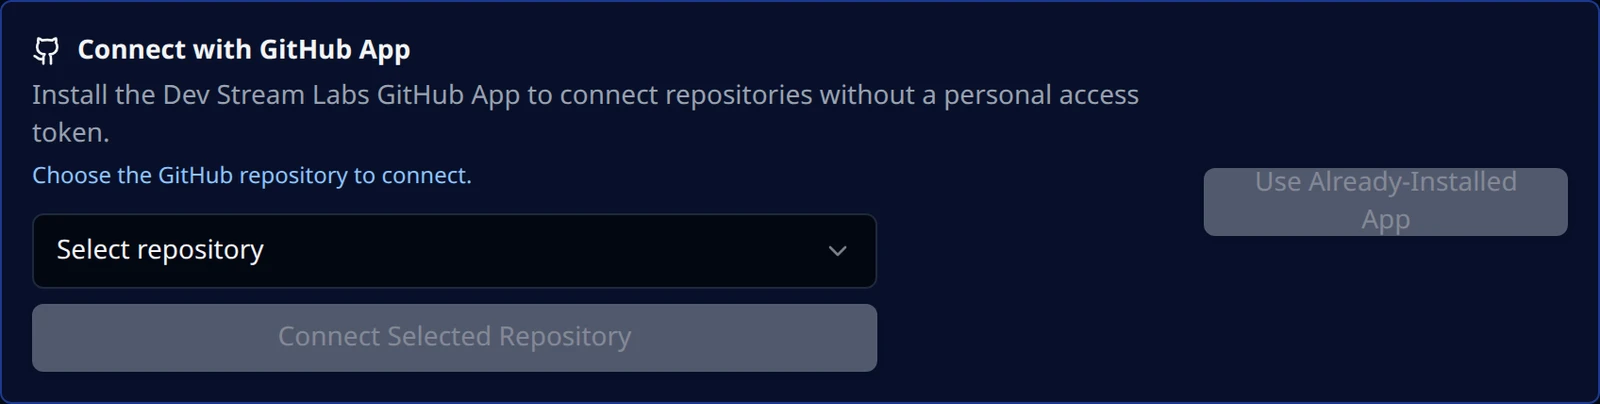


Pick the repository
The picker's placeholder is Select repository; it lists repositories as
owner/name, for examplenorthwind-games/starfall, and has a search box. If the App can see exactly one repository it is preselected. If the list is empty the section tells you This installation has no repository access. In GitHub, open the app's installation settings and grant it access to at least one repository, then start over. and offers a Start over link.Press Connect Selected Repository
The button reads Connecting... while the repository is imported, then the page reloads on the connections page with the new card. The green line GitHub App installation connected. is the success state of the round trip; the card is the proof the repository is in.
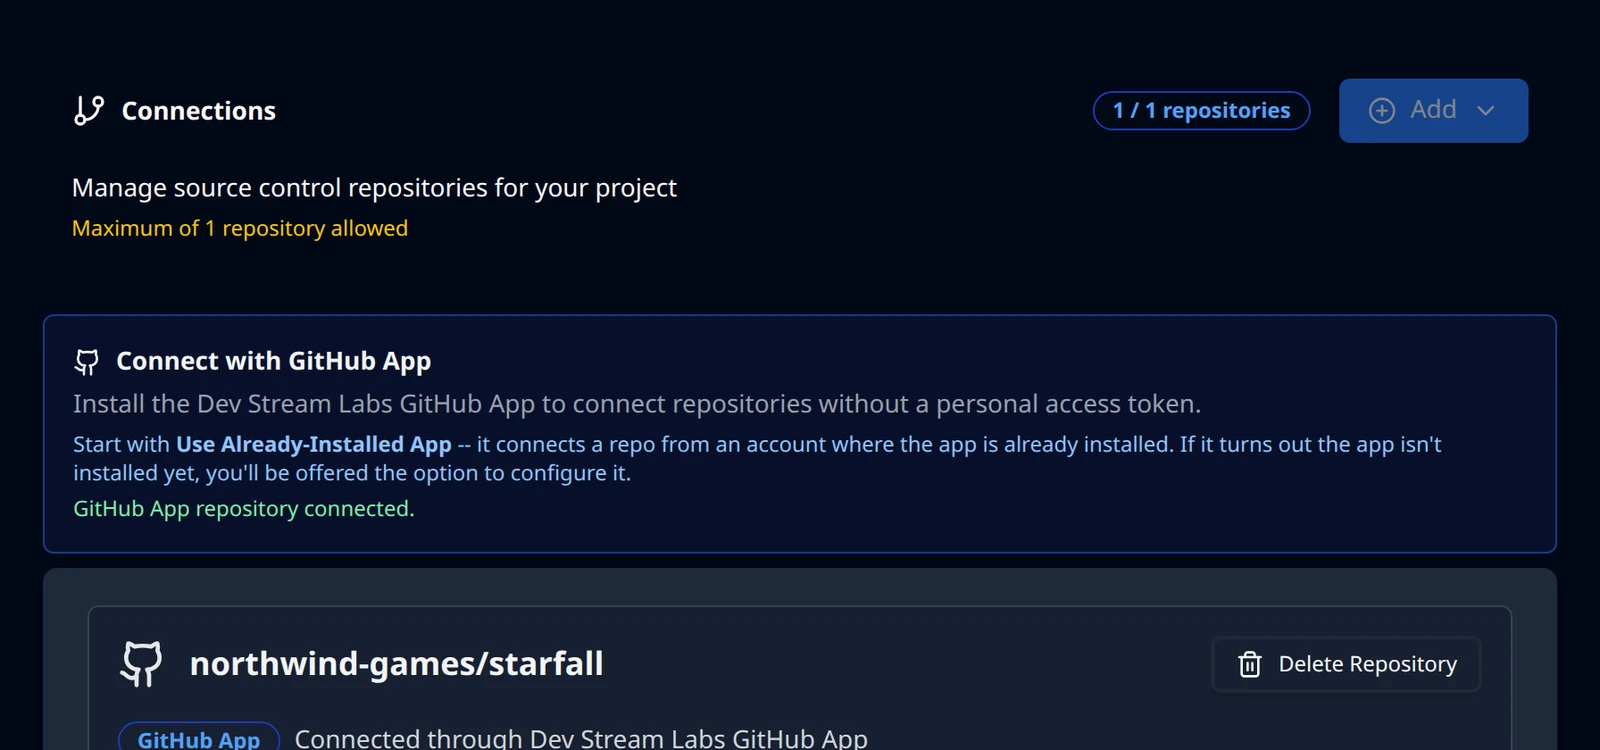
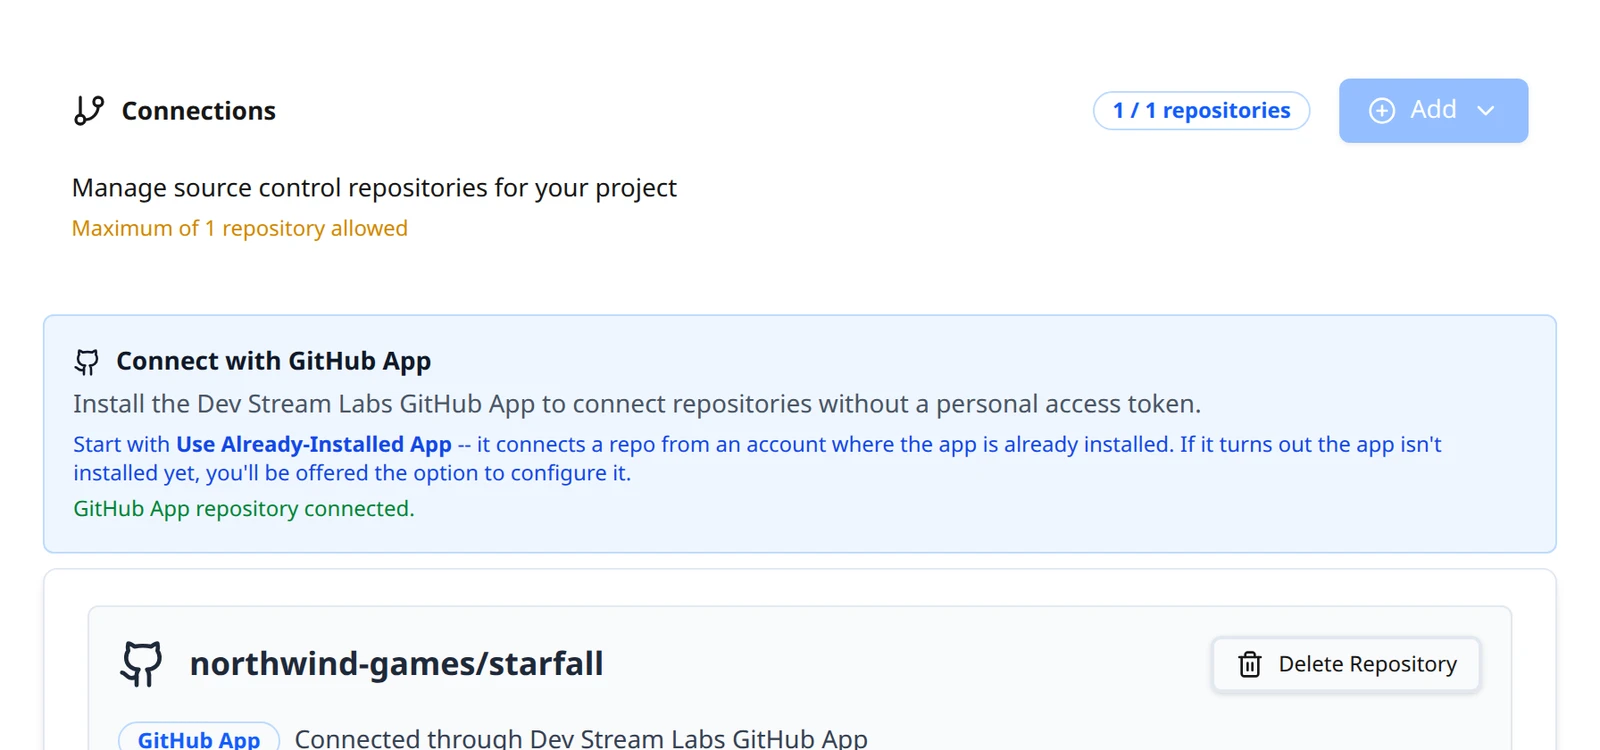
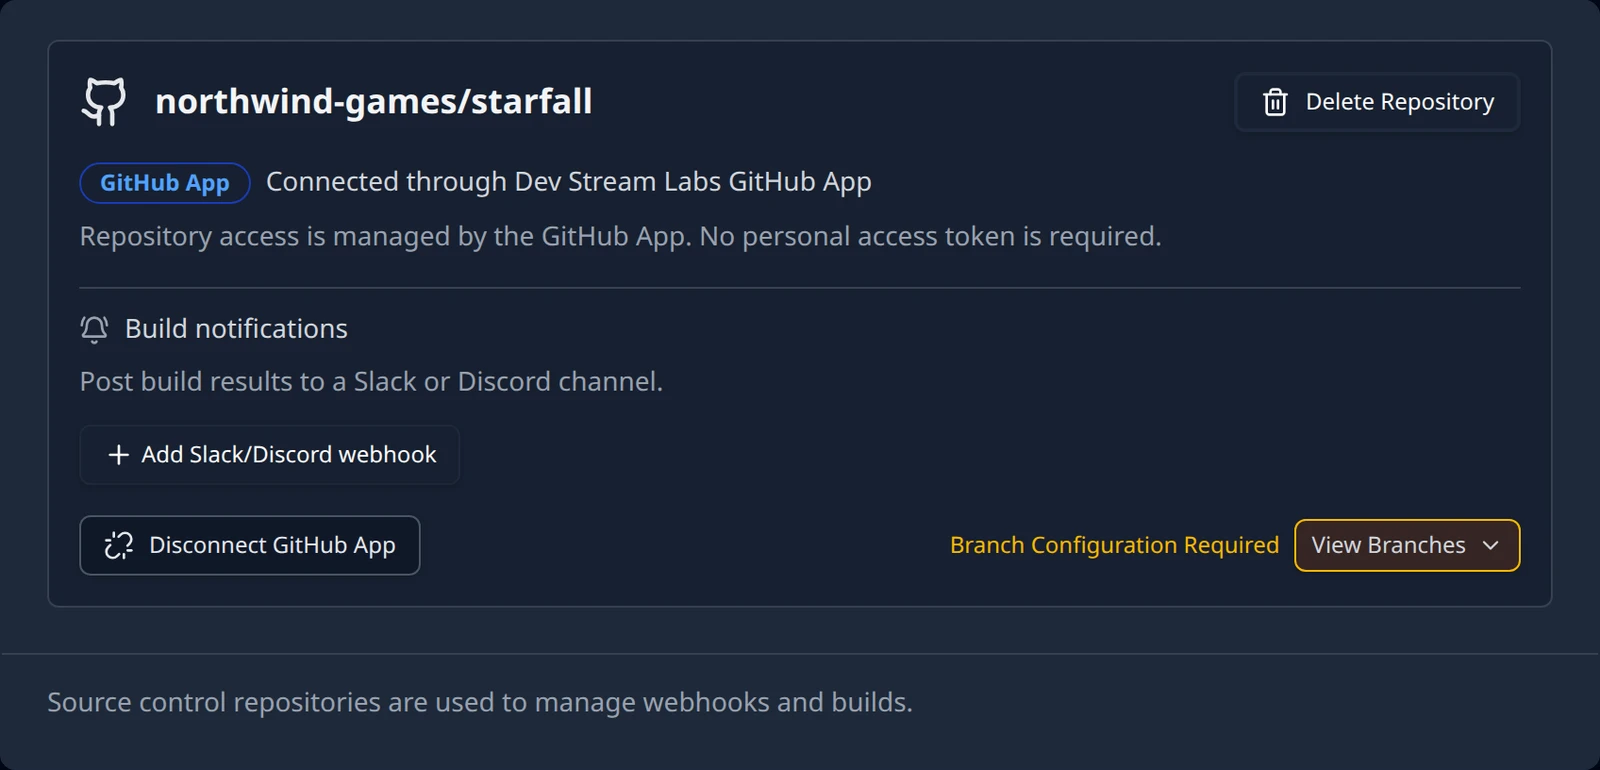
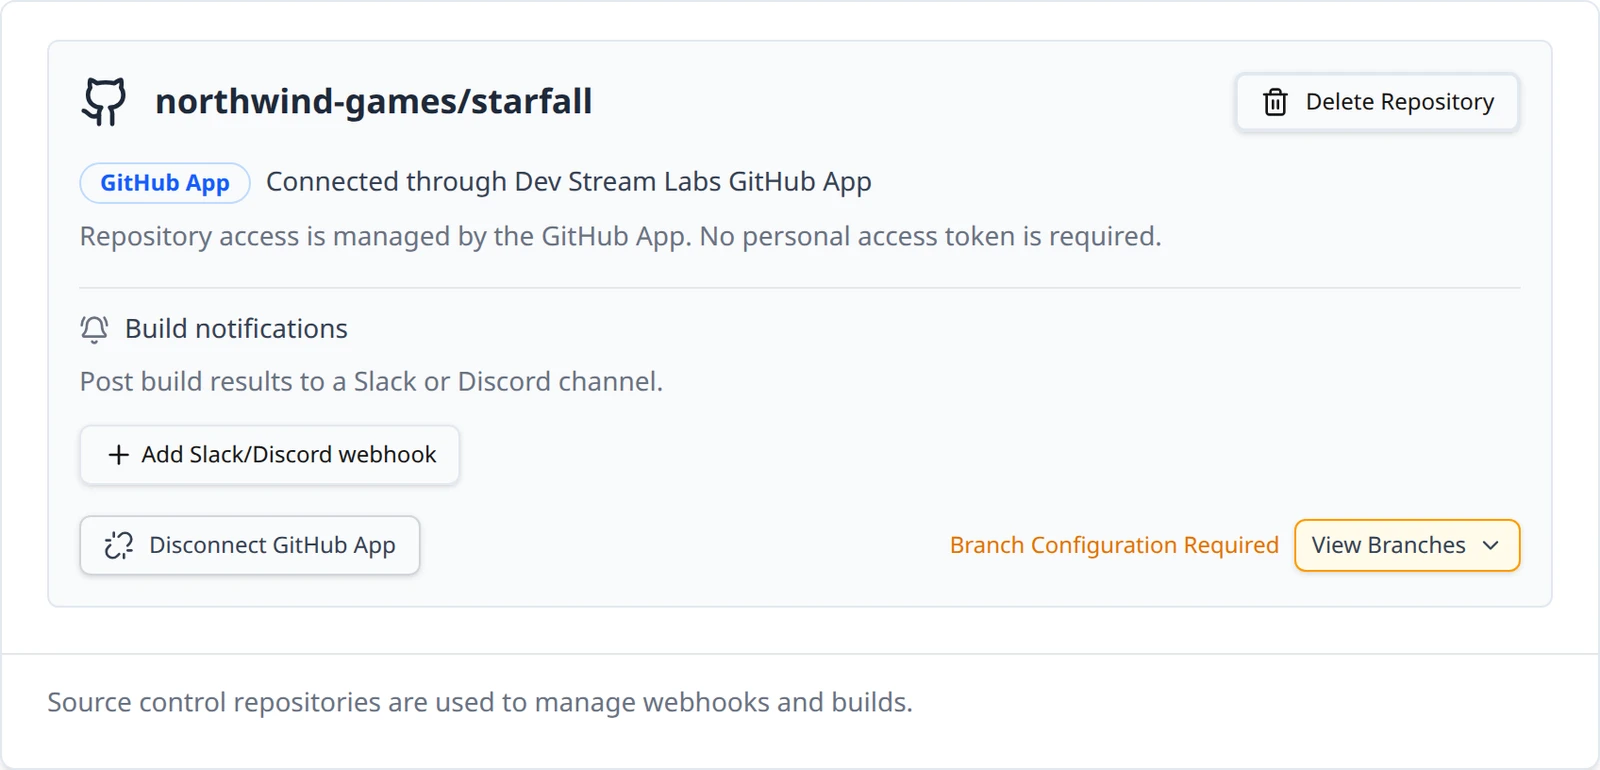
The card is titled northwind-games/starfall and carries a GitHub App badge with the line Connected through Dev Stream Labs GitHub App and, under it, Repository access is managed by the GitHub App. No personal access token is required. There is no webhook block on this card: the App delivers pushes to the platform, which routes them to your project by installation and repository.
If the App is not installed yet
When the round trip reports that the App is not installed on any account you can access, a second button appears beside the first: Configure GitHub App. It sends you to GitHub's install page for the App, which is listed in GitHub as DevStreamLabs Git.


Press Configure GitHub App
GitHub asks where to install the App: your personal account or an organization you administer. If your organization requires approval for third-party Apps, GitHub turns this into a request to its owners and you cannot finish until one of them approves.
Choose which repositories the App may see
GitHub offers all repositories or a list you pick. Only the repositories you grant here appear in the picker back on the connections page. Granting one is enough.
Finish in GitHub and pick the repository
GitHub sends you back to the connections page in the Choose the GitHub repository to connect. state. From here the steps are the same as picking the repository above.
Connect with a token
The form under OR CONNECT MANUALLY names one repository and the token the build machines will use to read it. Above the fields a read-only Account URL line assembles https://github.com/, the account and the repository as you type, so you can see the address it will use.
Create a token in GitHub
Build Stream uses the token for three things: it checks the token against GitHub when you save, it lists the repository's branches for the branch table, and the build machine clones the repository with it. That needs read access to the repository's contents and to its metadata, and nothing more. You do not need any permission over webhooks, because you create the webhook yourself in the next section. A fine-grained token scoped to the one repository with read access to contents (GitHub adds metadata automatically) is the tightest fit; a classic token needs the repository scope for a private repository. Copy the token when GitHub shows it; it is shown once.
Fill in the four fields
The fields on the manual GitHub form Field What goes in it Account / Organization The owner of the repository as it appears in the URL, for example northwind-games.Username The GitHub username the token belongs to. For a personal repository this is the same as the account. Repository The repository name alone, for example starfall. The placeholder readsmy-repo.Personal Access Token The token from the previous step. The field is masked. Create the webhook in GitHub
The new card shows a Manage Webhook: block with two rows. Webhook URL with a Copy button, and Secret, masked, with Show and a second Copy that is enabled only while the secret is shown. Copying confirms with a Copied toast.
The webhook URL for the example projecthttps://buildstream.starfall.northwind.example.com/api/build-stream/webhooks/github/In GitHub, open the repository's settings, go to its webhooks and add one. Paste the URL as the payload URL, set the content type to JSON (the endpoint parses a JSON body and rejects a form-encoded one), paste the secret, and choose to send push events. Push is what starts builds; any other event is acknowledged and ignored. Save the webhook; GitHub sends a ping, which is one of the ignored events, so a green delivery there means the URL is reachable.
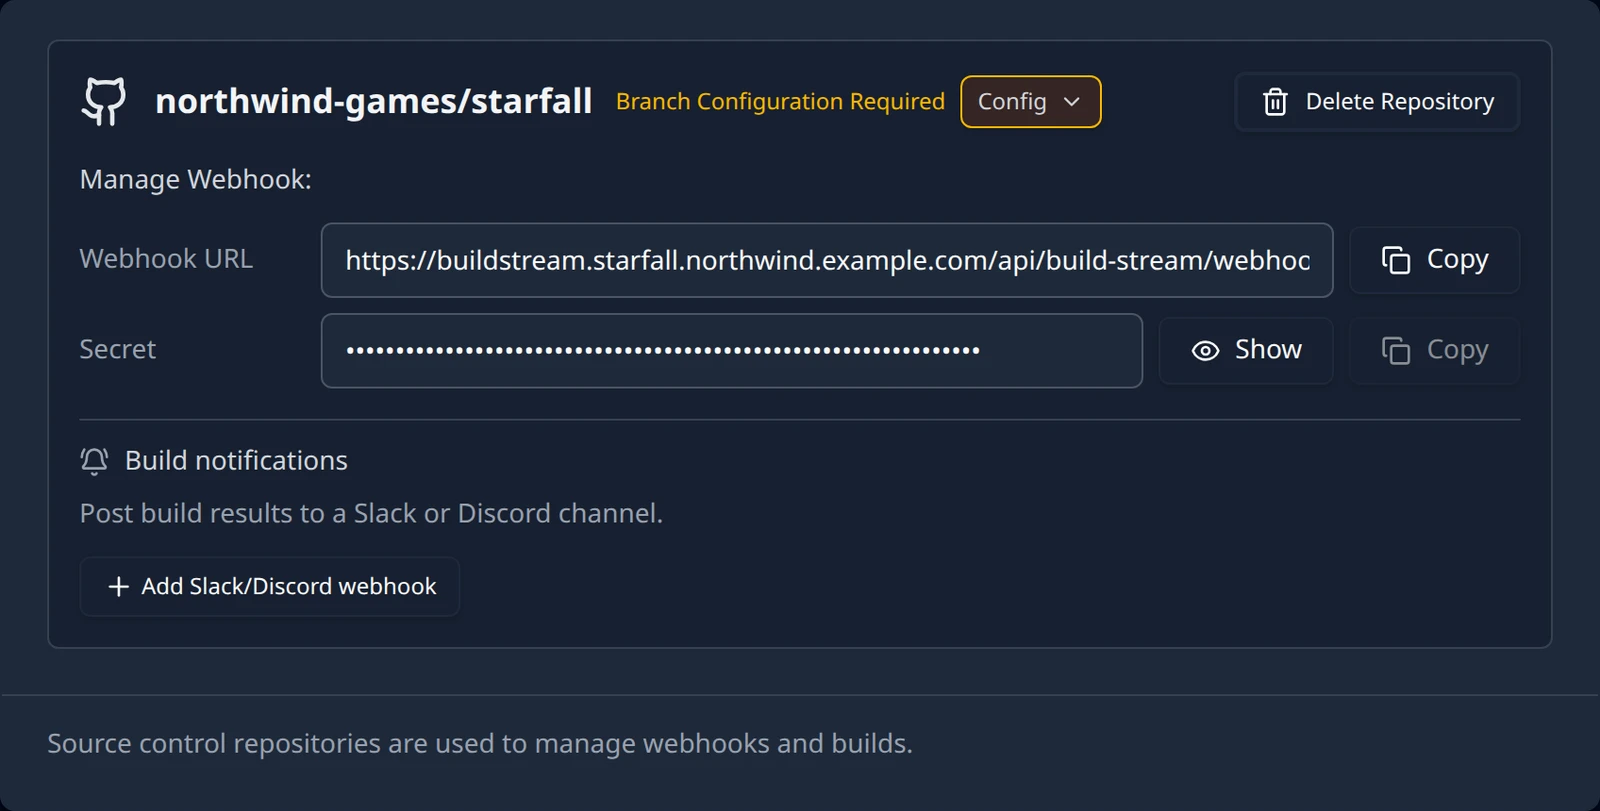
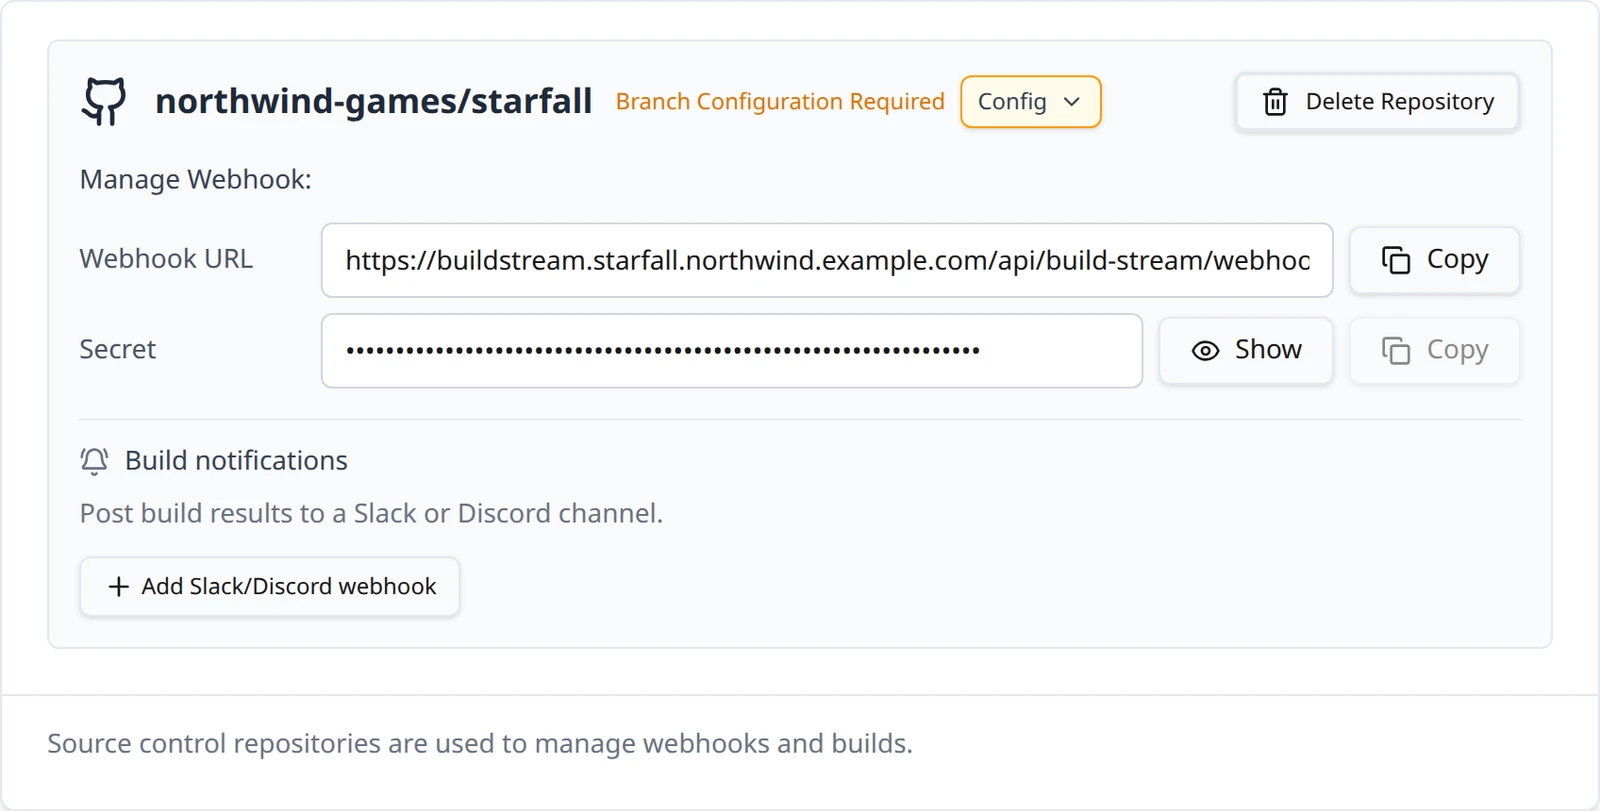
The card also has a Config button that reopens the fields under Configuration: with a Save Changes button. The token field shows dots rather than the stored value; leave it alone to keep the current token, or paste a new one to replace it. A replaced token is checked against GitHub the same way.
Branches come next
A connected repository builds nothing until it has a branch in the Branch Configuration table. Both GitHub paths list the repository's branches from GitHub, so Add Branch offers a picker rather than a text field. On an App connection the version column can also be filled from the repository's releases; on a token connection you type the version. That table, its schedule and its build configurations are the subject of Branches and build configurations.
Pushes that arrive before the branch is added are not lost. The connections page shows Pushes are arriving on branches that are not set up to build with the branch and the latest commit, and clears the notice once you add the branch. That behaviour is described in Pushes to a branch you have not added.
Disconnect or delete
There are two different removals and the card offers both. Read the dialog title before you confirm.
| Button | What it removes | What it leaves |
|---|---|---|
| Disconnect GitHub App | The project's link to the GitHub App installation. Shown only on App-connected cards. | The App stays installed on your GitHub account; the repository card and its branches stay until you delete them. |
| Delete Repository | The repository card, its webhook registration and every branch row with its configuration. | Your repository on GitHub, untouched. Builds already made stay on the Builds page. |
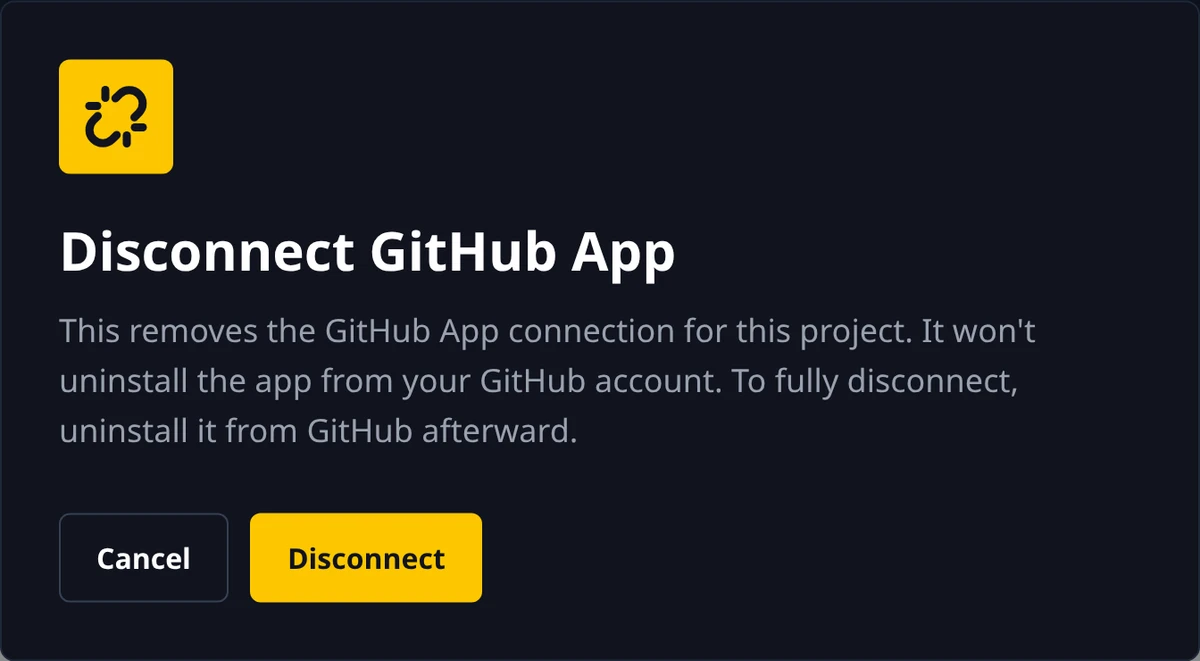
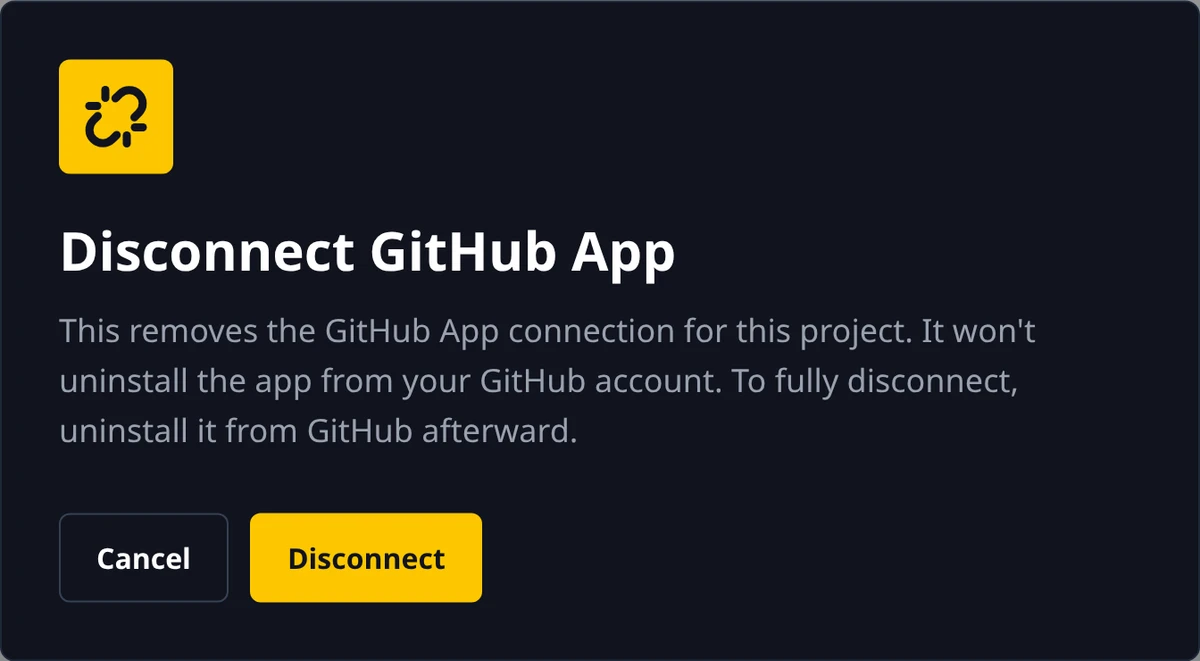
Disconnect GitHub App opens a dialog of the same title that reads This removes the GitHub App connection for this project. It won't uninstall the app from your GitHub account. To fully disconnect, uninstall it from GitHub afterward. Cancel backs out; Disconnect reads Disconnecting... while it runs and finishes with a toast titled GitHub App Disconnected: The GitHub App was disconnected from this project.
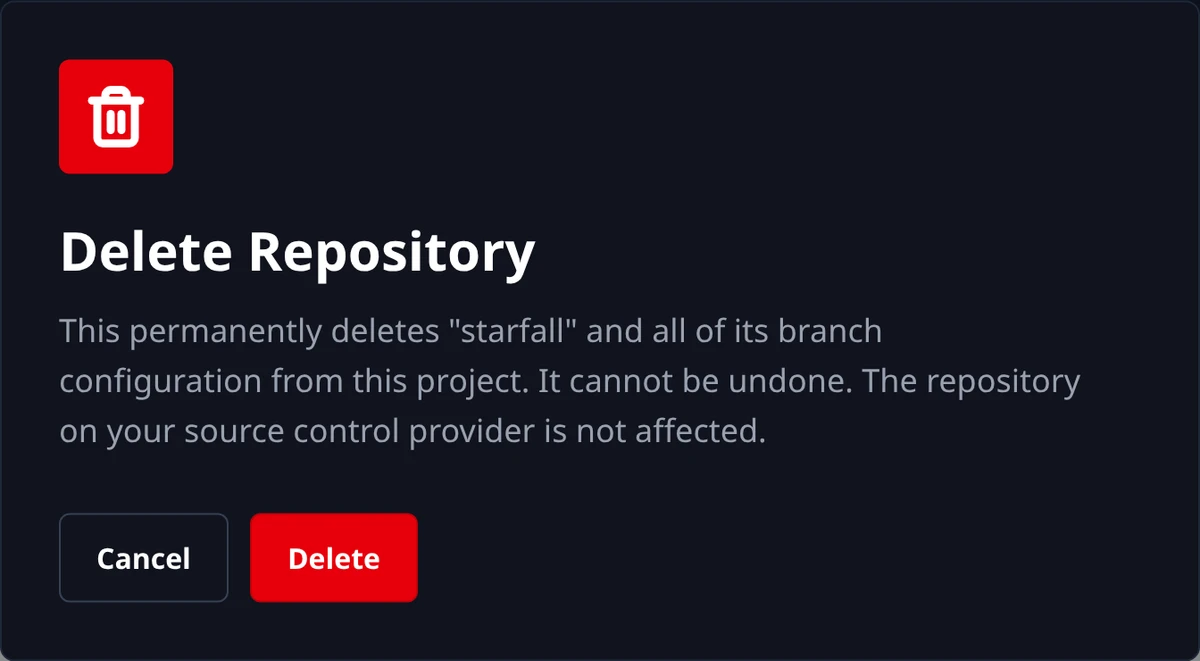
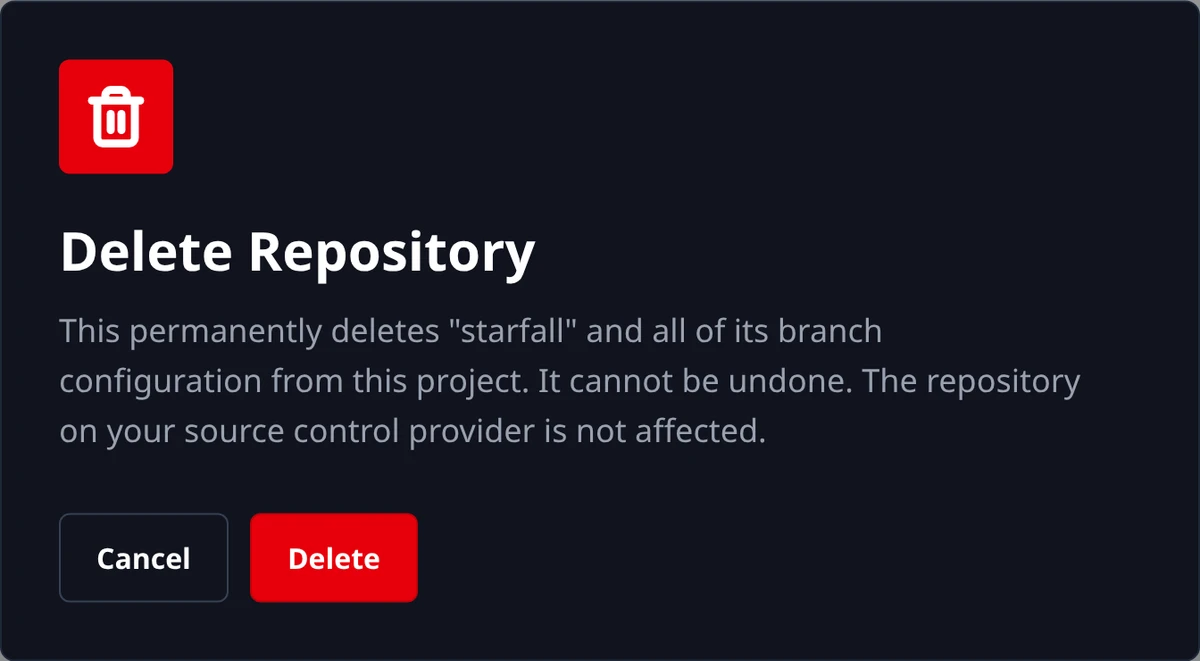
Because a project holds one repository, deleting is also how you switch repositories or switch from the token path to the App: delete, then Add again. If something goes wrong on the way, email [email protected] with the project name and the repository.
Something out of date or unclear? Email [email protected].