
Add Build Stream to your project
Build Stream is a service you add to a project, either in the same dialog that creates the project or later, from the project itself. Both paths end the same way: a few minutes of provisioning, an email, and a Build Stream section in the project sidebar. The one decision that matters at this stage is the toolchain, because it decides which build machines your project can use.
On a new project
Open Add Project
From your organization's projects page, open the Add Project dialog. Its subtitle reads Add a project to your organization, and a stepper across the top shows the two steps: 1 Service Details and 2 Project Details.
Tick Build Stream under Select Your Services
The first step is headed Select Your Services with the line Choose the features you'd like to enable. You can always add more later. Tick the Build Stream card, whose description reads Automate your build pipeline and get builds whenever you commit code. The other card, Source Control Hosting, is the hosted Perforce server; you can take both. Press Next.
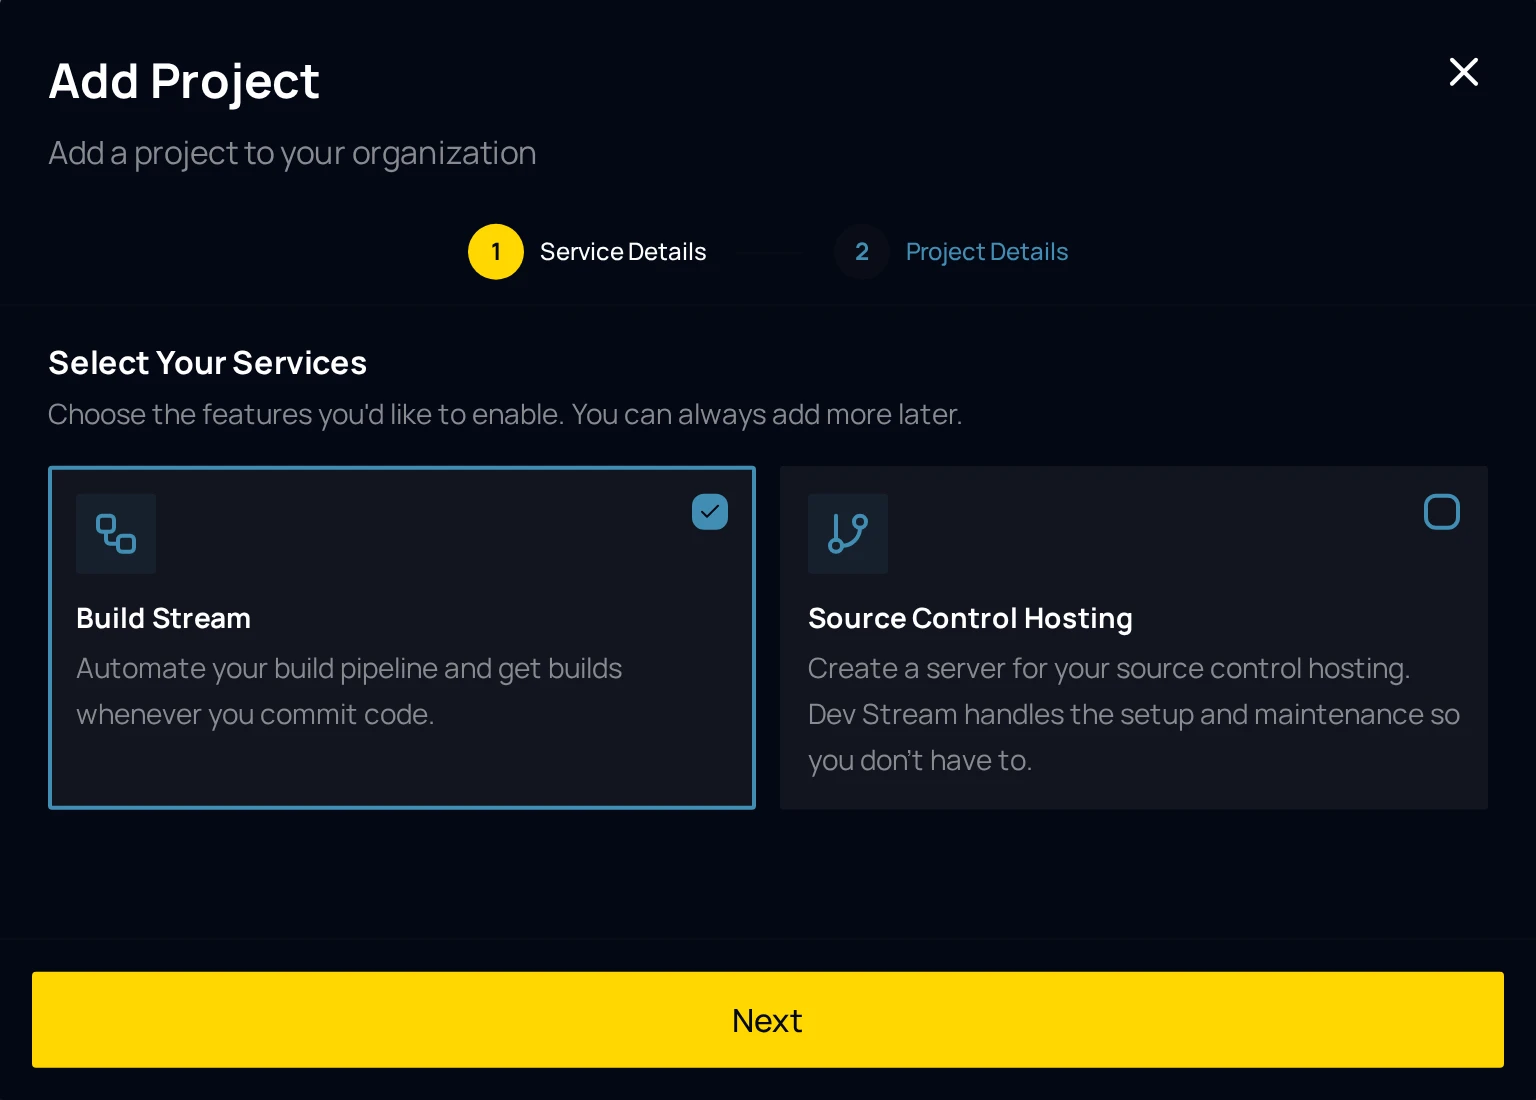
Step one of the Add Project dialog. Fill in Project Details
The second step asks for Code Name *, the short name used in URLs and hostnames (for example
starfall); Product Name *, the display name (for exampleStarfall); URL *, which shows the.dsl.devsuffix after the field; an optional Description; and Toolchain *, covered in the next section. Below the fields, TEAMS lists the teams that will have access, or No teams found if the organization has none yet.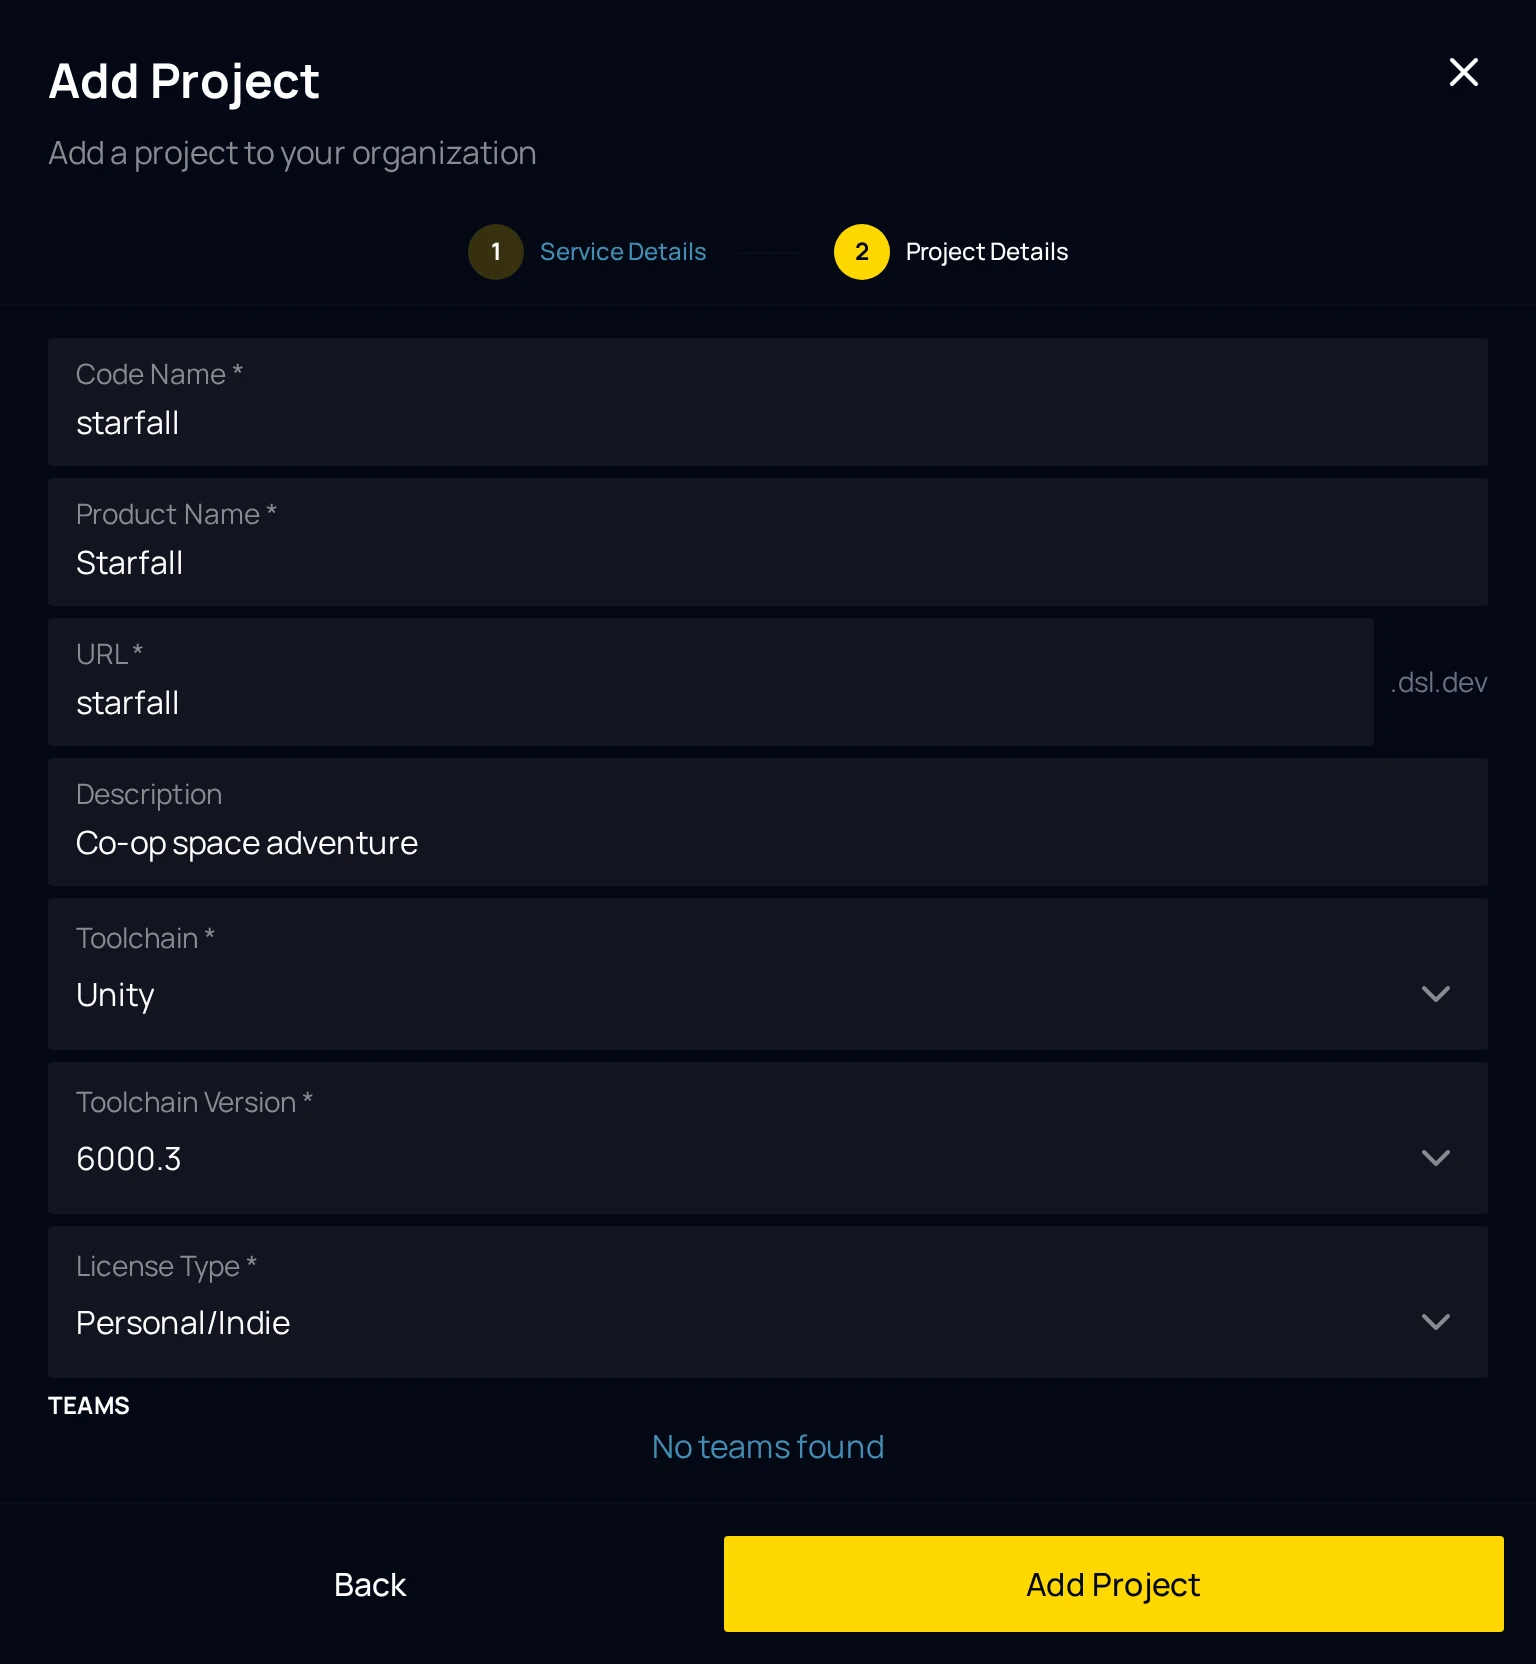
Step two, with Unity chosen as the toolchain. Press Add Project
Back returns to the services step without losing anything. Add Project creates the project and starts provisioning every service you ticked. A confirmation dialog headed Setting up your project tells you that provisioning takes a few minutes and that an email follows when it is ready; Dismiss closes it.
Choose the toolchain
Toolchain * tells the farm what kind of project this is. It decides which build machines can take your jobs and which build configurations you are offered later, so pick the engine or build system your repository actually uses.
| Option | Pick it when |
|---|---|
| Unity | The repository is a Unity project. Two more fields appear, below. |
| Unreal Engine | The repository contains a .uproject. The engine version is read from the project itself. |
| Godot | The repository is a Godot project with export presets. |
| CMake | A CMake project, built from its CMakeLists.txt. |
| Visual Studio (MSBuild) | A Visual Studio solution built with MSBuild. |
| Xcode | An Xcode project or workspace, built on the farm's Macs. |
| C++ IDE | A C++ project that does not fit the other build systems. |
Choosing Unity adds two required fields. Toolchain Version * offers the Unity streams the farm has (6000.4, 6000.3 and 6000.0 today), and License Type * offers Industrial, Personal/Indie and Professional. Pick the stream your project is on; the exact patch release is read from the repository once it is connected.
On a project you already have
There are two doors, and both lead to the same provisioning. Use whichever app you happen to be in.
From the home app: Edit Project
On the project card, press Edit Project. The dialog is titled Edit Project with the subtitle Update project details, and its services step is the same Select Your Services list. Tick Build Stream and press Save Changes. A confirmation headed Adding Build Stream opens; it begins We're provisioning Build Stream for this project. and goes on to say it takes a few minutes, that the project card shows the progress, and that you can close the window. Dismiss closes it.
Services the project already has are shown locked in this list. Build Stream is the only service that can be added to an existing project from this dialog; the Source Control Hosting card tells you Add this from the project's sidebar → Add a Service.
From the project: Add a Service
Inside the project, the sidebar has an Add a Service button with a plus icon. It opens a menu headed Available services that lists what the project does not have yet; choose Build Stream. The menu item shows a spinner while the request is in flight. If every service is already on the project, the menu says All available services are already active on this project.
When the service comes up, a toast titled Service ready reads Build Stream is now available in the sidebar. If the app stops waiting first, the toast is Provisioning timed out with Build Stream is still being set up. Check again shortly. That is the app giving up on watching, not the provisioning failing; reload the page a little later.
While it provisions
Saving is a request. The platform then creates the project's Build Stream instance, gives it its own hostname (buildstream.starfall.northwind.example.com for the example project) and registers it with the build farm. On the home app's project card the status chip reads Provisioning Resources until it is done and Ready afterwards; a project with no services yet shows Not Provisioned.
The dialogs say a few minutes, and nothing you do in the meantime speeds it up. If a project card has read Provisioning Resources for well past that, email [email protected] with the organization and project code name.
The ready email
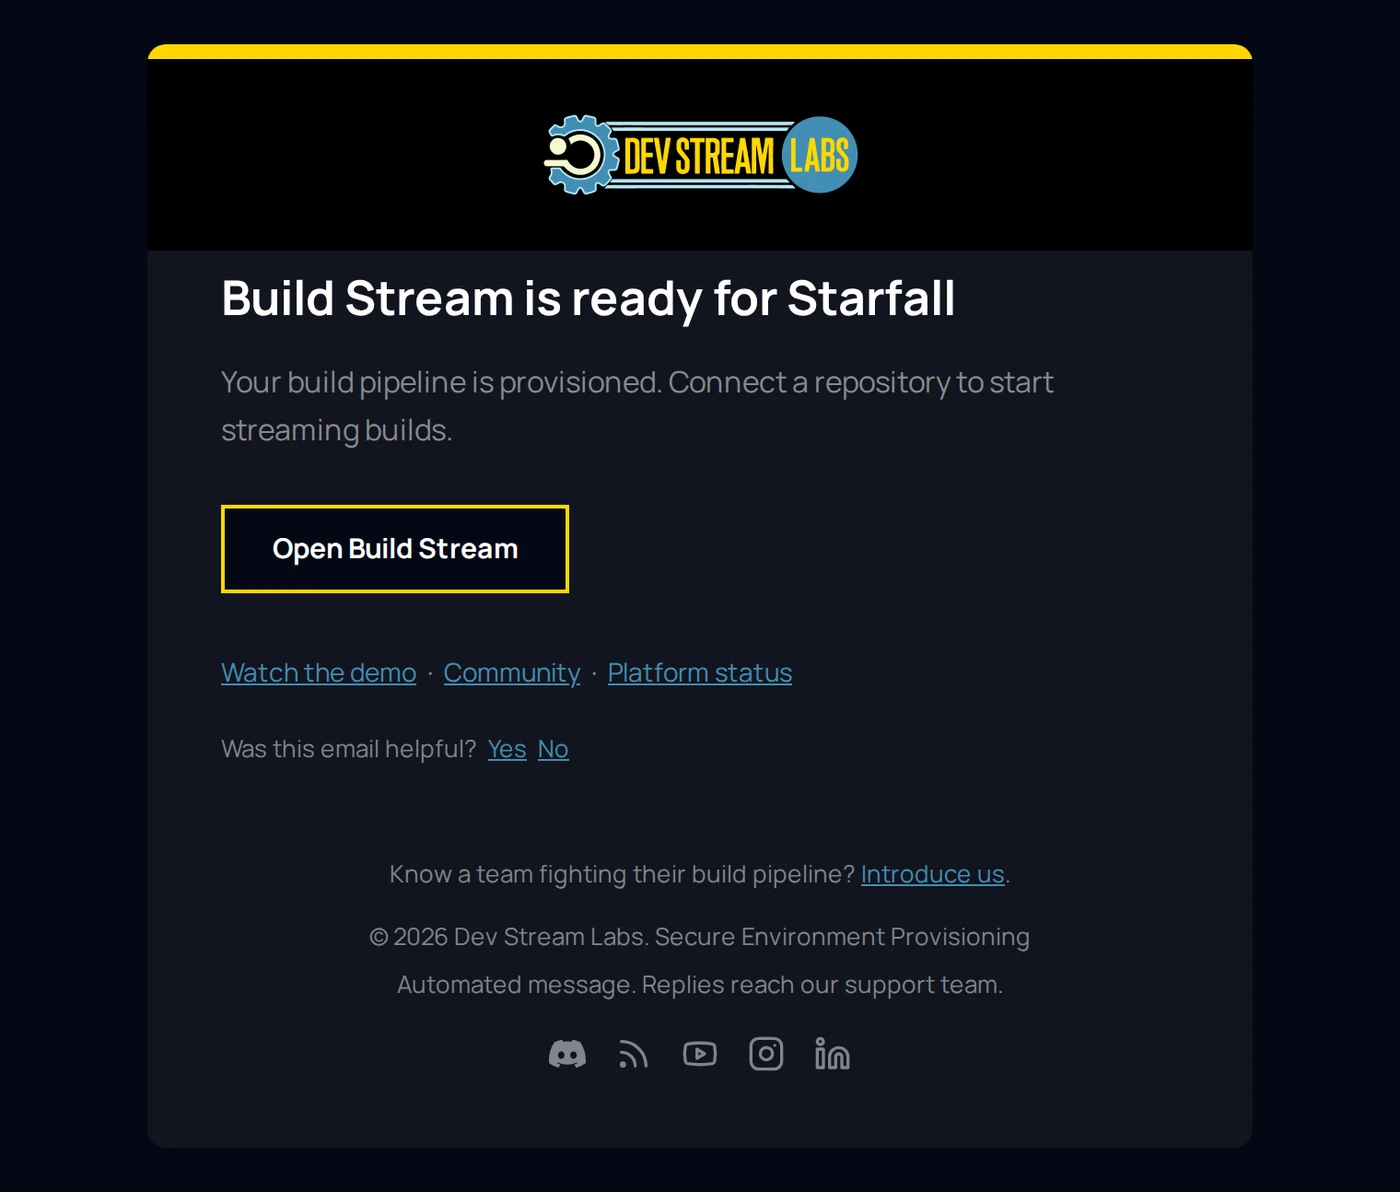
When the service is up, the person who added it receives an email with the subject Build Stream is ready for Starfall, the project's display name filled in. The body is one line, Your build pipeline is provisioned. Connect a repository to start streaming builds., and a button labelled Open Build Stream that takes you to the project. Below it are links to the demo video, the community and the platform status page.
Your first visit
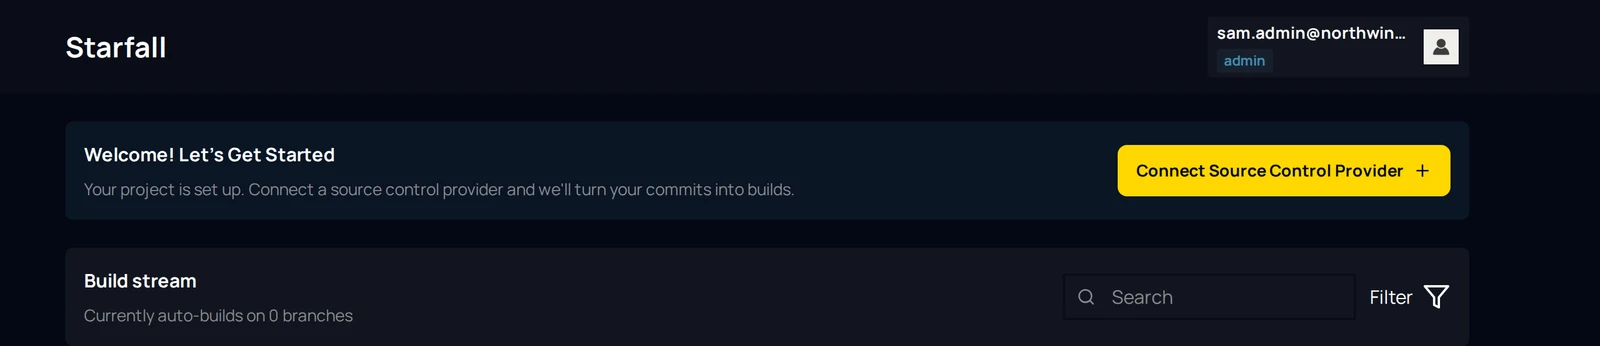
Open Build Stream → Builds. With no repository connected, the page opens on a banner headed Welcome! Let's Get Started with the line Your project is set up. Connect a source control provider and we'll turn your commits into builds. and one button, Connect Source Control Provider, which opens the connections page. Below the banner the Build stream card reads Currently auto-builds on 0 branches; that number is the size of your branch table and it stays at zero until you add a branch.
From here, pick the page for your provider: GitHub, Bitbucket Cloud or Diversion. If you are not sure which GitHub method to use, the comparison at the top of the GitHub page settles it in a minute.
Something out of date or unclear? Email [email protected].